Friday, January 29, 2016

Friday, not according to Plan

 This morning I was planning to drive over to see my Mom, have some tea and catch up on family gossip. Originally I expected to be home by lunch, didn't happen. Why, cinnamon buns happened. I arrived to discover Mom was baking for a church event tomorrow.

  I do not know a person that can walk away from fresh out of the oven cinnamon buns with lunch, so I didn't get home to work in the shop as planned. I have got a storage project, that I will take on tomorrow. 

 What I've got to share is finished stuff finally.


  Finally Snakes and Ladders finished with painted snakes with yellow eyes and I also make some game pieces.


  Tova's owl, trivet or what ever.  She likes owls.  


  Finished quarto game, all the pieces are from the scrap bin. I love making something from nothing.

  Into the woodshop tomorrow, no cinnamon buns alas.

cheers ianw


 ookpic owl


Wednesday, January 27, 2016

Two Videos I want to Share.


 Recently I have been working in my shop on a couple of games so when I saw what Jimmy Diresta, one of my wood working heroes make a chess board I had to share it with you. 


make a chess board 

  Further proof that Mr. Diresta can do it all.  And play chess too.

  
table saw information. 

  While working on my current projects I have used my table saw to rip material to size and I also used it for cutting slots in the cabinet doors. To cut slots I had to take the blade guard off my saw, briefly. As soon as I completed cutting the slots I put the guard back in place.


 After my last close, close encounter with my table saw blade I put my blade guard on and it stays there. Yes it is a bit awkward but less so than living minus a finger or two. I ripped up my left index finger tip last time and it is damaged enough that it is now numb and the finger nail is a bit funny too. I would certainly buy a Sawstop if I was going to replace my table saw.


Monday, January 25, 2016

Annual Tool Expo is Coming


Friday February 5th,
Saturday February 6th
2016 


 Hand painting a checker board seems like a bad idea but, if you use a good brush and lay down very straight and easy to see guide lines, the result is not too bad.


 Next stage is to paint on the snakes and ladders. That is a project for a quiet time in the evening at my desk.  I will use acrylic paint for the snakes etc and cover the game board with several more coats of varnish. 

 When I went to lay out the board, which is 16 x 16 inches it was dead simple because I used my carpenter's square.  

 I finished the Quarto box as well as painted the game board in this latest time in my shop.


 The game pieces fit inside and the whole thing will live in my car for the balance of the winter. Anytime I wonder out to a pub or cafe I will take my game along to see if anyone is interested in a game.


  This is the nasty ol' piece of door skin that from which I cut the front and back of the Quarto game box.  I am widely recognized among my friends as a wood junkie or a hoarder but...when I think of how hard mother nature worker to make a tree I hate to see wood go to waste.

 If I had wanted to make the box look nicer, I could have painted it and covered all the stains and splinters, but in this case those things add character. 

 When I am working on one project I am usually thinking about what I want/need to do next. I have several shop knives that don't really have good homes currently. In my mind I am figuring out the handiest place for my knives to live as well as the safest place.  Where many wood workers use a chisel for fine trimming I usually use a knife and so I have several shop knives for each for different purposes and would like to have them close to hand but safely beyond my grandchildren's reach.

 That is the next project to which I must attend.


Thursday, January 21, 2016

What did you do in the shop today? Nothing, really....

  This blog is for all you average folks with a basement workshop that think that they've done nothing in their shop since they went on a flower box making binge last summer. 

 My work shop time is often filled with little things, especially since my back acted up last September. At the end of a day I regularly reflect that I've not done anything with my day at all. SO as my back really started to hurt this afternoon I thought about my shop time today. 

  First thing that I did was process a rough poplar 2 x 12 plank into finished boards to make a two doors for a friend's stereo cabinet, the cabinet that I made for them last winter.(Feb 5, 2015) It is high time I got the doors done. I really didn't do anything, I just cut the board to length on my mitre saw, then jointed and planed the board square and ripped off the four pieces I need for the raised panel doors. What the heck, nothing at all really, expect that I used my table saw, mitre saw, jointer and planer and various measuring tools and a square.  It could have been done with hand tools, but not by me.


board ready for use. 
   After we dressed the lumber David decided that he would double check the measurements on the cabinet before we proceeded any further. Oh, yes, I also made four little 3 by 1 1/2 by 1 1/2 feet with rounded ends to be added to the cabinet. Not a big job but one that needed wood and a couple of tools.


  What else did I do on the day that I did nothing?

you can never use too many clamps

door skin can be easily cut with
 a good utility knife.
 I cut out one side of the travel box I'm making for my Quarto game. It will be a carrying box and game board. ( Aug 27, 2014) I've done this before but smaller.  It was nothing at all, but it was shop time. I can't find the small set currently.


 This is how I squared the frame while the glue was drying. I pushed the one side against the dogs, squared the sides and then clamped the sides into place leaving it over night. A Kreg Klamp Table is the idea tool for this type of thing.  My table was tied up with other things so for one small job I copied the idea. For the doors on David's stereo cabinet I will use the Klamp table.


 I sanded and shellacked an off cut that reminds me of a cartoon owl. I don't know what I am going to do with it but...it looked to good to throw away.

  And I took time to seriously wash out a few paint brushes. If you have access to an art supply store or shop on line get some brush cleaner.

soap.jpeg


 I honestly believe that using this product doubles the life of my brushes. 

  So I didn't really do anything in my shop today, how was your day?


Tuesday, January 19, 2016

Not just "Unplugged" but fully "Disconnected"

  Yesterday morning the electricity to our home was turned for a few hours. Workmen were doing some work outside and so had the main line disconnected. We have a fairly new, well insulated house and so it didn't cool down much over the course of the interruption and I boiled water for coffee in a sauce pan on the gas stove. Technically there was no hardship, and no inconvenience, until I went down to my work shop. 

  I have a pretty good selection of quality hand powered tools  and was not expecting any trouble amusing myself without power tools. I planned to make another small set of Quarto pieces. Last summer I made a set of pieces on a large scale that live at our cottage. Everything was worked out in my head, I didn't need power to glue and clamp the cubes together. The round pieces would be shaped with hand planes, and cut to length with a hand saw. Any other shaping would be done with files and sand paper, everything easy.


  You know, working with hand tools only is not a big deal on small projects like this. A lathe would have been fast and more accurate and cutting the pieces to length on the mitre saw would have been my typical choice but I used my bench hook and shooting board to hold the small pieces when cutting and shaping. Working in my 'disconnected' shop only had one real drawback.  As well as no electricity for tools there was no electric light. It is easy to understand while craftsmen of the past rose early and didn't work in basement shops. My shop doesn't have much natural light and that was the only real challenge of the morning's work.

 
Duct leather 
  One invention from yesterday, and I am sure I'm not the first to think of this, is Duct Tape Leather, on You Tube they call it fabric. I needed a game board from soft material so the board and pieces would fit in a bag. I laid out the Duct Tape and instead of using a second layer of tape I used a coffee bean bag as backing. I figure the bag is pretty tough, and a bit more interesting to view than tape. I have used duct tape similarly in the past to protect sharpened blades too. 

 I think I may get a nice pieces of pine and do this again adding carved details to the pieces. This set is adequate, but nicer is always nicer.


Saturday, January 16, 2016

Installing a switch for my work light.

 I need to preface this blog by saying, though I am confirmed D.I.Y guy I almost never do plumbing and only slightly more often do wiring. Those are two areas where I willingly hire a trade specialist.

 My efforts in the shop today reminded me why I hire a specialist. Last week I stuck a work light onto a stand and was pleased with myself. Well, I got less pleased with myself when I realized that plugging and unplugging my light was not really very handy.  My inspiration!, wire a plug into the light's power cord, easy peasy lemon squeezy, right?  Not for me.
Not because it is a difficult technical challenge, but because I an all thumbs around none wooden mechanical devices. If some one had filmed my efforts to install the light switch on Black and White film they could have sold as the sorry of Laurel and Hardy's klutzy brother.

the switch in all its glory, and it works fine.
  To begin the process I checked on the internet to be sure how to hook up the wires, even though I thought is was pretty obvious.  For a switch you only cut one wire, unless you are putting the switch into a box like I did.  So, after thinking about how to do this with out cutting the other two wires, and performing careful microscopic surgery to get the outer insulation off the cord, I realized that all the wires needed to be cut anyway. That was the first thing extra that I did that was a waste of my time.  Next I got the proper plastic sleeves to go into the holes on the metal box and installed them.  I didn't know that the sleeves had a 'thing' in them that grabs the wire and won't let you pull it out again. So I got the wire kind of stuck, I needed to take the wire out because I hadn't stripped enough insulation away in the first place. Once I got the wire stripped and the plastic sleeves to comply with my wishes I realized that I had attached the box too low down the stand.  I took the screws out holding the box  finally got to wire the switch and screw it to the box, of course I had to unscrew the switch because it was in the way when I went to re-attach the box. Then I dropped and lost one of the tiny tiny tiny little screws that hold the face plate on.

  I fumbled around for so long doing a five minuted task that I didn't even lose my temper because I was to busy laughing at myself. 

 The end result is a work light stand with a dedicated switch that is properly wired making the work stand easier and safer to use.  A side benefit is being reminded that anything bigger than this needs a professional.

cheers, ianw 

Thursday, January 14, 2016

Drying Rack for a Canoe Paddle and other things.


 I often have several small projects on the go at one time and usually the bottle neck in the process is drying glue or finishes.  When I make a small wood carving, recently like little owls or pocket trucks and boats I screw a gimlet into the item and use the gimlet as a handle. When I hang the small projects to dry, all around the shop I  and sometimes forget them until they are knocked  down. After an embarrassingly long time I just made a proper rack, with hooks upon which those things can now dry.


 This is a low tech solution, but aren't the low tech solutions often really good.  I drilled five holes into a 24 inch board, threaded sash cord through the holes and tied them off.
  Next I salvaged 5 six inch pieces of left over wire from the wiring job on the weekend and made hooks.

 
  Finally  I screwed the rack to the ceiling where it will be obvious but not in the way. Hanging from the rack drying right now is the kid sized canoe paddle I am making for my Grand daughter.
the paddle is 30 inches long and
 features Tova's favourite animal.


   I made the paddle from cedar which isn't very strong and since I needed to wood burn the owl into the paddle I killed two birds with one stone by reinforcing the the neck with ash and burning on the lighter wood.

  This paddle will spend plenty of time wet  so I glued the ash on with water proof glue and plan to give the paddle 4 or 5 coats of spar varnish.

  As a foot note, when I made this paddle I used my random orbital sander for much of the shaping but my files and rasps did at least half of the work, if not more. Every shop should have a flat file with a safe side, if possible, and a round file too. Take the time to put handles on your files, it makes them much easier to use.


cheers, ianw

Monday, January 11, 2016

Inspired by my Electrician. plus little things.

 On Saturday I had a fellow come in and clean up some of the D.I.Y wiring in my shop. Actually I had several dedicated circuits wired into my shop shortly after moving into this house.  What I didn't do was have enough overhead lighting wired in so for a few years I have been lighting my shop with florescent  fixtures that plugged into outlets. That lighting solution solved one problem but added two new problems.  
  The ceiling of my shop became a cobweb of electrical cords which is not really safe and each of those lights tired up an outlet or worse it created an "outlet octopus".


   Tim's good work served as an inspiration to me. I have gotten rid of all the octopuses. I have taken three power bars out of service and I still have lots of outlets.

  Today as I was rethinking the light and power situation I made a portable task light from a not so portable task light.


  I made this hat rack years ago. It stood in the corner of the garage with gardening hats and gloves hanging on it. In our new house we didn't really have a use for the rack but I never throw anything away, it seems. 


   My new lighting arrangement gives me well balanced light with everything on one switch but I still want to have a strong light that I can focus on a particular bench or tool. This 250 watt halogen light fits the bill perfectly, and I've had this for a couple of years. I even left the hat hooks on so I can hang my shop apron up.  At this point I haven't attached casters but that is in the back of my mind. 

  You can buy a work light like this:

 
*King Led Dual-Head Work light with adjustable Tripod KC-1602LED-ST
King LED work light 

  or you can use something like this to make your own


Woods 75 Watt Clamp Lamp Work Light 46706
Woods Clamp Light 

 Last Thursday I fixed my Mom's kitchen knife but forgot to show the shaved spot on my arm.


I am pretty pleased with the result of that repair job.
  
  If you have little people in your life then you know Shaun the Sheep.

                 Image result for shaun the sheep

  My grand daughter Tova Elise is a big fan of Shaun. If it isn't Shaun it can be one of his friends.


  This sheep is filled with holes so that Tova can thread yarn like this: 
 

Woody The Sheep Knitting Toy | The Junior:

 and make her wooden sheep woolly.  All you need for this project is a drill and some way to cut the shape, a coping saw or scroll saw does the job best. 

  It is most rewarding to make things for little people, I can't resist their hugs and smiles.


Saturday, January 9, 2016

Small Scale Carpentry

  If you like wood, you use wood where other people would use leather or plastic. In fact I really like leather but have not taken the time to learn the techniques or acquire the tools. That being the situation, I use wood to solve problems.

 Yesterday a friend came around, we chatted, drank coffee and made a protective case for his fancy magnetic clip-on sun glasses.


  Making the case took a cup of coffee and an hour's causal work. First we gathered up some Baltic Birch plywood, and a bit of oak for the sides. There was cutting on the band saw and the mitre saw too. Next glutting and clamping with clothes pin size spring clamps. 

You can never have too many clamps.


 As you can see from the box, which is lined with foam sheeting to keep from scratching the lenses, there is a slot for the magnetic arms. Rather than make a box that was thick enough for the slightly curved clip-on glasses to fit, David's idea was to cut a slot in which the arms fit. It turned out to be a great idea.

 After the box was built and the glue somewhat dried we sanded the box and gave it a coat of dark paste wax. Now the lens are protected. Quick and easy 'cause I have lots of tools.


Thursday, January 7, 2016

A New Year's Thing?

  January is often a time for resolutions and promises.  Many shop folks resolve to clean and organize their shops for the new year. I resolve to clean and organize my shop several times a year and occasionally desperation or frustration drives me to do it.  Our annual furnace service happened this morning and on Saturday an electrician is coming to do some wiring in the shop too.  I therefore had to clean up things a bit for these fellows to have working space. 

  The other thing that I do in January is gather up small repair jobs and knock them off.  A job that has been hanging around my Mother's kitchen is her mid-sized kitchen knife.

  You can see the broken section on the blade, I suspect my Mom tried to hack a frozen bone. Bone - 1, knife - 0.  I brought it home today and set about saving the knife.  I used a wet grinder to  reshape the blade and roughly grind its bevels.

   The wet stone grinder leaves things very rough, but it is quick and there is no chance of over heating the steel.  After the shape and basic bevel is formed one enters into the world of "sharpening". There are many methods to choose from when doing your final sharpening, and I am not wholly committed to any one of them. Chisels and plane blades I usually sharpen on my Work Sharp, but certainly Tormek is another excellent choice.  When the blades are too wide for my Work Sharp I have the jigs and sand paper to use the Scary Sharp method too.  I echo the calls of many experts when I say, find what works for you and stay with it until you get good at it. There are no real short cuts.
 
   I sharpen my knife blades free hand.  I learned from my Father before I had much hair on my arms to prove my work.  I have found that hand sharpening can be a bit hit and miss, there are days when I just can't get it right so I have to give up and try again another day.
  

  Today was an 'on'day. After a bit of time with a 1000 grit water stone, a 4000 grit ceramic stone and a leather strop the knife was able to cut paper thin slices of cherry tomato and shave my arm too. When I brought this knife home I left Mom a replacement  so she wouldn't be tool less.  She said if I could repair the old knife she would like to take it to the community kitchen where she volunteers but would be afraid the knife would get lost in the general chaos of their busy kitchen.  After I got the knife sharpened I used my engraver to grind her name into the blade. Now it should be easy for the knife to get home with its owner.

  I suggest that every tool person have an engraver, and not to leave home with out clearly marked tools.  Even if your work site is honest, marked tools make clearing up at the end of the day quicker for everyone.  

  Another repair is to the coffee machine stand I built a few years ago.   The stand needed to be repainted and I will be making new boxes for storage underneath.

  It will be nice to get this looking good in the kitchen again.  Wood is amazing but does need a bit of attention now and then. 

  The last bit of maintenance I did today was sharpen my pencil sharpening knife.


 This knife was made for me by my Father, 25 years ago, probably more. It will sharpen to a razor's edge with little effort.  A special tool like this is owed the effort.

cheers, ianw

Monday, January 4, 2016

Aladdin's Woodworking Cave of Wonders


  Eventually my Grandchildren will come to fully appreciate my woodworking shop.  They will learn that when you want to do a little something, or make a small modification the tools and pieces are down in the shop.  My shop has bits of wire and many kinds of glue and all sorts of tape, wood of all sizes and shapes and a heap of Arts and Crafts stuff.

  The shop jobs in  this blog are all of the 'oh, I'll just nip down stairs and take care of it" type.

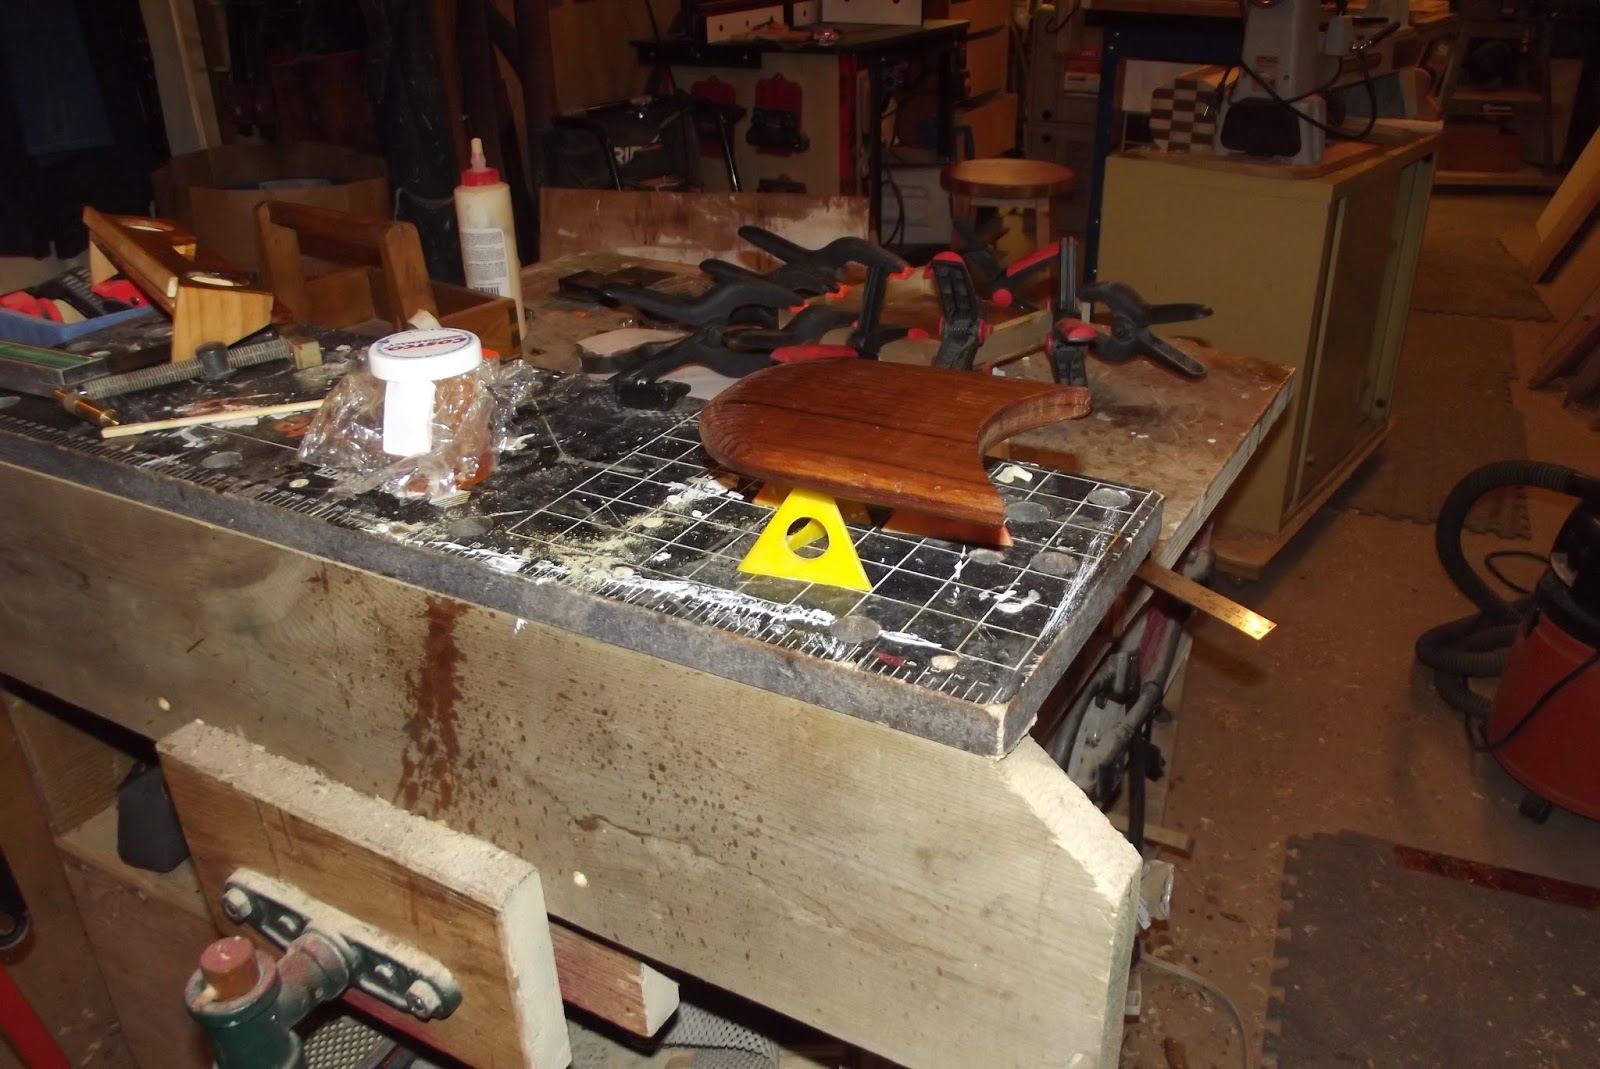
 Yesterday I went into the shop and make a flower/bud display vase. In my shop there was : a piece of wood, bark on,  that I collected in the spring, also four one inch diameter test tubes, and a piece of 2 x 6. 


  I made the vase(?) hold four buds because that was how many we were getting from the hibiscus plants under the grow lights in our basement, currently.  Now that the vase is done, the flowers seems to be running out.

 Aside from have the test tubes, and wood available just down the stairs I also had a one inch Forstner bit, and drill. I used my jointer to flatten the bottom of the fire wood so that it would sit on the 2 x 6 and cut things to length with my mitre saw. I could have used a hand plane, but I am still trying to take it easy on my back.

 As for finishing I had Minwax stain and shellac both on the shelf. Making this little project and the other two where  non-events since everything was on hand.

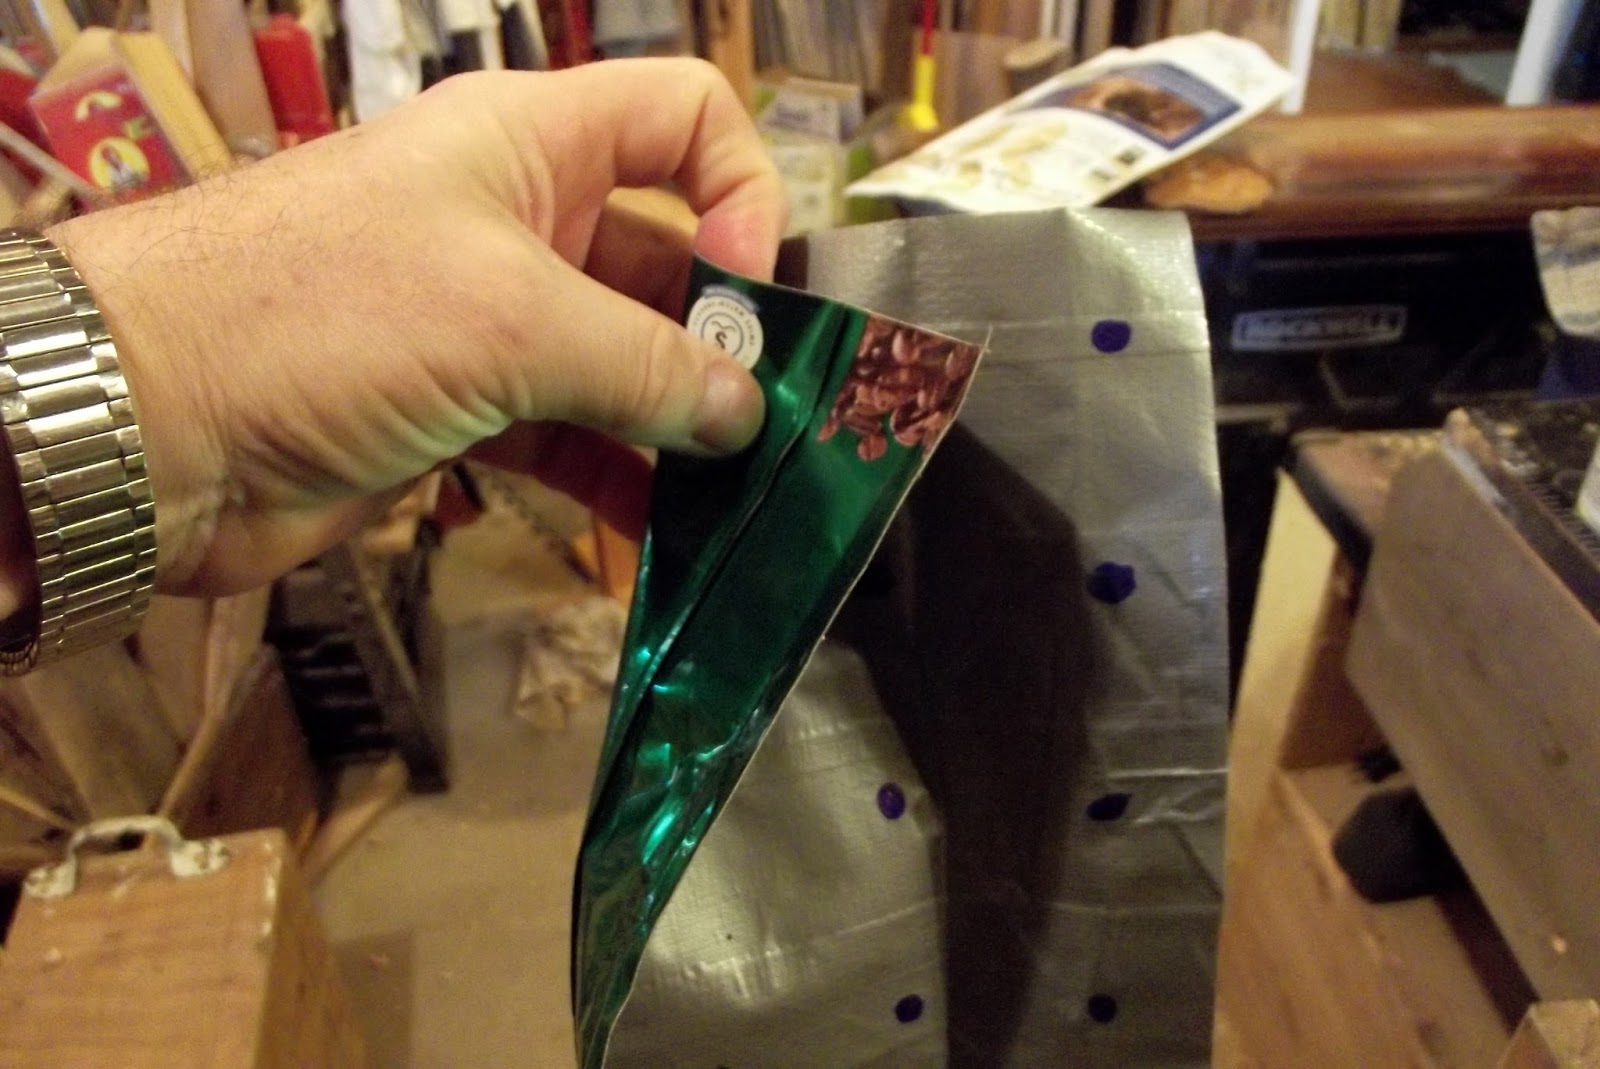
  The other two little jobs needed, waxed thread, lather lacing, and drilling.  I have a couple of walking sticks and pretty much one of them accompanies me when I am out and about, especially when it might be slippery.


   This stick has a cord that wraps around my wrist, to reduce the number of times I drop it while shopping. ( I have no hope that I will not drop it again.). The elastic that holds the loop on was getting tired. The solution was to go down stairs an cut a couple of feet of heavy waxed thread and wrap it around the elastic and the wrist strap.  The waxed thread is used to make my Polissoirs but is perfect for this little job.

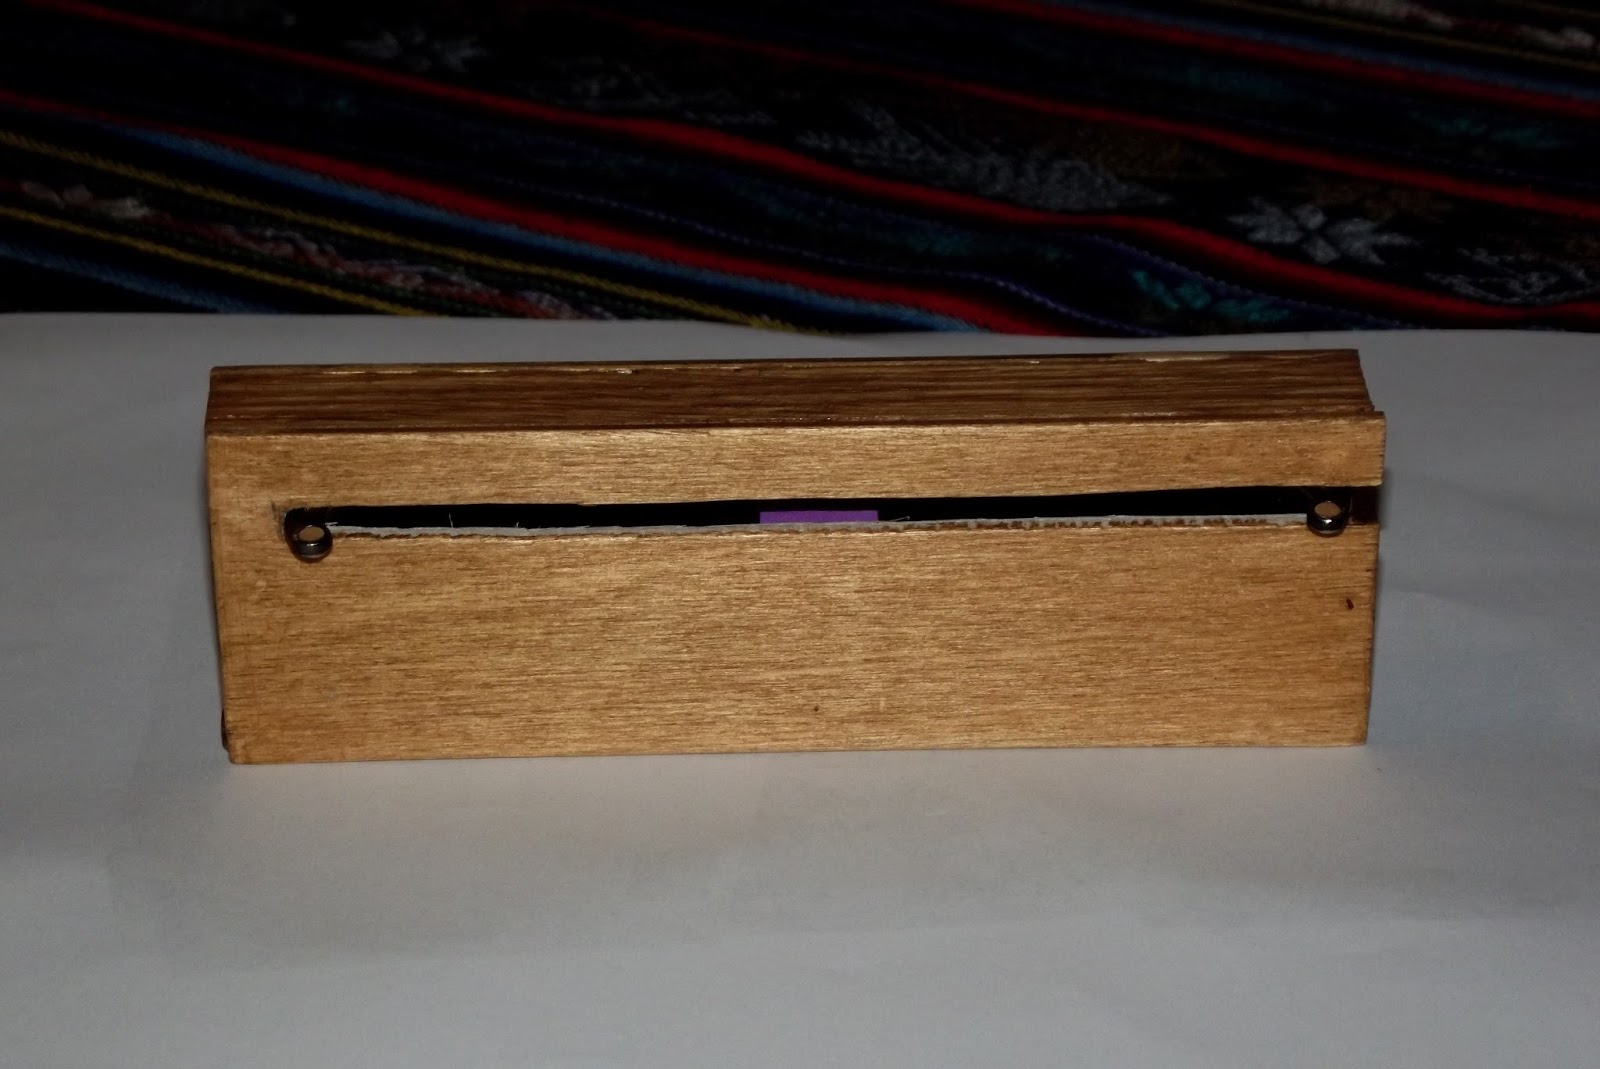
  The other stick just needed a hole drilled and a length of leather lacing attached. 


  None of these jobs was  big deal as long as you have some tools and a couple of shoe boxes of stuff laying around.  It is a never ending battle in my shop between "too much jink" and " I'm glad I kept that thing, it's handy". Today I am happy about having stuff handy, tomorrow, who knows.