Showing posts with label duct tape. Show all posts

Thursday, June 29, 2017

Shop Trays


   I saw an Instructables post on how to make a folding valet tray from leather and immediately thought about how to change the materials but keep the idea. 
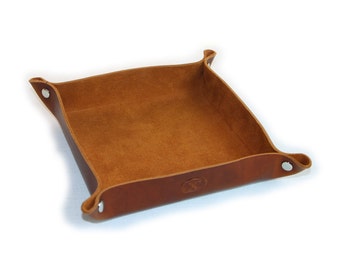
Image result for valet tray
  I liked the folding tray idea for keeping small items from rolling off my desk or bench and generally controlling small parts and tools.  When carving I usually use four or five knives and chisels repeatedly and when painting often have a couple of brushes on the go at once. Gluing small parts is another time that I need to protect my bench top and control the mess. If these things are in a small tray like this they could be kept close at hand.  And if the tray wasn't leather they can be used for paint and glue and all types of mess, then be laid flat and washed out. 

Two Trays, one with two inch sides,
one with one inch sides.
Folded flat for storage

  Making these trays was easy, all it took was a sharp knife,duct tape, a straight edge and a bone folder. ( at an art supply store)

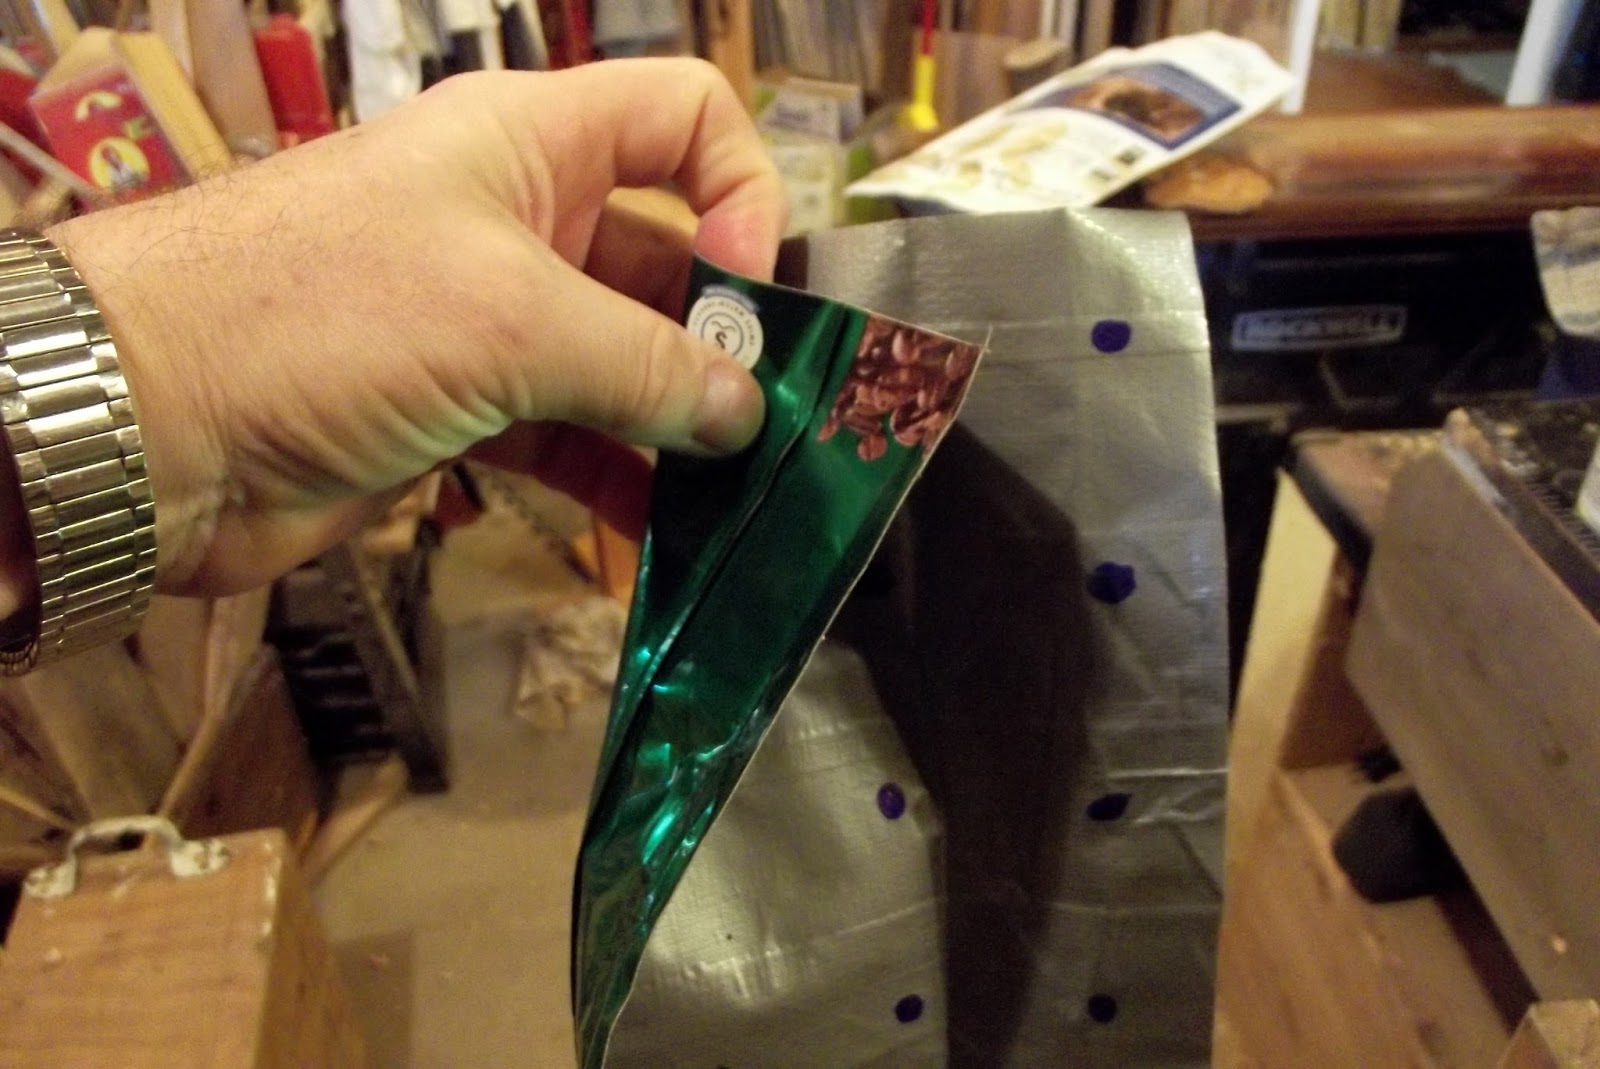
First I cut the coffee bag square, it is more or less 12 inches each side.

I used a coffee bag because they are quite tough and we've got lots of them. Also using a coffee bag to back onto the duct tape means that cost is reduced by one layer of duct tape.


 Next I taped the bag down in the middle, taping it to my cutting mat.  This way the bag doesn't move around while I add the other strips of tape. It is easier to tear the duct tape than to cut it with scissors or a knife. I left extra on the edges and then cut the excess off with a knife and a straight edge at the end.


  A bone folding knife is what I used to put a deep crease along each side. A bone knife is nice since it scores deeply but won't cut into the material, book binders use them all the time. To use the tray it is folded along the crease and held up with paper clips. When not needed the tray folds flat and stores out of the way.

  Since these trays  are quick and easy to make when they get messed up with glue or paint they can easily discarded.

  Making this spoon is partly want drew my attention to the tray.  It was a lovely day yesterday and I took my wood carving out to the back deck. I had a couple of knives and an couple of small gouges and some sand paper.  If I had, had a tray the knives wouldn't have rolled off the table and onto the deck as often. Also it would not have been a juggling act to get the various tools upstairs and out the back door. 


  You don't notice how often you drop things until you develop back trouble and the floor gets to be miles away. Anyway to keep things on the bench is worth the effort.

  I think that most anyone making things could use trays like this.

cheers, ianw


Tuesday, September 13, 2016

Clara's Clock

  When the grand children where here for a visit last week my grandson designed and made a submarine, Clara designed a clock for her room.  I think that design, not engineering is going to be her strength.


  I think we have a duct tape diva in the making.

  The taping and painting was all Clara, I got assigned the woodworking part of the task.


  The round slab of wood is ash.  If you have ever tried to carve ash you know that it is hard, and end grain is even tougher.  You can see from the holes I used a forstner bit to hog away most of the wood.  I drilled out the space for the  clock works and squared the corners with a chisel. Since this is the back of the clock I used a sanding disk to flatten it.  

  To even do something as small as this you need a drill press, drill bits and an aggressive sander. It is nice to have a wood working  and an assortment to tools with which to work.

cheers ianw 


Sunday, July 3, 2016

Make - a camera case

  Recently I bought a Nikon S01 camera. 


  It is a very small camera so it is handy to have in my shop. It takes better photos than my phone and so the images should be better in this blog in the future.

  Almost the entire back side of the camera is  viewing screen and to protect that screen you can buy a very nice hard case. In my case the case was going to be half the price of the camera, and I just couldn't undo a really good deal on the camera buy spending that much money on a case.  None the less the viewing screen does need to be protected.
  
  The solution was to make a case.


  I have watched videos on Youtube where people make duct tape cloth, or duct tape leather and that is what I did.

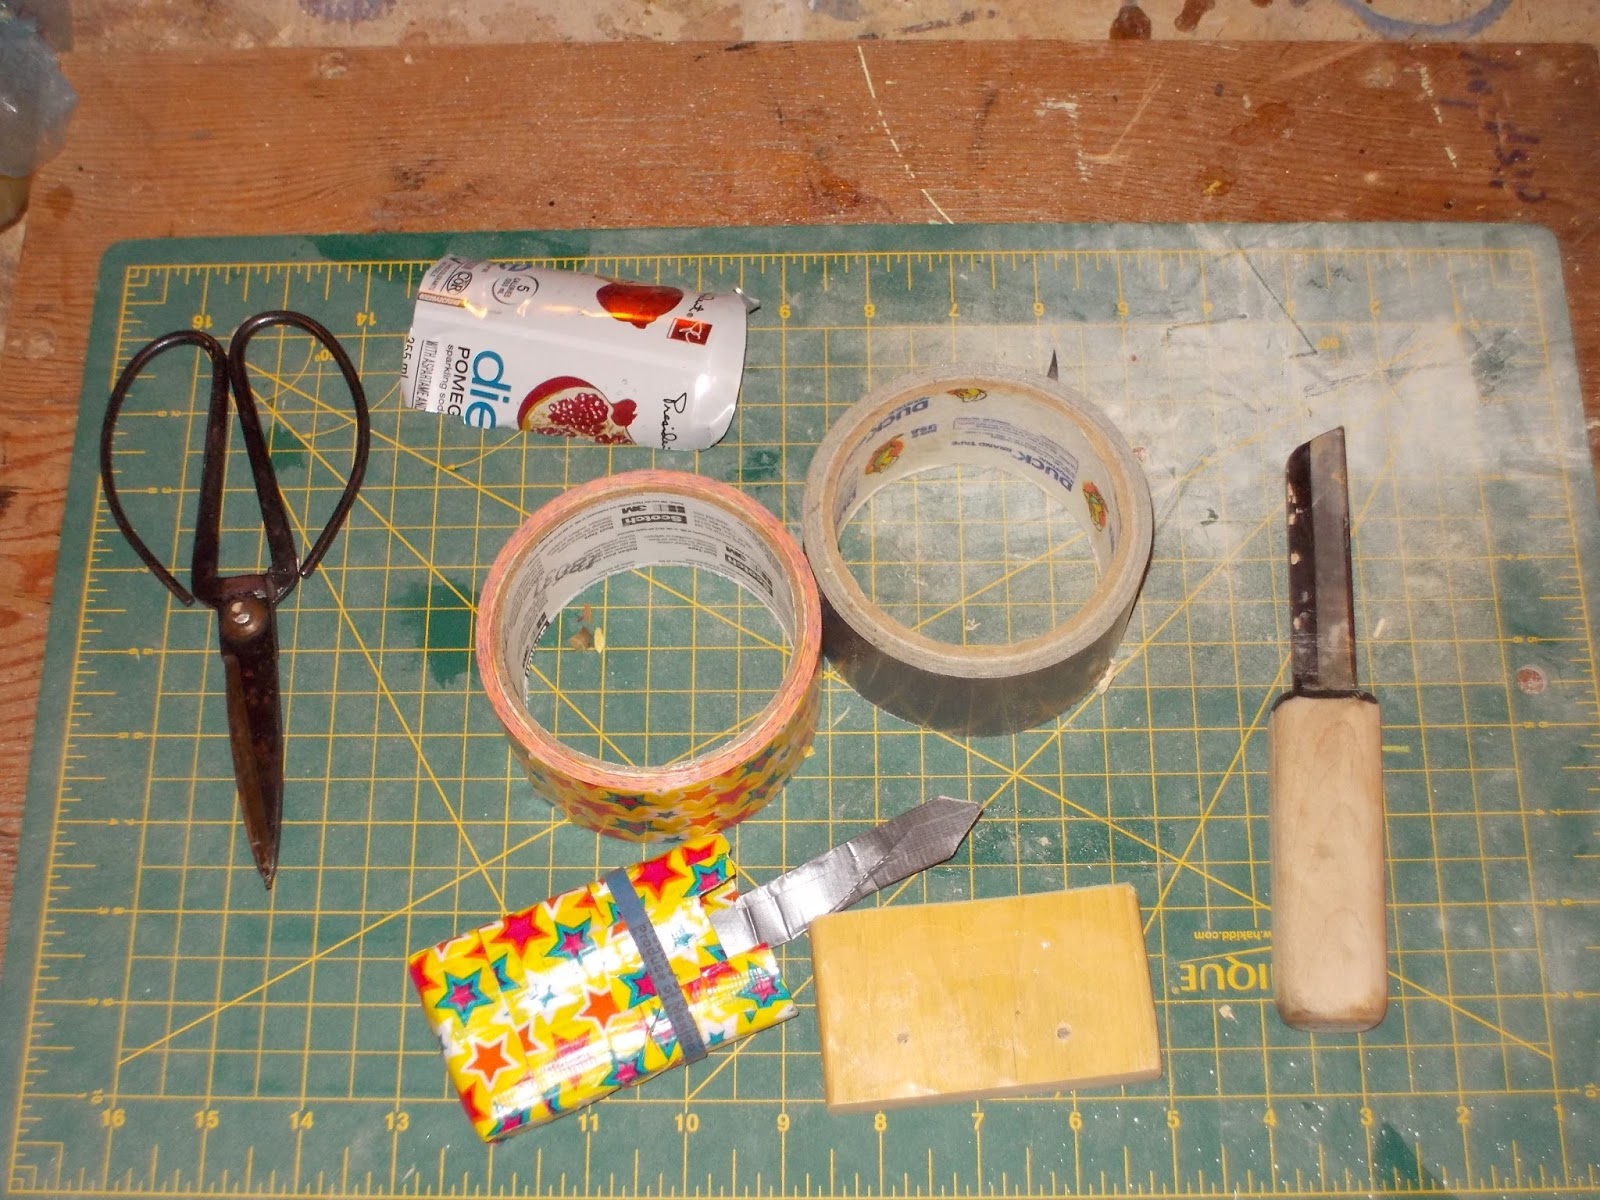
camera case tools
To begin this process I cut out a wooden template slightly larger than the camera.  I also cut up  soda can into two pieces slightly smaller that the camera's large sides.

  I began by wrapping the template in duct tape with the sticky side facing out.  I then laid the soda can sections onto the tape. The tin layer provides protection and structure to the case. 

  Once the tin was in place I put the second layer of tape on.  Needless to say it stuck very well since it was glue surface to glue surface.   The fancy star tape is in my shop drawer because I have grand daughters and they like pretty stuff.  Gray tape works fine for me mostly.

  I also made a strap closure with more duct tape.  

  Making something like this needs no special tools, although the cutting mat is nice to work upon.  The soda can cut easily with the scissors and I used the shop knife to trim straight edges on the tin.  I like making things, especially things that have purpose.

  The panels for the jewel box are sanded and cut to size. I just need to find the time and inclination to assemble the pieces. Currently the weather is too nice and there are too many grand children things I'd rather do.

cheers ianw


Tuesday, January 19, 2016

Not just "Unplugged" but fully "Disconnected"

  Yesterday morning the electricity to our home was turned for a few hours. Workmen were doing some work outside and so had the main line disconnected. We have a fairly new, well insulated house and so it didn't cool down much over the course of the interruption and I boiled water for coffee in a sauce pan on the gas stove. Technically there was no hardship, and no inconvenience, until I went down to my work shop. 

  I have a pretty good selection of quality hand powered tools  and was not expecting any trouble amusing myself without power tools. I planned to make another small set of Quarto pieces. Last summer I made a set of pieces on a large scale that live at our cottage. Everything was worked out in my head, I didn't need power to glue and clamp the cubes together. The round pieces would be shaped with hand planes, and cut to length with a hand saw. Any other shaping would be done with files and sand paper, everything easy.


  You know, working with hand tools only is not a big deal on small projects like this. A lathe would have been fast and more accurate and cutting the pieces to length on the mitre saw would have been my typical choice but I used my bench hook and shooting board to hold the small pieces when cutting and shaping. Working in my 'disconnected' shop only had one real drawback.  As well as no electricity for tools there was no electric light. It is easy to understand while craftsmen of the past rose early and didn't work in basement shops. My shop doesn't have much natural light and that was the only real challenge of the morning's work.

 
Duct leather 
  One invention from yesterday, and I am sure I'm not the first to think of this, is Duct Tape Leather, on You Tube they call it fabric. I needed a game board from soft material so the board and pieces would fit in a bag. I laid out the Duct Tape and instead of using a second layer of tape I used a coffee bean bag as backing. I figure the bag is pretty tough, and a bit more interesting to view than tape. I have used duct tape similarly in the past to protect sharpened blades too. 

 I think I may get a nice pieces of pine and do this again adding carved details to the pieces. This set is adequate, but nicer is always nicer.


Monday, May 11, 2015

D.I.Y. Knife Sheath Project with - Duct Tape.

 As I have said before, I volunteer in the Cafe at the Ancaster Seniors Achievement Centre one morning a week. As well as pouring coffee I help make soup and sandwiches and so I often need to cut up veggies and sandwich ingredients. I tried for several weeks to sharpen the knives that are at the centre but a combination of poor quality and abuse meant that every week I had a dull knife with which to work.  I hate using poor tools and so I began taking my own knives.


  I have been taking the Chinese Cleaver for a few weeks now, it is razor sharp and great for chopping and slicing veggies.  The other two are going tomorrow since we don't even have a decent paring knife to use.  The Ulu Knife is good for cutting pizza and sandwiches as well as anything else that needs a sharp knife. It is also a single bevel blade thus super easy to sharpen.

  What I was needed was a safe easy way to carry these knives forth and back.  I wrapped the cleaver in a tea towel and held the towel on with rubber bands and that worked okay, but the knife slid around in the carrying bag and I worried that it would cut it way loose.  I saw some DIY ideas on the net featuring Duct Tape projects and decided that it might work for me. Naturally I have duct tape in my shop, doesn't everyone?


  I made Duct Tape Cloth and in between layers, where the blade would rest I lined that section with leather. The first sheath I made uses rubber bands to stay in place but by the second and third I got wiser.

rare earth magnet
between the layers of tape.
  On the paring knife I used one magnet and on the cleaver I used six small magnets which holds the sheath on perfectly well.

  This is not as traditional as leather but for this application the double layer, leather re-enforced sheaths are exactly what was needed. The duct tape cloth is also quick and easy to do. The necessary tools are few and simple, duct tape, measuring tape,straight edge, really sharp knife.


  Another bit of work was a clamping project. I had a chair to repair. One of the rungs pulled loose on my Mom's kitchen chair.


  Having the clamps and glue available  makes this sort of job easy. 

cheers, ianw