Showing posts with label small parts bin. Show all posts

Tuesday, May 12, 2020

May 12th 2020 - Clean up -Update

  I have been working for several hours each day in my workshop for the last couple of weeks.  I still have a day or two's work ahead of me but the progress is most satisfying, albeit, almost invisible.  Being able to stay at home for several days at a time had emboldened  me to begin a serious shop clean up, which became a total shop overhaul.  We moved into this home 11 1/2 years ago and my wood shop slowly and inextricably gathered tools and materials.  The gathering together of tools and materials was slow and the chaos was insidious.  

  The process began with me unloading and re-stacking my wood rack.
before
That photo doesn't show the piles of wood in other sections of the shop. It does give a feeling for the gathered chaos however.  Behind and beside were other piles of lumber, most, now are fire wood.  It is slightly depressing to discover how much of your treasured wood is truthfully just fire wood.

after
 I took the time to prop up the bottom shelves and support the upper two shelves with straps, the rack had looked to sag a bit over time.  Once I began, things just seemed to gather momentum.

Next came clamps. On October 21st 2011 I published this photo of my clamps.  It is now 2020 and I have at least twice as many  clamps.

before

 Yesterday they all came down and I remounted them.  Twice as many clamps fill the same space now they are in one place and accessible.


  As well as giving all those clamps a place to live I racked up all my spring clamps.


  Over the years clamps came home with me from wood shows and other events and only now do they have an organised place to live.

  The gradual collection of tools, finishes and other materials caused my space to become un-workable.

My hand saws were spread about collecting dust and not being useful.  I changed that by moving my saw till, and hanging other saws and tools on my movable shelving unit.
back side
                   

  The saws that are needed are at hand, the saws that are collected are out of the way.  I also have two IKEA bag/rag collectors on the back of the cabinet.


November 2015 is when I adapted these two STEN Ikea units. May 2020 is when I unpacked, repacked and reorganized the contents.

  Last week I moved the wall mounted cabinets and today I am throwing more wood and useless craft materials out.  My collection of Craft related stuff is the last hold out and the shop with by like something out of my dreams. (for a while)

  As this moving and re-arranging has been going on there have been several small projects going on.  I bound a book of A-Z paintings. If you are interested in book binding go to SEA LEMON on Facebook. Jennifer does a variety of crafts but has an entire section on DIY book binding.

  I finished a purple and gold walking stick for my Grand Daughter. I repaired a picture frame to my Grand Son's drawing of their cat. I added a lid and began to use a small parts organizer to sort screws and nail etc.
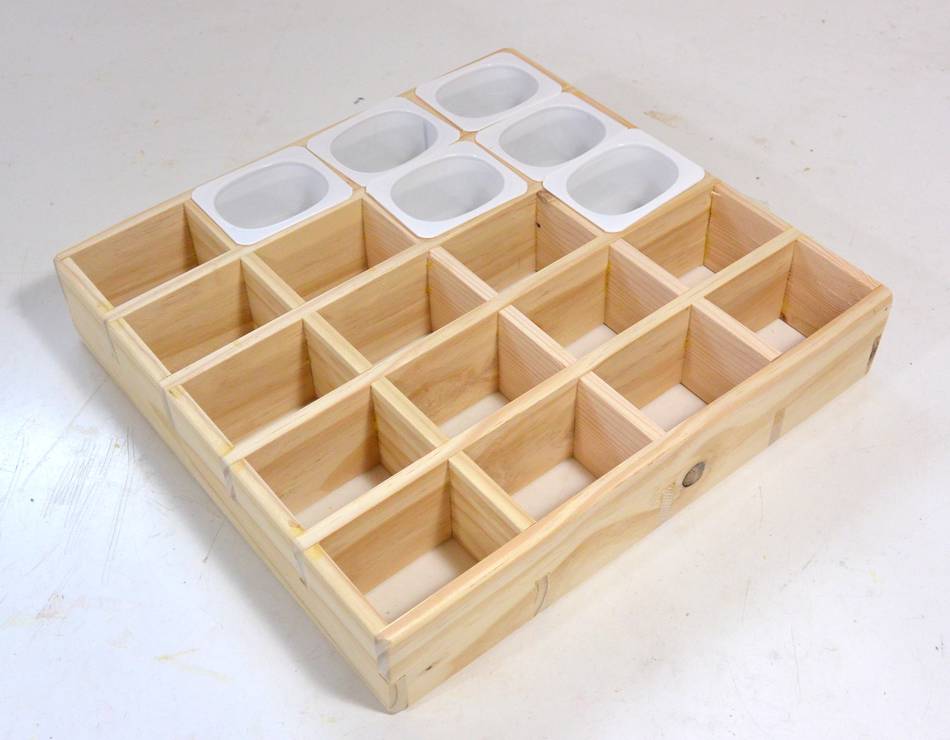


  I am making  a tool box and have taken down four unnecessary shelves to open up my work space by making the shop less cave like.

  It has been busy, enlightening (less is more) and some what satisfying.  I have a really nice piece of old oak that floated to the top, now is needs a quality project, and I have the space in which to do it.

cheers, ianw


. 

Thursday, April 6, 2017

What do you do, on a rainy afternoon?

  I have a pile of pre-cut 3/4 inch plywood sitting in the garage waiting to be turned into a rolling cabinet for the craft room at the Ancaster Seniors Achievement Centre. The wood will have to wait a bit, it is currently 5 degrees C, windy and raining.  I just don't feel like working in an unheated garage; with the door closed it is too dark, with the door open, too cold. And the cabinet has to be made in the garage because it will be too big to bring out of the basement. (I made that mistake once. I had to take the thing apart to get it through the door at the top of the stairs. It's not like building a sail boat in the basement, that is worth knocking down a wall)

  So....I have be puttering away in my basement shop where it is a good working temperature.  If you have grand children there seems to always be some small thing that needs to be done. One of the ways I filled my time yesterday was making handles for a skipping rope. 


  I started with two 1 inch square pieces of poplar.  I began the drilling process on my drill press and finished with a long bit in my hand brace.  The drill press creates a deep enough pilot hole that keeping the alignment while drilling by hand is easy. I don't use my brace and bit often, but it is a  easy/cheap way to drill long holes.  If you are young and don't know what I'm talking about here is a video, "How to Use a Brace and Bit".

 One handle is sitting on my latest jig. It wasn't worth setting up the lathe and I didn't have any dowel large enough handy so I used my block plane to round off the poplar pieces.  The challenge of holding onto smaller pieces of wood while planing  is eased with the small jig. Unlike a bench hook this jig keeps the wood piece from rolling sideways while it is being planed.  I made this jig because I have struggled in the past trying to clamp small pieces .  I will be able to use this jig while carving too.

  I broke out my hole saw set again for a Grand Daughter project.


  And remember, don't throw the cut outs away.  You never know when you will need some large wood wooden wheels for a kids project. I cut six holes and one was chipped and nasty, the rest can be used again.


  Using the same idea as my small parts bit, ( Jan 5th, 2017) but with sealing containers I am making a portable paint box for my Grand Daughter in Sweden. She can't read yet so the surprise won't be spoiled by showing the work in progress on the net. Unlike my shop use bins this project will be made with nice wood and decent hardware. 

  cheers, IanW

Related image
When she gets bigger I'll make
 her something like this.


Monday, January 23, 2017

Circular Saw Jig(s) - project #6

  Until recently I had every kind of saw that there is. With my table saw dead I am one saw down and I'm trying live with that situation.  I have seldom used my table saw for cross cutting, I have a sliding mitre saw for that and I have a ten and fourteen inch band saw that can do ripping for me.  Also I have a scroll saw,  jig saw,  two circular saws and a whole bunch of hand saws. 

  Long straight ripping was the principle task for which I used my table saw and  now I am going to see what happens when I turn the ripping over to my circular saw and saw jig/guide.


  I searched the internet for ideas, there were many.  I opted to follow the directions from "this old house"  , it seemed to be straight forward and I liked the idea of having two cutting sides.


   Here is the finished project.  I waxed the top of the track/guide, and painted it Jig Red.  In the past I had made a cross cut jig for my other circular saw. 

 Am I ready to embark on life without a table saw?   

   While the glue was drying on the circular saw guide I took the time to clean up my work bench, and used my small parts bit to sort out the various bits and pieces.  Mostly stray screws, wheels(?) and corks. Mostly left over crafts supplies, not drinking supplies.


  Getting the bench clear is a nice bonus.  I was also able to sharpen  a knife and re-frame two pictures while the red paint was drying. Getting organised is a good thing.

  There maybe a bit of an interruption to my blogs. Eva and I are headed off for some vacation time in the Azores   I'll share some photos over the next week or two.  

Cheers, IanW


Sunday, January 8, 2017

The Biggest Change in my Shop Practice

 When I got serious about making things in my wood working shop a dozen years or so ago one of my major problems was impatience.  I could not settle down and accept that it took time for glue, shellac and varnish to dry.  I was always in a hurry.  And as the old saying goes, "haste makes waste" and makes you redo things to get them right.  Commonly I would go into my shop after breakfast and hammer n' saw until lunch then rush back for the afternoon.  I made some big things and had a spell where I was almost a commercial bread board maker.  

  Now things have changed.  For example today.  After spending some time this afternoon helping to take the Christmas tree down and vacuuming up about a million pine needles I headed down to the shop to finish off my small parts box and work on a couple more small scale projects.  By the time I had cleared away the tools, and bit and pieces from my previous efforts my back was getting sore.  


The box has absolutely the wrong hinges and a strap closure.  I will not be polishing the version up.

  I have decided on a better and smaller design using slightly different containers inside.  I am thinking that it this could be refined and used as a paint box for someone crafty.

  I did get most things put away and the wood and materials for tomorrow's effort laid out, I am hoping for a quiet evening, a good sleep and will return to the shop tomorrow.  

  As I was prowling the net I found a nice little project for folks doing hand sawing and the tools to do the job.  

  Time for a medical drink and some Miss Fisher Mysteries. 

cheers, ianw

Thursday, January 5, 2017

Project One - 2017

  Step One: lay out.  I marked out the top board into ten equal squares in which I found the centre point.


Step Two: drill out the openings with my hole saw and drill press.  I have a hole saw set that I use a couple of times a year but would be lost without.  I also keep the cut outs to make wheels or toys later.


  The design is for ten yogurt cups to sit in the holes but not fall through.  Over the holiday we had this new yogurt in round cups, so the openings were easier to do. 


Step Three: make a frame around the top.  I used left over plywood for this with the plan of edge filling and painting the project once complete.


Step Four: cut out a thin piece of door skin for the top and glue a couple of pieces of solid wood to the top so I can use screws to hold hinges on.


   I have attached the hinges.  Also I have glued a strap onto the the box to be used to hold the hid down.  As I looked at the project I decided to replace my current hinges since they are ugly.  I save hardware when I take something apart and the hinges that I had laying around were not really the right ones for the job.  The strap is held on with contact cement.  I have found that good old contact cement glues mixed materials very well, in this case wood and rubber. (photo to be included next time)

  Once the glue dries and the strap is secure I will go back and take my ugly hinges off and replace them with something better. (I don't know what yet, 'cause I am cheap and don't want to buy anything).

This ten bin parts holder will be used in my shop as a small parts catch-all.  I will  collect loose screws, nails, nuts, bolts and hardware into these bins while working and then it will be quick and easy to return unused and stray things to their proper place in the shop.

  I will carry on with this project while shellac dries in the back ground as the layers pile up on the re-finished table.

  cheers, ianw

Wednesday, May 28, 2014

Small Parts Bins


  A couple of weeks ago I made this parts bin using yogurt containers after a design for woodgears.ca.  I was inspired by the use of these empty containers to use another common plastic container in a similar way.


  My world is filled with 1,000's of these coffee creamer containers and so I decided that I would do something with some of them.  I often keep a few around for mixing glue and paint, it is good if the plastic containers can get more than one use.


I decided to use the inspiration to make another sort of parts bin.  The wood is 2 x 4 stock planed a bit to clean it up and the wholes are drilled with a 1 1/4 in hole saw.  I didn't have a forstner bit the right size.  The cups just drop into the holes and are kept there by gravity.

  Once I got the container done I did what so many of us do, I got carried away.  Obviously there needed to be a lid to keep the bits and pieces in so:


 I made a nice lid to fit over the box, the top is a piece of plywood/door skin that I had laying around. I used chestnut stain and varnish to finish the box. 

Now...what is small enough and important to live in this small part bin?