Showing posts with label pipe clamps. Show all posts

Saturday, October 12, 2019

Another Work Bench Blog

  Since hurting my back a few years ago I have been on a seemly endless quest for a comfortable work shop environment.  I have  raised my work bench/table on blocks, and then taken it down.  I have made a small version of a bench top bench that clamped into my bench vise and still I continued on my quest.


  This version was solid but the work surface was only 8 1/2 by 29.  It was just not quite large enough for most needs.  The height was good and I did like the  available dog holes, but it had no vise or real clamping ability.

  In 2013 I tried a version I called "the box":


  I don't remember what was lacking in this design but clearly it didn't last for very long.  I suspect that it was not large enough either. So, the current effort at the perfect work station for me is: The Pew Bench, so named because it is made from 3/4 laminated oak from a church pew.  


  It has a work top that is 40 x 19 x 3/4 inches that adds  5 1/2 inches of height to my solid work table. The working height for my new work station is 39 inches, which is high but I am 6 feet 1 and have real trouble working bent over.  This bench top bench is pretty solid but can be lifted off if  the other  work station is needed.  Also I have a second smaller work bench in the corner at which I can work while sitting on a stool, its a good spot for carving/wood burning etc. 

  The underside of the Pew Bench: 


  The ultimate type of legs remains to be decided but the trestles that were used with the small bench are solid and the right height so, for the time being I screwed them to the  the pew bench.  I put sand paper on the bottom on the feet too. I may need to make a couple of trestle supports that will match this bench height for projects that are just little too long

   The board with the holes enables me to use the pipe clamps as a vise, an idea that I saw somewhere else, I didn't invent it.


  I can hold material for edge planing while moving the clamps from as close as 4 inches to as wide as 14 inches.  


  On the one end of the bench top is room for my Home Made Moxon style vise for end grain work. 
   The other end features my bench vise.  If I were building from scratch I would buy this vise
6-1/2-inch Woodworkers Vise 010791120


  However I already had a heavy duty vise on the work station and though it is overkill, I moved it to the pew.


   So far the Pew bench is heavy enough and stable enough that it doesn't need to be clamped down except when I do heavy work on the vise end.    To give the acme screw and runners room I had to move the leg closer toward the middle than is optimal.  I may replace that side leg or drill some holes in it so that I can move it closer to the edge.

  The next stage is to do a few jobs on the bench and see how it feels.  It is not designed for heavy hammering and big jobs,  so I am hopeful that I will have a work station what will  enable me to work longer in my shop.  Who knows this maybe the holy grail of work benches.

cheers, ianw

P.S - Happy Thanksgiving, we've got lots to be thankful for.


Image result for thanksgiving canada

and our friends around the world.

Image result for thanksgiving canada


Wednesday, May 9, 2018

It's been a while

  It has been a while since I blogged last, that doesn't mean I've not been busy. I am one coat of varnish away from having the table finished. My plan is to have it up stairs and out of my way tomorrow.

  On the weekend my Grandson and I found a video on You tube and made a wooden whistle. Now that we have a method, next time,  production: we'll make whistles for all his friends. His school teacher will love us.

  Having the table is the way has limited my ambitions so what have I done.  I sanded to 600 grit and then carved a trivet.

   It is a small space, no noise basic tool thing to do while hanging out in the workshop.  Everyone needs trivets and hot pads. This trivet is exactly the right size for a French Press coffee pot. 
Image result for french press

Or a really big coffee mug.

  Another thing I did while sitting around one evening is finish sanding and shaping an olive/pickle tray from oak.  I laid this out years ago while I was developing my skills with my Dremel tool. While I was sitting around waiting for the varnish to dry i decided to finish shaping and sanding.

  I cut the basic shape on the band saw and then gouged out the inside with the Dremel.  One evening last week I sat quietly listening to music and hand sanded the tray smooth.  Since the tray is curved I split a cork in half and glued it on for feet. The tray has a nice shape and is stable in use.

  For portions of the last two days I have been working on two low skill, high back stress projects,  wood chips. And the sump pump water evacuation system has taken the other portion of my digging energy. (it should be finished tomorrow). Chips, not finished tomorrow.


  This is the remaining half of yesterday's dump of wood chips. Dump because the chips arrived a dump truck full. Eva and I moved some yesterday and I moved some more today.  I have learned my limit when doing this sort of task, but it still kicks the you-know-what out of my back.

  Tool for the job:


  Last time we did this I went and bought the specialized tool for the job.  That manure fork is the perfect tool for loading and moving wood chips around.  It is another of those specialty tools that get used seldom, but....make life way easier.  We tried moving wood chips with snow shovels before, Okay, but the fork is better.

  Today's quick project is a glue up.


  Sherlock Holmes couldn't guess what this is. By the way, the pipe clamps have been in my tool kit for thirty years.  I love good basic tools that last.


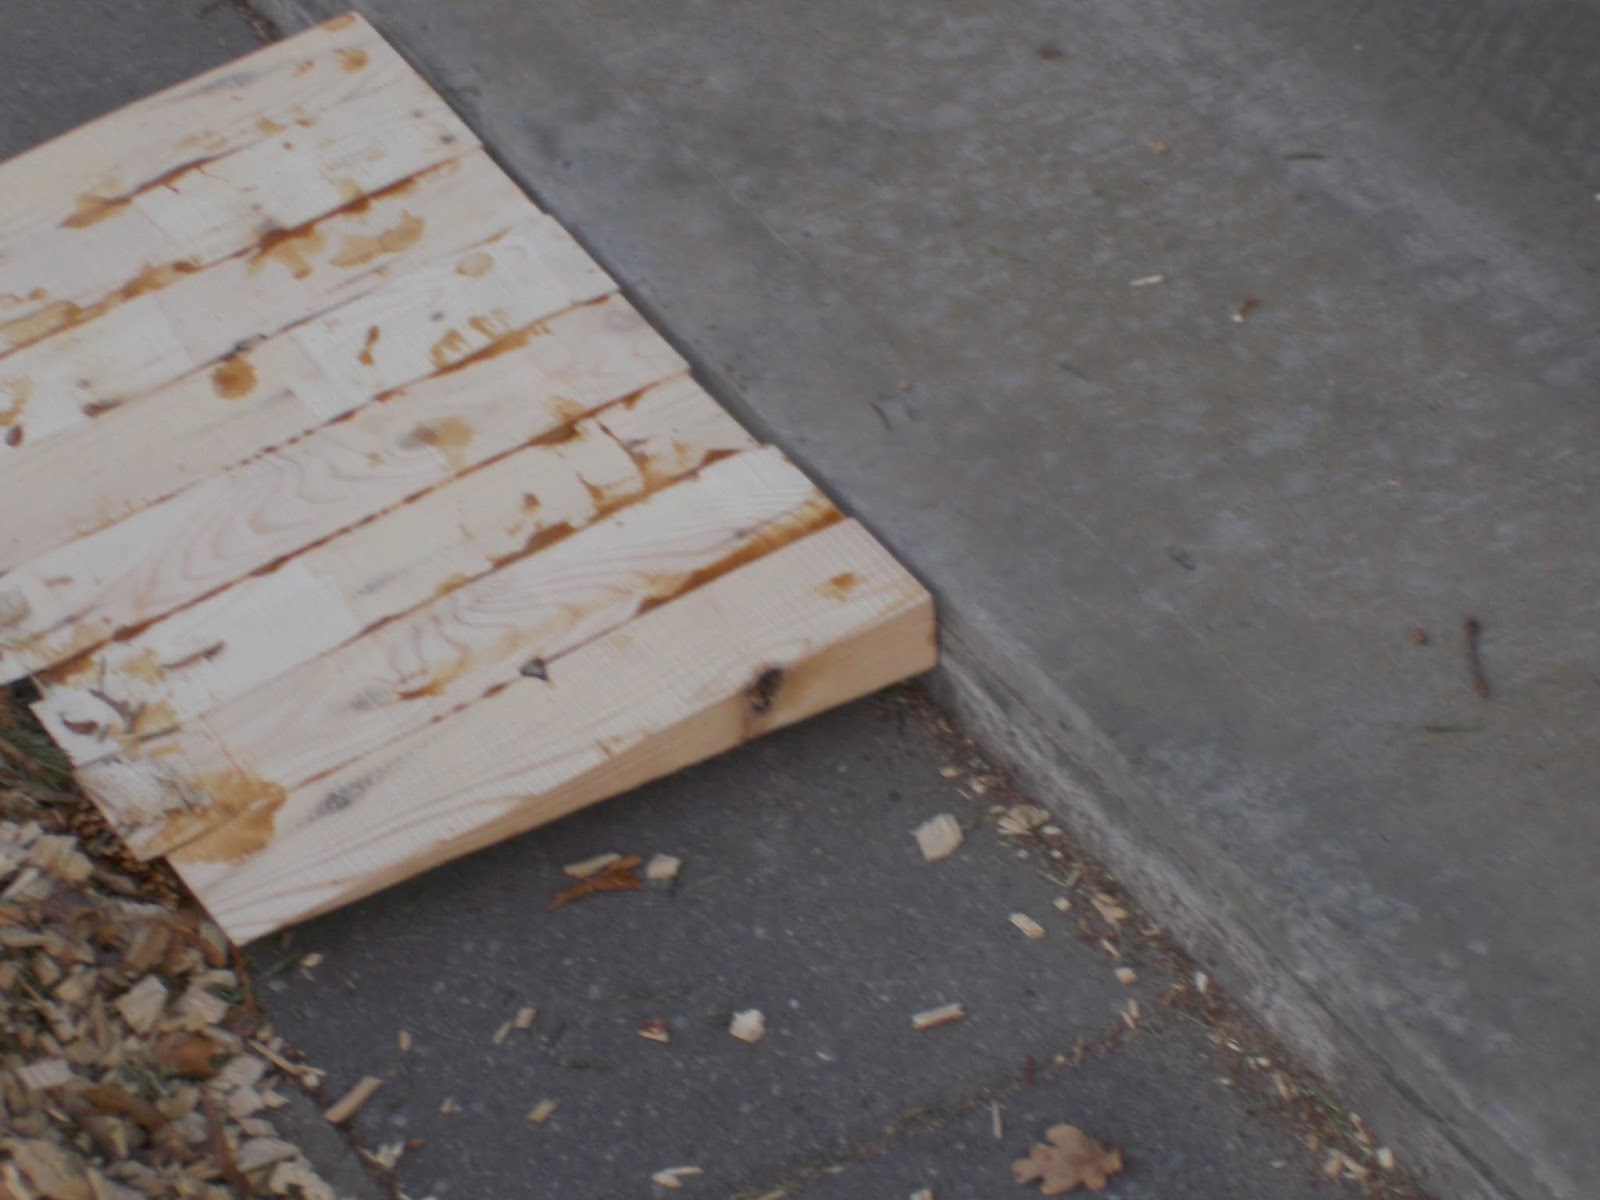
  Our drive way is interlocking stones, and the folks that did the work did a good job and the drive way still looks good.  However it has sunk a bit along the front of the garage. If you look in the 'chip' picture you can see a maxi-scooter. I've put the ramp in place to make it easier for me to push the scooter backwards into the garage. Just a little thing, but little things can make a big difference. 


. 

Thursday, June 23, 2016

Lumber Prepared

  Recently a brought home five of my late father's wrist watches.  None of the watches are collector's items to anyone but me but they over filled the available storage, so it is time to make myself a  decent jewellery box. 

   I decided I wanted to make a box from elm and to my surprise my huge pile of elm has shrunk to just a few boards.  A couple of years ago I bought a pick up truck full of ends from a hardwood flooring manufacturer.  It looked like I would have oak and elm for the rest of my life. Not the case, it is time to look around for another super deal on hard wood 'shorts' .


  I re-sawed the boards to 5/8 and the thin slices left  I planed down to use as drawer fronts for the box.  This job was important enough that I even replaced my band saw blade.  Actually I had kinked the previous blade cutting up the cherry branches. 

  The plan is a box 12x14x9, more of less.  These pieces of wood need to be planed flat and sanded before being cut to size. The box will have three drawers made from 1/4 plywood. I think that should accommodate all the stuff I own and then some.

  But not today.  Today is day one of a motorcycle trip, I'll be home Sunday. 

  I will ride carefully,  I never drink and ride and neither should you.

cheers ianw

Image result for honda silverwing

                      Roll on Summer!

Saturday, September 12, 2015

Two Work Bench Posts

  In case you are wondering about the latest round of workbench posts there are three reasons.  First reason, I have stumbled across several good Youtube videos related to workbenches lately and I want to share them. Second, like a teenage boy admiring the latest hot car I am always looking at and imagining myself owning the prefect ride,(bench). Third, I threw my back out seriously last weekend and am spending nearly all my day laying down.  In fact I am laying on my stomach on the living room floor typing this blog entry on my wife's new Chrome Book.

 Both videos are a bit long and the presentations are not super slick but both presentations are very informative.

  The Nicholson style work bench was new to me but I am quite taken with it. Mike Siemsen shows how good a bench can be without the expense of vise hardware. If a person was looking to make a bench and develop a working style from the beginning this bench and system is efficient and cost effective.

Working Holding without a vise
   Jay Bates' video shows his  adding a vise to his version of a modified Ron Paulk design workbench.


Add a Pipe Clamp Vise

  Pipe clamps are a low cost and versatile tool and in this application they have more than adequate clamping force.   

 cheers ianw