Showing posts with label weldbond glue. Show all posts

Saturday, August 4, 2018

Unusual Project-done and delivered

 Last Friday I had a customer deliver materials for a bedside table that he wanted built.  The  table was for a basement bedroom and was customised for space and to cover an obstacle on the floor. 

  Several years ago I stopped doing 'finished' projects for folks because as often as not the customer decided they didn't like the colour/stain/finish that they had picked out once I had applied it.  Since I am retired and use my shop for my own amusement I can be picky like that now.  

  On this project the customer also bought the  materials I was to use. (no sweat) Since he bought pre-finished sheet stock he knew what he was going to get before the project began.  Pre-finished material does require special handling so that it is not scratched during construction.  I put a large sheet of clean card board down on my bench while I worked.

  I was provided with an excellent drawing out lining the size and design of the table.


  As you can see the table is really a three sided item that fits into a corner.   The thing that made this an interesting and initially challenging project was the material.

  I was provided with two table tops from IKEA.   I pointed out to him when he dropped the tops off that they were hollow which would make for some construction challenges if there wasn't enough wood framing around the edges for me to drive screws into.  
  
  We not only were the table tops hollow, they were not wood, and...there was no framing around the edges to provide me with any place to drive a screw.


  These table tops were cardboard.  The finish is not even veneer, it is printed, miracle product.  Once I got my head around the situation and decided just how I was going to cut the pieces it became a 'glue and clamp' project.  I laid out the three pieces I needed on the two panels.  Since I had no clue with what I was working I marked out and made a test cut.  My fear initially was there would be splintering of the thin veneer, no fear...not veneer. That was also when I discovered that I was dealing with 'corrugated cardboard' with no real structure to it at all.   


  I marked out the three pieces and scored my cut lines deeply with a marking knife. Cutting the materials apart was straight forward with my Japanese Style Plywood Saw,  I wanted a thin kerf  but didn't want to risk my better saws on the plastic miracle product layer.  

  Having cut the pieces out it took three sessions to glue and clamp the pieces together.  Since the entire project was held together with glue I allowed plenty of setting time, usually over night.  Often with Weldbond I only allow a couple of hours drying time and carry on with my project because the bond is okay. This time I left extra  time to be the glue had time to cure.  Before gluing the pieces together I glued 1x2 into the cut edges for support and  because I needed something to screw the French cleat to, so I could attach the open edges to the wall.

  After the three sides were glued together I went back and glued in extra pieces for support.  Adding the pieces into the corners gave me more bearing surface for the glue.  The French cleat was screwed into the 1x2 I added to the cut edge. Incidentally the French Cleat was the customers idea.

  So....how did it turn out?


  My customer is pleased and I think it worked out fine.  It wasn't really a traditional wood working project but where else would someone find the saw or the various clamps to do the assembly?

  Hey, it was fun.  And it is a building material that should be remembered when building some kinds of furniture in the future. The panel is very light for its size and with proper treatment of the edge, sturdy.

cheers, ianw


Tuesday, August 2, 2016

Taking Shape Finally

  July was a holiday and family filled month.  I am hopeful that August will be a workshop filled month.

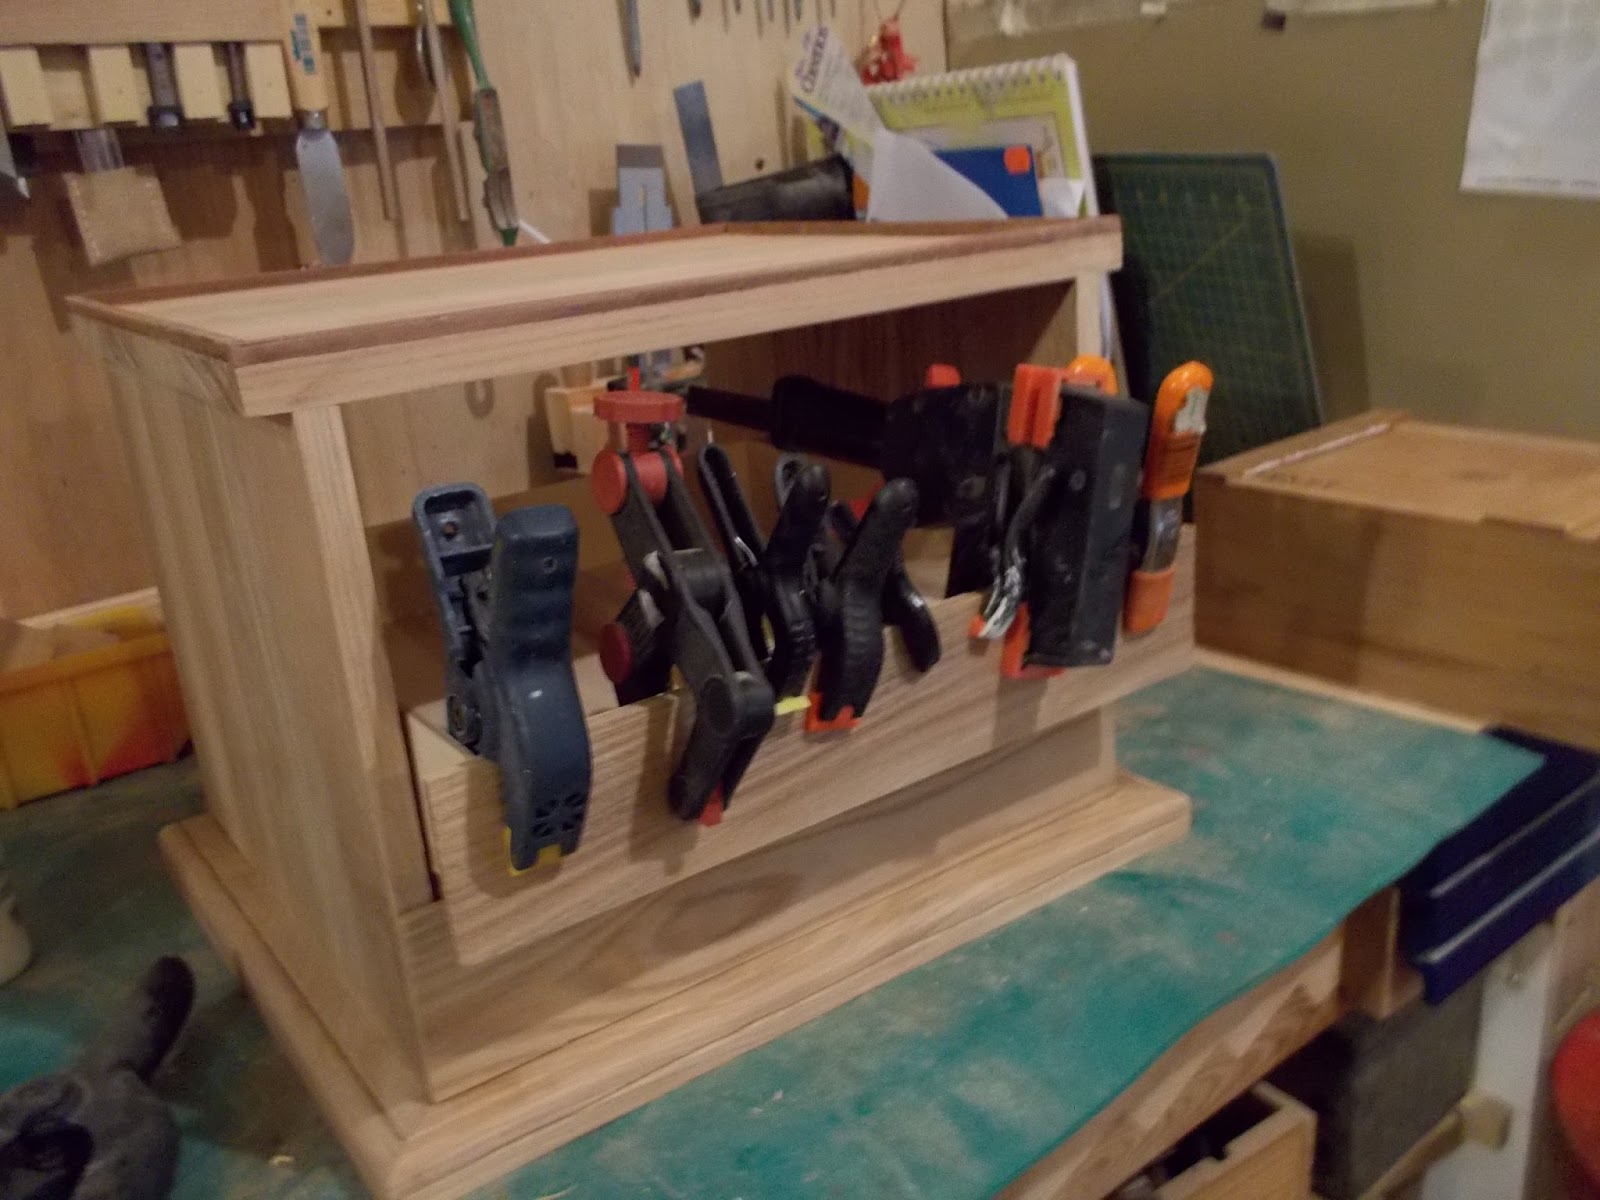
  I resolved to build this project using glue only.  You can see from the photo below that gluing the top and sides to the bottom involved clamps and ballast, and waiting.
clamps and ballast 

trim for the top
  I decided to put raised trim around the top so that things like pens and coins won't roll off. The trim is from a piece of exotic wood flooring I got at a yard sale.  The wood is very hard, starts out reddish orange and turns to a dark brown over time.

re-enforced bottom drawer
   The drawers are made from 1/8 ply and so I decided to add reinforcement rails in the bottom/largest drawer.  I used a couple of pieces of aromatic cedar, it smells nice, keeps moths at bay and looks good, a triple win.

facing the second shelf
   You can see all the clamps that I used to hold the face of the second drawer on while the glue set.  Working on this type of project reminds me that rushing doesn't do any good. Everything has to be fitted carefully, glued and left to dry.

  It is interesting to note that while this has been going on I have made a plane with my Granddaughter, re-glued my wife's sandals and spent several hours trying to clean and organize my shop.  'Organize the shop' seems to be an ongoing and fairly unsuccessful enterprise.

  We are in for another hot week, that means watering gardens and struggling to keep cool. Ah well, I will remember this fondly in January.

cheers, ianw


*** there has already been lots of hand sanding, and there will be much more.


Monday, February 16, 2015

What to do on a VERY COLD day - 26 C this morning.

  Recently my 3 1/2 year old Granddaughter informed me that she liked boats too. She is just beginning to show an interest in "stuff" beyond her stuffed toys and modelling clay. She also said that she would like a pink fish as well as this purple boat, and Opa set to work, as all Opas would.


  The lighting in my shop makes the boat look blue, trust me it is purple. Making these small toys makes me admire folks that make miniatures for their trains sets or tiny lead soldiers for historic battle re-enactments. The many port holes are painted by dipping the end of an awl in paint and dabbing it the tiny holes I bored with my hand drill.  

  Jeff Foxworthy, is famous for his "you may be a Red Neck,if you....." jokes.  One of these days I should write down "you may be a Wood worker, if you.....".

  About five years ago I worked at a Wood show in Eastern Ontario and met a fellow that was struggling to revive woodworking in his secondary school.  One of the projects that the kids were doing was making shop stools from reclaimed material and selling them to raise money for their programme.  Needless to say I bought a stool.

 Shortly after I started using the stool in my shop I had to re-enforce the legs.  The design was good but maybe not solid enough to survive in a big guys shop.  At that point I really didn't need to fix the stool, I could have retired it to the fire, but, you know you are a wood worker when you rebuild or repair something 'cause it is made of wood.


I sat on the stool this morning and it ended up looking like this, a section of the top just broke off. Oops, do you suppose the furniture is hinting at something? 


When you've got a work shop and every tool there is, you fix things.


  I used my KREG drill bit to drill three holes into the section and drove three KREG 2 1/2 inch self taping pocket-hole screws into the stool's seat after giving it a liberal coating of Weldbond glue.

  Since the standard KREG drill bit is 3/8 it is easy to plug the hole if you want to.  I use this drill bit/screw combination frequently  because the screws are strong, the drill bits are high quality and the pilot tip on the bit helps with alignment when screwing.

 cheers, ianw