Showing posts with label pencil box. Show all posts

Monday, July 15, 2019

What has been built lately.


  Last week my ten year old Grandson stayed with us while going to Science Camp during the day time.  He is an avid builder, with Lego.


  This is a kit for a heavy lift helicopter, various support vehicles and a mountain that contains lava bombs.  The kit included more that 1100 parts and he followed pages of instructions while working for several hours to make these things.  It isn't wood working, but...it is making.  Our Grandson was here for six days and didn't once play a video game and only checked out You tube videos relating to his Lego building.  

wood burned lid with slight acrylic ink tinting.

  We had a busy week, one that ended with my wife catering a wedding for her niece and us ending up with the whole family ( six adults and four children 10,8,6,4) here for over night and brunch.  All I had time for was finishing my pencil box.  I flocked the inside and cut a small finger slot to give access to the lid.  Flocking is an easy and inexpensive way to finish the inside of box projects. Here is a 2 1/2 minute video that basically tells you all you need to know about flocking.   After the flock dried, and it does need 24 hours I sprayed the box with a couple of coats of varnish and it is done.  What I will do with it I don't know.
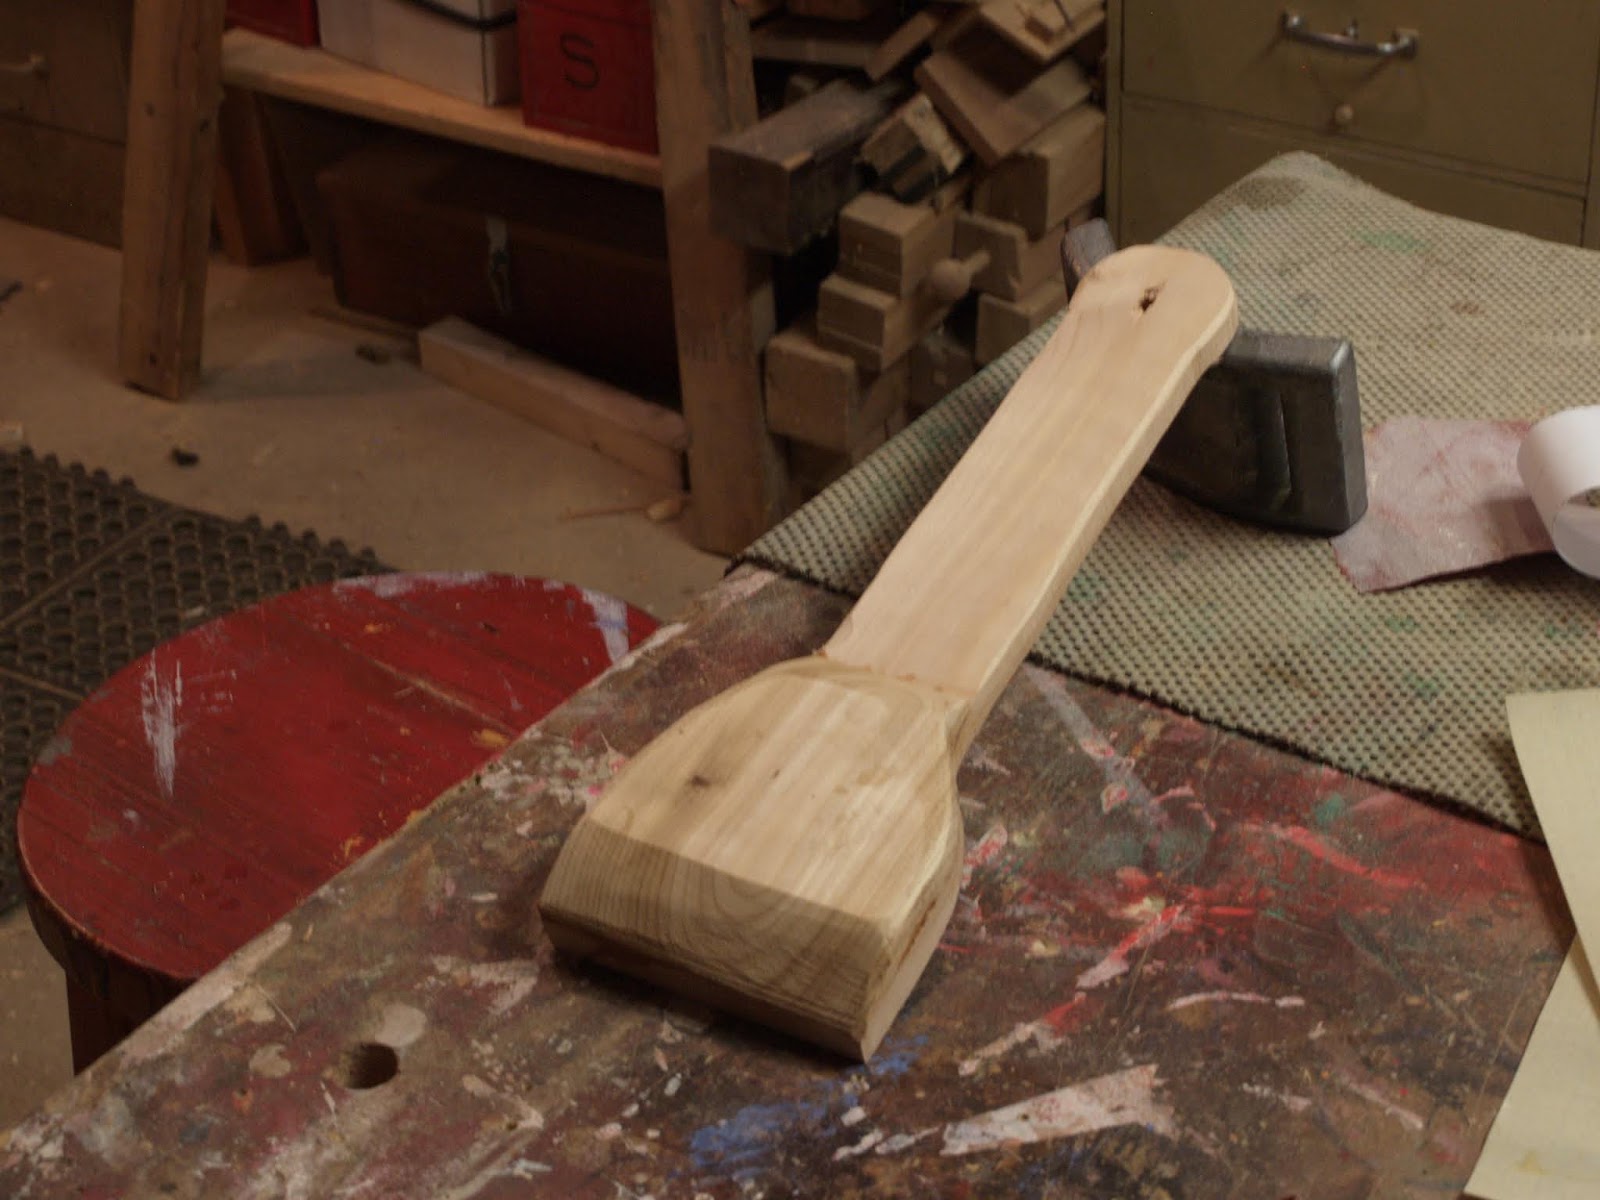


  The other quick knock off was a bbq grill scraper from left over cedar.  My brother needed a new scraper.  


A picture from our front yard, that explains why 
the outside is popular in this season.


Saturday, February 8, 2014

Sliding Lid Box

  Usually I make a prototype of an project that I plan to refine for sale later.  I this case I borrowed an idea from Woodworkingformeremortals.com , thanks Steve.  I think he got the idea from somewhere too.  There is not much new in woodworking projects, boxes have been around for a long time.  

   In this case I figured to make a pencil box. If it turned out perfect I could put it in the shop to sell, if not, I have lots of pencils that could use a new home.

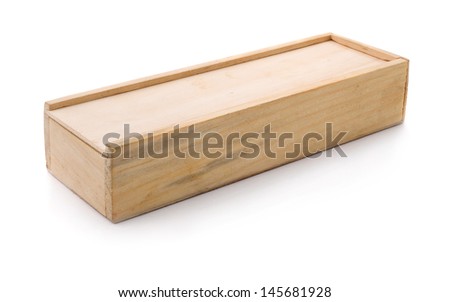
Wooden box isolated on white background. - stock photo


  I was working to the same idea as in the photo but was looking to make something a little more individual. When I was a kid I had a pencil box similar to the one in the photo.
  
love my clamps, Bessey clamps too.


  As you expect I didn't do it exactly the same way as the video, does anyone follow the instruction 100%?

  My old scroll saw ( a new General would be nice) is worn out so I decided to drill out the majority for the box and then clean out the left over material with a chisel.  Sawing the waste material out would certainly be much quicker and more efficient. Next box I will try cutting the inside out with my jig saw.  I made the inner part of the box from soft wood so I glued hardwood sides onto the box. You see it clamped up and drying.

Add caption

The 14 degree dovetail bit made the angle for the sliding lid, using one bit for both cuts means that the fit is exact.  I did find that I had to use a plane to thin the top down just a bit to get it to slide nicely. I felt more confident in taking a whisker of wood off with a plane than resetting the router table and trying again.

  The final result is pretty good.  I would not try and round the ends again, too difficult to get perfect symmetry.  You can also see a couple of glue spots on the side where I didn't clean it up well enough before staining.  That was just because I knew this item wasn't leaving the basement shop any time soon.

   As a prototype I am fairly pleased, it clearly has issues but they are cosmetic so easily fixed next time. .  The advantage of making a test run is that ideas can be tried out and abandoned or modified for future production.  I like using the soft wood for the inside, it is easy to work and easy to sand smooth.  If need be I could prepare a few blanks and cut them out on the scroll saws at the Seniors Centre.  I like the finish and the oak makes a sturdy though thin lid.

   I'll keep you posted when I make another box.