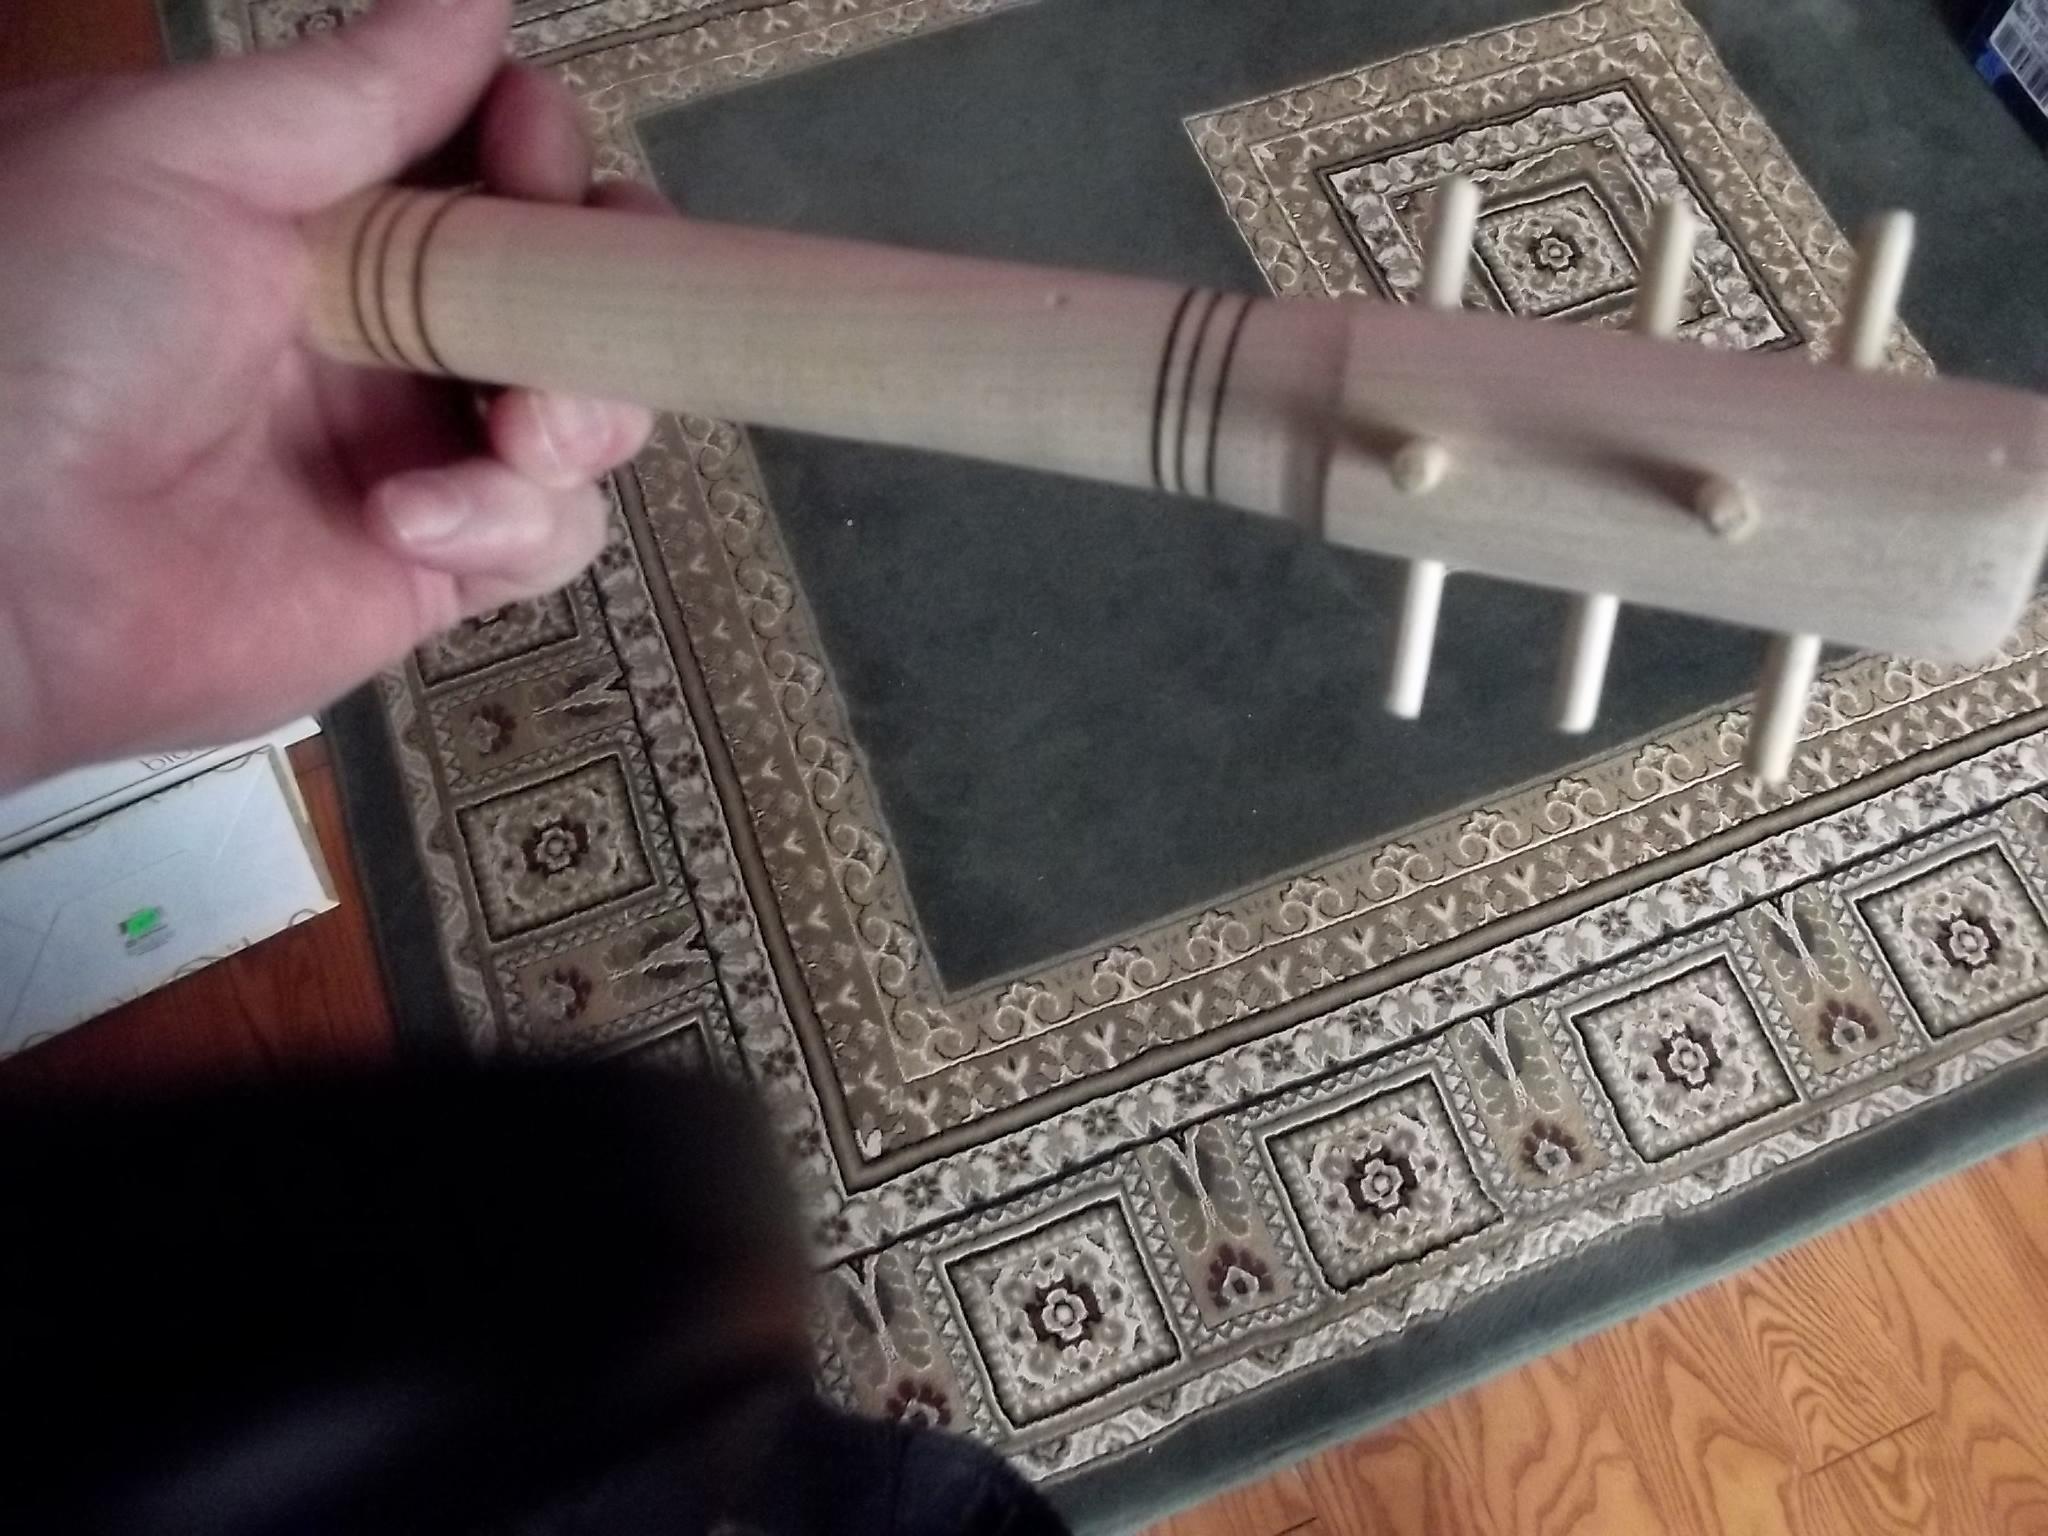
Showing posts sorted by relevance for query nut cracker. Sort by date Show all posts

Wednesday, December 12, 2018

Nut Crackers---sweet


  I saw a plan for a nut cracker on Instructables last week and decided that I would make one, or two, or three....


  Once I got going, I decided to adapt the idea to make a more rustic style nut cracker.

  To make a wood screw nut cracker you do need one piece of specialized equipment, and some drill bits and a drill press. You need either a thread box or...some other method of cutting threading on a dowel and tapping a hole.  I have a thread box and matching tap.

 I began these nut crackers by threading a length of one inch hardwood dowel after reading variety of blogs taking about cutting good crisp threads with a thread box.
Image result for threading box
  I took the dowel and soaked it in vegetable oil for a week as suggested by a blog. The threads cut very crisp but...the dowel did swell a bit and fit very tightly in the thread box.  Next time I will soak the dowel for 3 or 4 days in hopes that the outside is soaked but not too swollen. 

  Cutting the thread was the most difficult part of these projects.  It is very difficult to get a good grip on round oily wood.  I had to clamp one end of the dowel with vice grip pliers, which tore it badly.  I threaded about twice as much dowel as I needed so I could pick and choose this time and so that I'd have some in hand for a later project.  

 With threaded dowel in hand I picked a piece of six inch black locust for my nut cracker. I cut one end square and left the top on a bit of an angle, just for the 'look'.


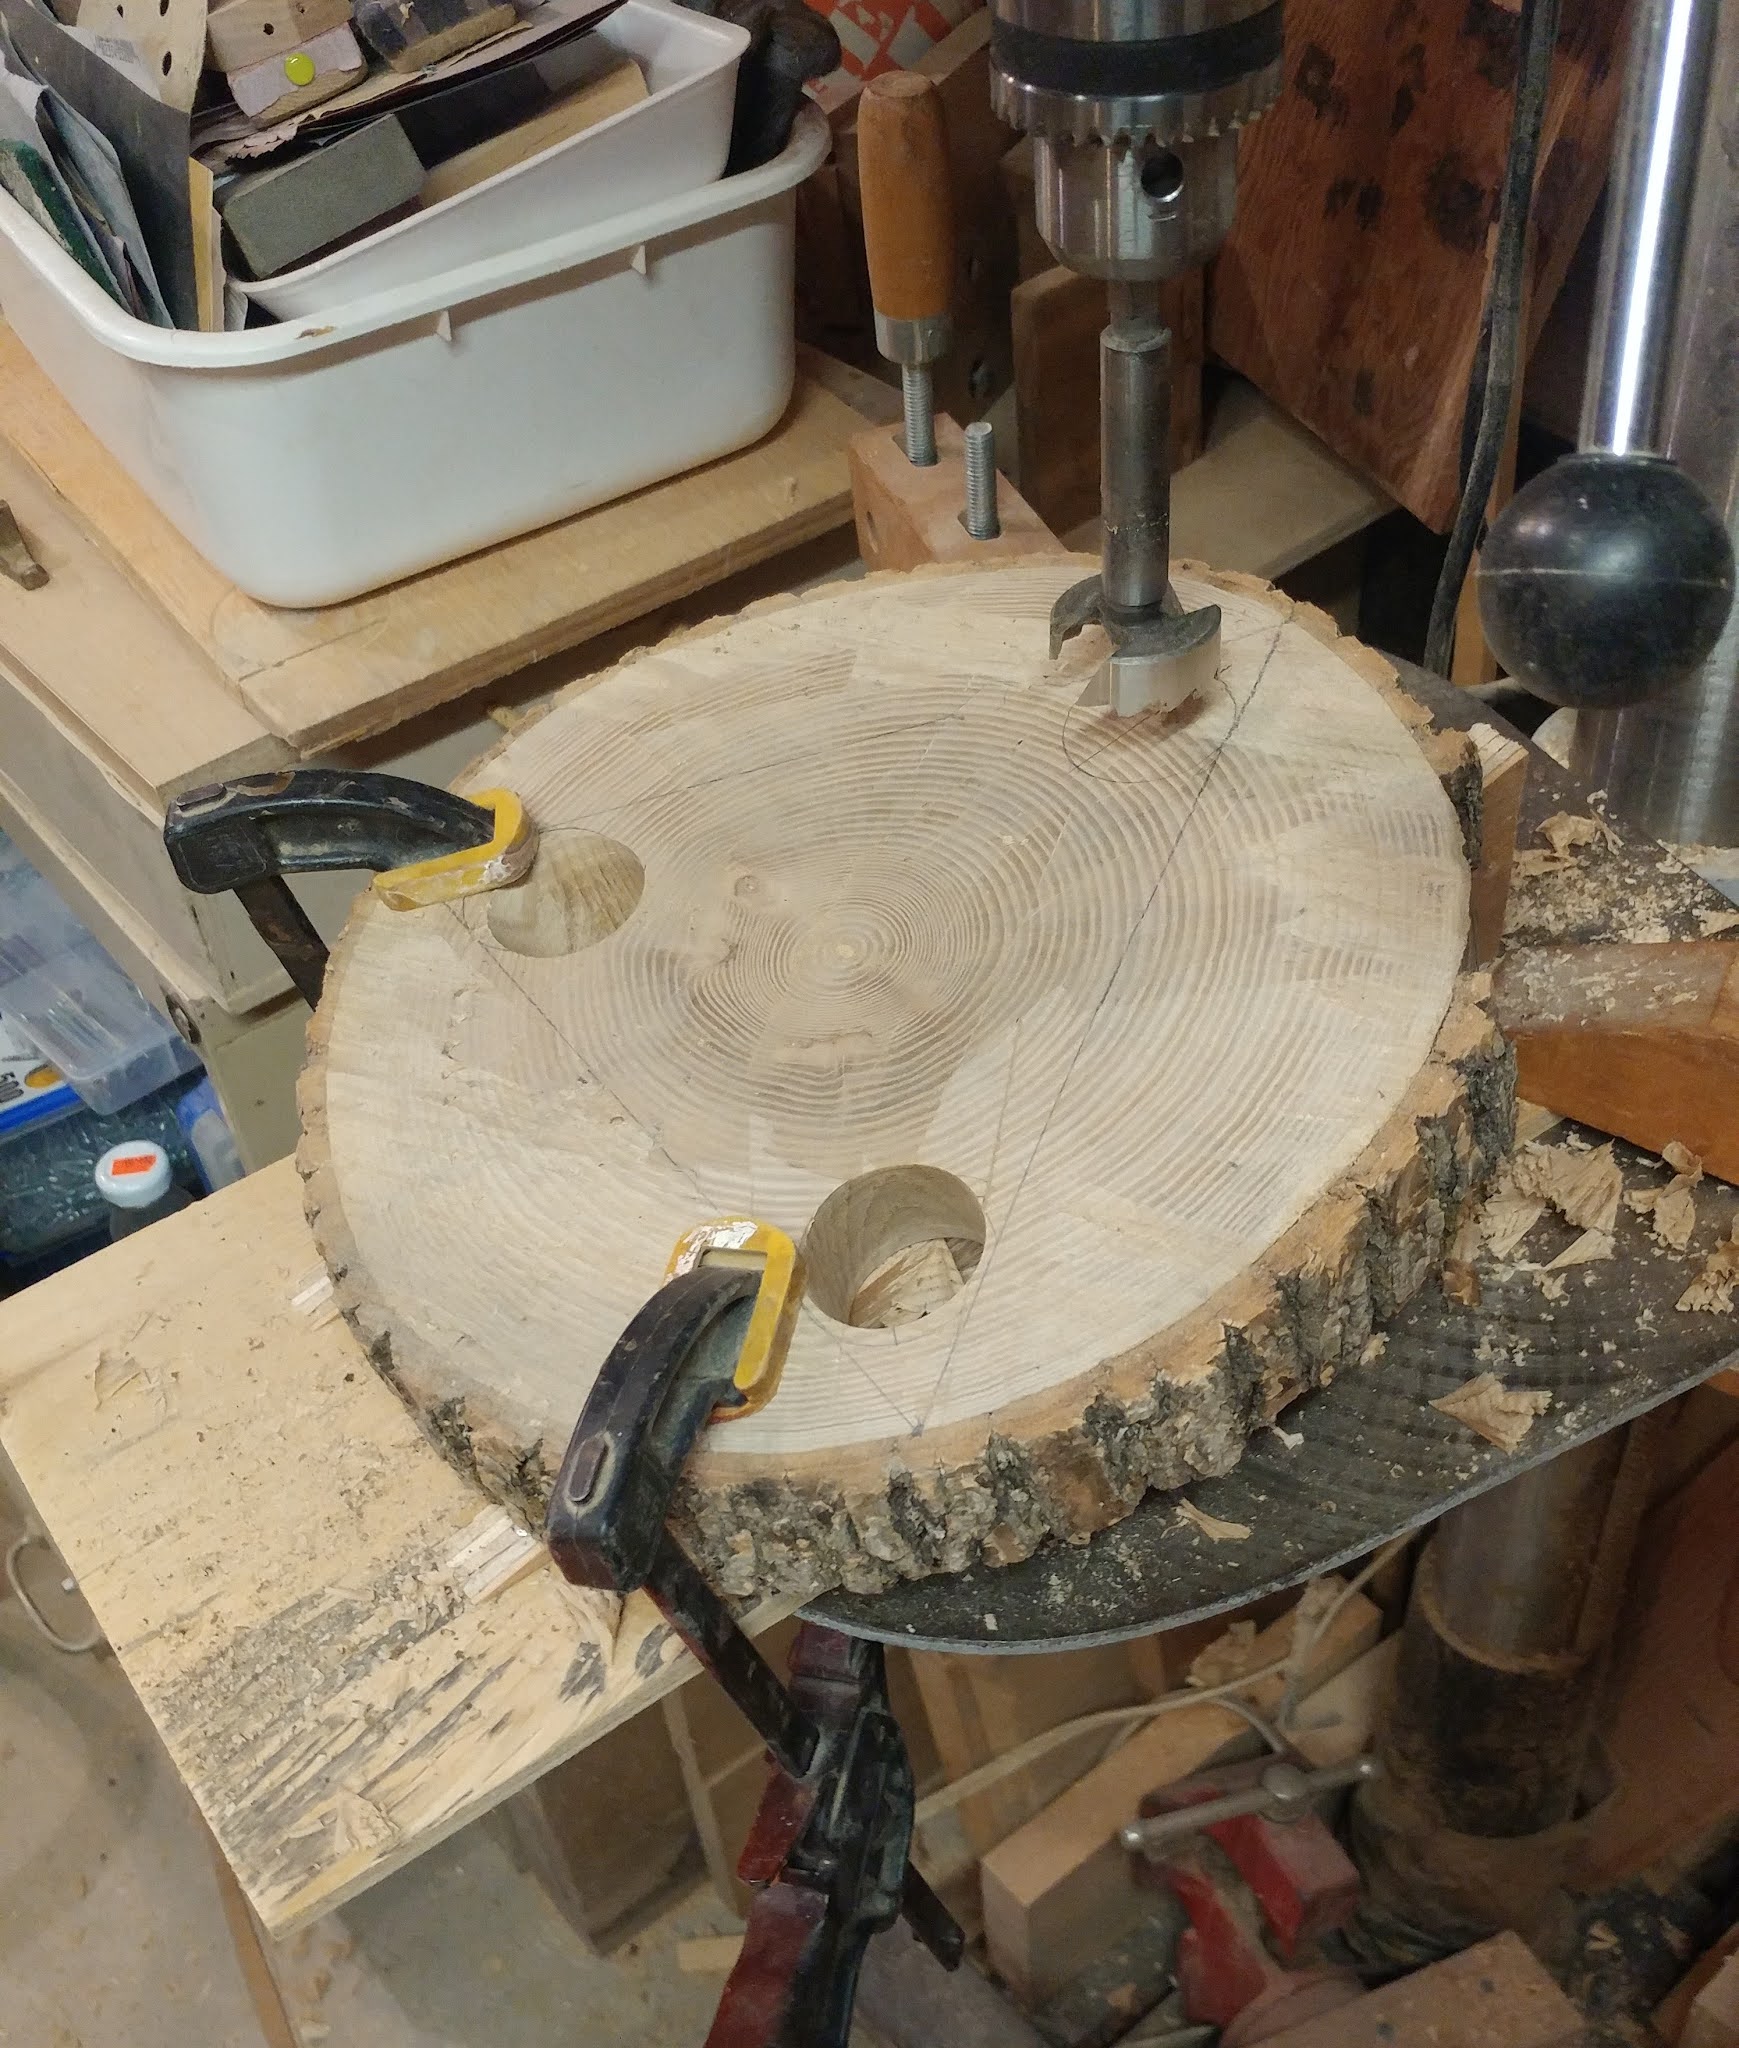
  Next I used a Forestner bit to drill a hole down the end grain.


  Drill slowly and clamp the wood firmly when drilling.


 You can see the branch clamped to drill the side hole, that will be threaded.  I use a wooden hand screw since it will hold irregular shapes better.


  I used the matching tap to thread the hole.  Again the branch needs to be held firmly, and the tap started straight and carefully.


    I glued a piece of barn board onto one end of the threaded dowel and await the final setting of the glue.  Once the glue sets I'll shape the knob a bit. On this nut cracker I drilled an opening on the opposite side for the dowel to fit into.  This way when not in use the dowel is totally buried and takes up less space on the table as well is protected from being broken if dropped. 

  I learned something important while experimenting, I could not cut threads into end grain, I had to cut thread across the grain.  End gain just tore and was useless.  I found that problem in maple, maybe other woods would work better, I'm not going to bother trying. 

 I thought I would add a photo of my bench in process.


When I am working on something 'new' my work space becomes chaos.  I am forging ahead full steam and don't put things away as I work. Also when I am working on something new I usually end up with about twice as many tools at hand than I end up needing.  For example I only needed three Forestner drill bits but I didn't know which ones for sure so I brought the whole box off the shelf.  I had things to clamp but started with the wrong type or clamps that were too small. They are there on the bench.  There are knives, chisels, saws, glue bottles, and various pliers.  Most of which will stay on the shelf the next time I do this sort of project, everything will look much more professional, next time.

  At the end of today's work it took 20 minutes to clean up and put all the tools where they live. This style of working is not a habit a new woodworker should cultivate and one an old wood worker should try and break. (maybe a new year's resolution)

  I think these will be popular Christmas gifts .

cheers, ianw


Saturday, January 11, 2020

Sanding and Drilling and Tapping, Oh My.

  The sanding story is nearly always a cutting board story in my shop.  Everyone I know needs a cutting board and I like making them. 


 These boards are oak, sanded to 400 grit and finished with Hemp Oil.  I like Hemp Oil as it is natural, food safe and grown locally.  As with any cutting board these will need to be re-oiled over time.  In a busy kitchen a wooden board can be re-oiled with just about any cooking oil since it will not have time to go rancid before it needs to be renewed.   Maple makes a very nice cutting board too, I just don't have a ready supply of maple handy.

  The other project was another nut cracker. 


  This version got sort of antiqued finish.  No, I don't really like it and no I won't do it again.

  This is one of the few things I make in my shop that  requires special tools and doesn't have a variety of ways to be made.

  I use a big forstner bit to drill the vertical hole.  I mean big.  In this case 1 3/8 inch big.  To drill the hole I hold the wood in a large wooden hand screw, which I clamp to the drill press table.  If everything goes well, you could hold the wood with your hand.  If things don't go well...well.  Just clamp things down when drilling a really big hole.

  The horizontal hole is another story altogether.  I drill that hole with my brace and bit. I threaded a one inch dowel and so needed a 7/8 inch hole in the side of the piece.  I prefer to use the hand drill because it is really slow and there is less chance of break out or splitting.

   Once the hole is drilled I use the tap which matches the threaded dowel and slowly tap the hole in the side.

  I have used this tap and die set several times over the last couple of years and here are a couple of tips for threading and tapping wood.

  -soft wood is easier, so if you can get away with poplar or pine, this latest nut cracker is cedar, use it.
- soak the dowel for a couple of days in food safe oil, the threads will cut better, not perfect, but better.  If you have the time and have planned ahead turn your own dowels from quality wood with straight grain but still oil it.
- when tapping the hole, oil it and the tap too. Dry wood is more likely to splinter. A dry tap more likely to stick.
-go slow, threading and tapping wood takes time.
- clean up and oil the tap and die box when done so it will be perfect when you come to use it again in ten months.

Image result for tap and die set for creating wood threads 

  This is one tool  for which there is not a work around.  There are multiple ways to cut, drill, shape, plane, fasten and finish,  only one way to cut threads and tap wood.

  It is January 11th and we have no snow.  That is a good thing.

cheers ianw


Friday, December 25, 2020

Merry Christmas 2020

   For only the second time in my long life I have not shared a meal with my Mother and Brother on Christmas Day.  The only other time Eva and I were in New Zealand on holiday. Fresh local strawberries are traditional on Christmas day there.  This year it is Eva and I. No extended family, I am lucky to have Eva with which to share the day.

  This year we are in lock-down because of Covid-19, however, everyone in our extended family has remained healthy and almost fully employed so in the grand scheme of things we are Okay.  I truly hope that you are too.

  I have been working on some small seasonal things over the last week or two.  This is a candle holder idea.  The bottle is used as a chimney to protect the tea light flame.  As a prototype it is clear that the wooden backing needs to be reduced in size. 


  In the back of the photograph you can see last year's nut cracker and a carved bowl.  It is pretty tough to find a view in our house with no shop projects in the frame.


about 2 x 4 inches

  Two small scroll saw/carving projects, awaiting varnish.


If you are hot chocolate drinker, a serious, old school hot chocolate drinker you know what this is.  I turned this hand mixer from hard maple and burned a few lines into the handle just for fun.  Used correctly, with the right rich creamy ingredients your hot chocolate tastes like a holiday in Barcelona. ( note: hot chocolate, not cocoa.)

  Two bowls, the tall narrow one is from wormy wood. It was fun to turn on a face plate but tough to finish since it has voids. 


  This bowl is still on the lathe, I am trying to fill all the voids on this one before final sanding.  It is taking time,


  It has been a busy December what with shop things, binding books, painting Christmas cards and searching for the perfect surprise gift.  

  We all look forward to the New Year with bated breath.  Please be wise, be safe and be kind.

Merry Christmas from Eva and I.

cheers ianw 


Friday, January 22, 2021

Finishing the Three Legged Stool


  The stool is 10 inches across and 12 inches tall.  The seat is ash, the legs are poplar and the wedges are cedar, This turned out to be a good little project and with careful set up not a difficult one after all.
   

  The internet told me that the typical angle for the leg holes was 12 degrees.  I decided to make a proper jig to hold the work while drilling.  The last time I did this I just wedged the work piece and ended up with one leg hole misaligned, this time perfect.  The jig will now hang on the wall with all the others, after it gets a coat of bright paint.


  In action the only trick was to solidly clamp the work piece to the jig, to the drill press table. I think it is past time to address the challenges of clamping to the drill press table.  I've got the time, I want to make more stools and tables, so...get on with it.


  After the holes were drilled and the legs attached I needed to glue a couple of pieces of bark back on. As well as make repairs to my mitre saw jig. And assemble the paper towel holder for our laundry room.  All those things are being held together with glue.  Glue works great when I give it time to set.  When I put up the sign, I remember. Visual aids are important teaching tools for some people. (me)

   A three legged stool was on my "make it"  list, as well as bellows, wooden nut cracker, spinning wheel among other things.  It feels good to check off something on the list.

  cheers, ianw

 
the other thing I have been doing with my time, thinking spring