

This is what Easter looked like two years ago. My sister in law and niece
are cake bakers supreme.
Alas, no family get together last year or this, next year ....

nice plant.
This is the plant stand finally finished. I messed up the varnish coat and it had to be sanded stained again and varnished. I should know better than to experiment on a commissioned project. I have learned to let my glue dry so I will learn not to mess with finishes, someday.
This is the first thing I am working on, using up left over and stray 2x4. We have four plastic spools that are about 3 1/2 feet in diameter that came from my brother's workplaces trash. The spools looked too get to throw away so he brought them home for me. Eva and I decided that they would make really nice little patio tables for little people. (of whom the family is well equipped again) I am ripping old 2x4 into size and putting four in each spool to increase rigidity. There is consideration being given to covering the tops with tile mosaics.

This is one of those projects at use time to save money. The fast and easy way would be to buy a bundle of 2x2 strapping and bang these things out. Since I am using old, stained, weather, cracked wood there is ripping and sawing and fiddling that needs to be done. Not the least of which is making sure there are no nails/screws in the wood already. Anyway, this type of job is a relaxing, low stress thing, doing when I want and how I feel.
The other job is a learning project for me. In October 2019 I made a box for my bathroom stuff.

Having lived in a wet environment next to my sink this thing has begun to rot away. I decided to make a new one, that used the space better. This purple box was an orange crate that I re-purposed. The next unit is designed to fit a specific space.

I have never made anything with curves before and wanted to try it before taking on a real project.
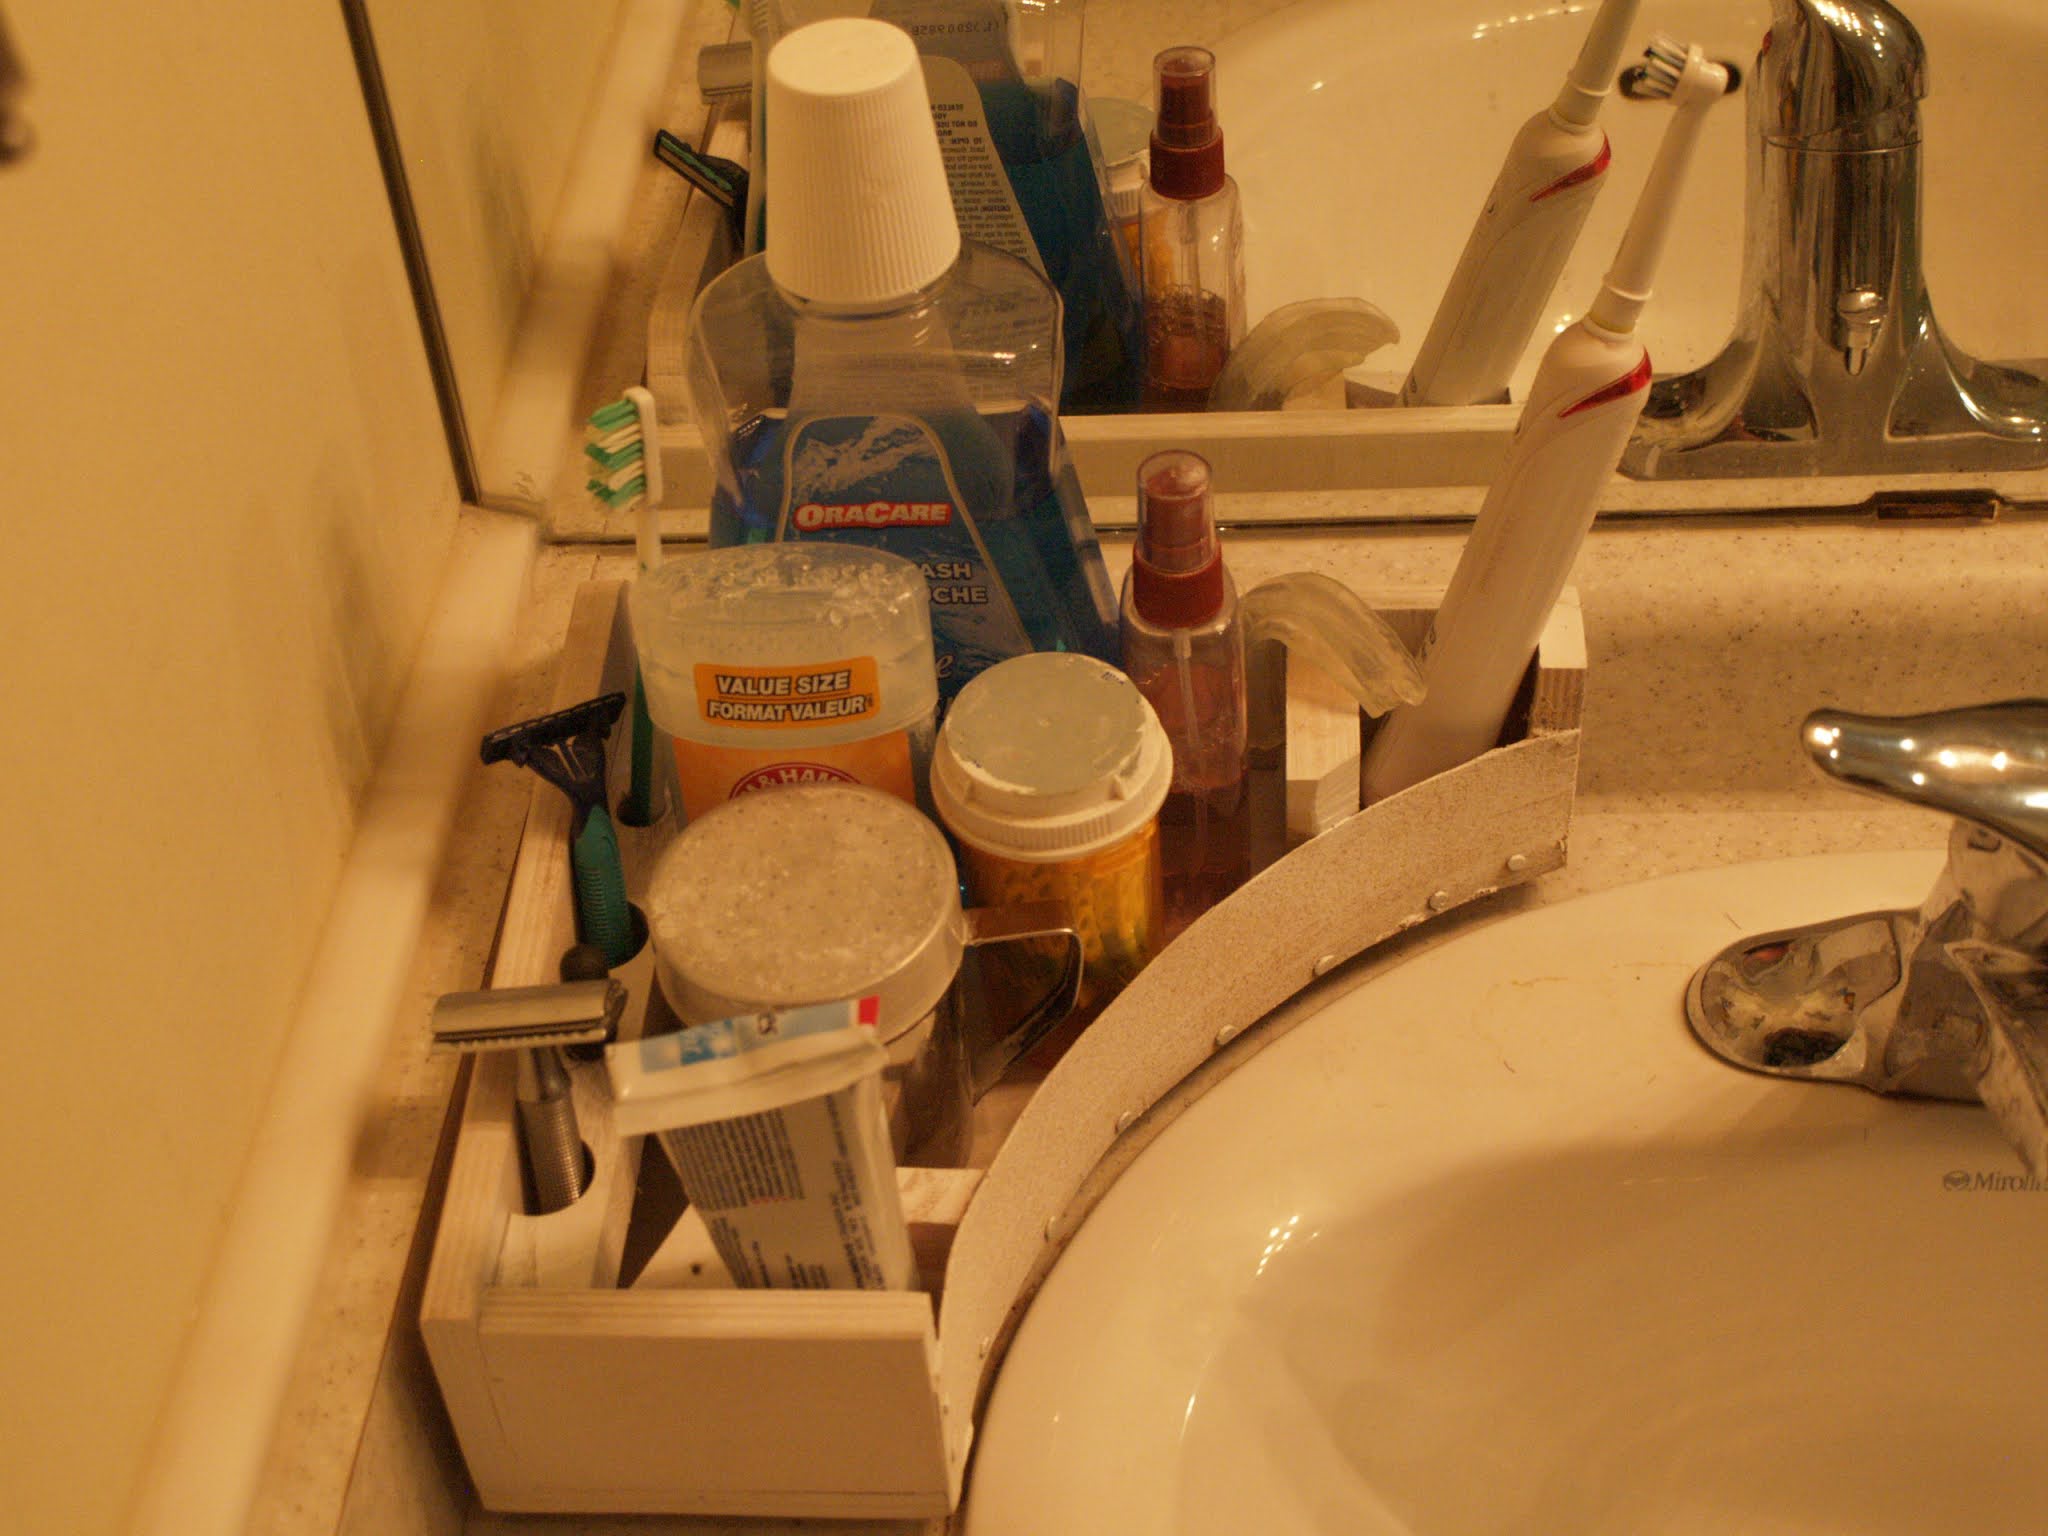
It was an interesting little project for me, probably what I learned I should have known years ago but as a self taught wood worker there can't help but be gaps. To get the shape/curve I needed I traced the space on a newspaper, cut it out and refined the curve. I used Baltic birch plywood for all the straight edges and the bottom. The bottom stands on cork feet to try and keep things dry. The bent wood is elm ripped to less than 1/8 inch. Needless to say the grain runs the length, surprisingly the elm bent easily without heat or being dampened.
A few years ago I saw a bread box in Sweden that was round for storing their typical round hard bread sort of like this one.


The round bread is about 12-14 in diameter and a couple of inches deep per package. There are usually 5 - 6 slices in each package.
I thought the round container was cool, it was covered with painted and wood burned folk art that made it unique and personal.
I have some more elm and I think with steam I should be able to bend the sides around without too much trouble. We shall see.
cheers ianw
p.s. It is April 20th and I am looking out the window at light snow. Jeez.


