Showing posts with label miller dowels. Show all posts

Friday, June 21, 2019

Trellis for a Rose


  Wood and glue, two part epoxy glues to everything.  The plastic handle broke, after ten years which is okay and now its fixed.


  I actually set out today to build a heavy duty trellis for the rose bush seem below.   Last year I made a trellis/frame to try and control this rose bush, my effort failed.   This old 'wild' rose was then cut down to six inches from the ground as we try again to bring it under control. 
it is vigorous and colourful so we want to keep it,
just not have it take over the whole garden.

  My plan is to build a square frame to enclose the bulk of the bush.  Since it is going to be in the weather I assembled the frame with pocket holes and then filled the holes with plugs so the screws will take longer to rust .
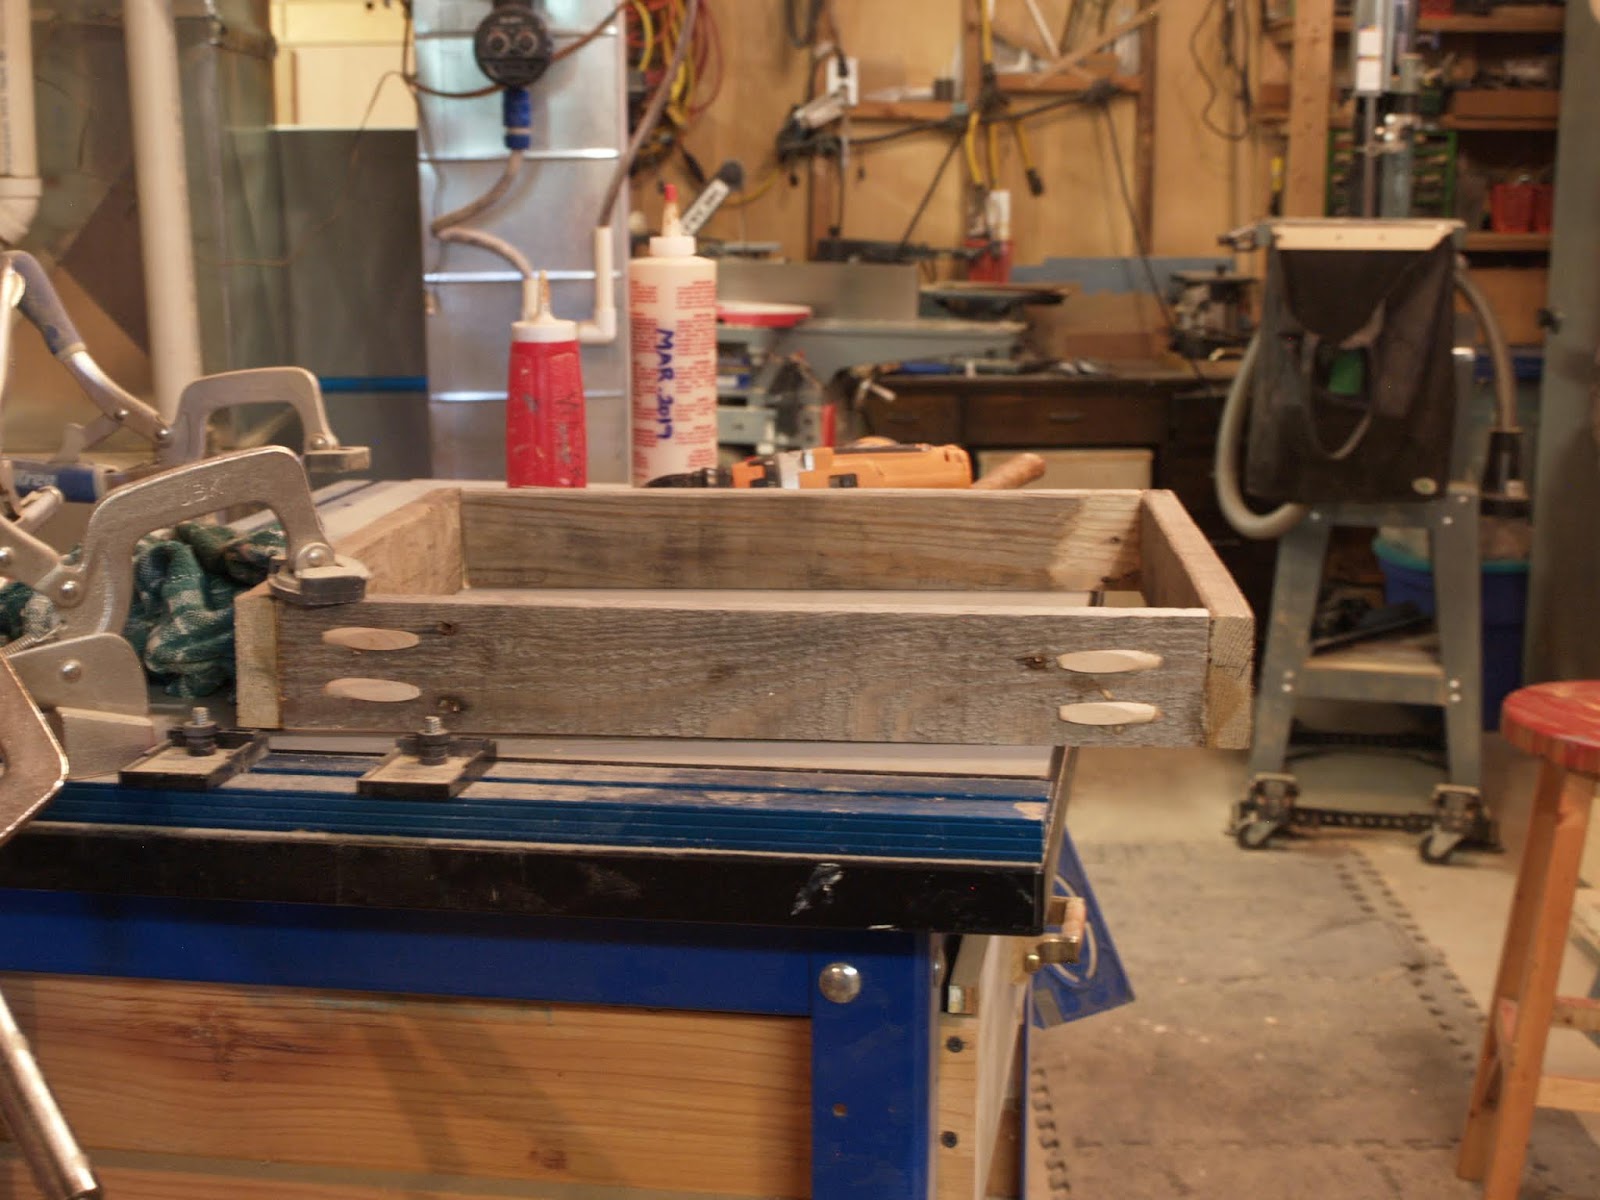
KREG -1.25 inch screws and paint grade plugs 
  Assembling a frame like this is done most easily with KREG right angle clamps.

frame completed and stained green


   I have a few pieces of rough framing timber that I am using to make legs and the bulk of the trellis frame.


 The frame is 1 1/2 wood square lumber and
 the rope threaded though is hemp.

  The trellis is held together mostly with Miller Dowels. I like using these dowels anywhere that steel fasteners would rust and I've used them assembling my work surfaces to protect saw and plane blades from mishap.

  In the process I chose to remove and replace the blades in my table saw and sliding mitre saw.  As a rule I have both blades sharpen every year or so depending on how heavily I have worked them.  Quality blades pay for themselves because they can be sharpened 4, 5 or 6 times and perform well before needing replacement.

  Once the stain is dry I can put the whole thing together in the garden and see if it controls the rose this season.

cheers, ianw


Wednesday, April 19, 2017

While the Glue Dries

  I was waiting for the glue to dry.  I had done a couple of little trim things on the paint box and was waiting for the glue to dry before final sanding and varnish. 

Image result for i hate waiting

  Sometimes I fill the waiting time with sharpening tools or sweeping or I just give up and go away.  This time I did a bit of shop maintenance that was long long over due.  I while ago, more than a year, maybe more than three years I cut the top of my work table with my circular saw and not long after that a corner broke off.  I have struggled to work around the broken bit of bench ever since. Finally yesterday I was waiting for the glue to dry and decided to do something about the problem. There was also a bit of wood just the right size staring me in the face.


  First thing to do was cut the edge square, for that I used my circular saw and the saw guide that I made a few weeks ago.  Once again the saw and guide worked easily and accurately.  My bench top is 1 1/2 inch thick plywood and this time I decided to cap the edge of the plywood with real wood. You can see, I used glue and wood dowels to attach the face board. The entire work table is assembled with dowels, Miller dowels generally.  I chose  to use wooden fasteners so that anytime I saw or drill on this work table I know, for sure, that I won't run into a screw or a nail.  For example, today I added three new dog holes in the work top, which is easy knowing what is hidden.

  I have been working for several projects now without a table saw.  Now I have no plans to replace my table saw , if I won the lottery I might buy a dedicated track saw but I'm not even sure about that.  The saw I could not live without is the sliding mitre saw.   They do half of what a table saw will do, for half the price, but it is the half that makes life in my  small shop much easier.

  All that remains after the varnish for the paint box is a carrying handle. I need to see what is out there in hardware.

cheers ianw

Image result for the princess bride quotes
but not the sandwich kind!


Wednesday, February 18, 2015

Wood Shop Ideas

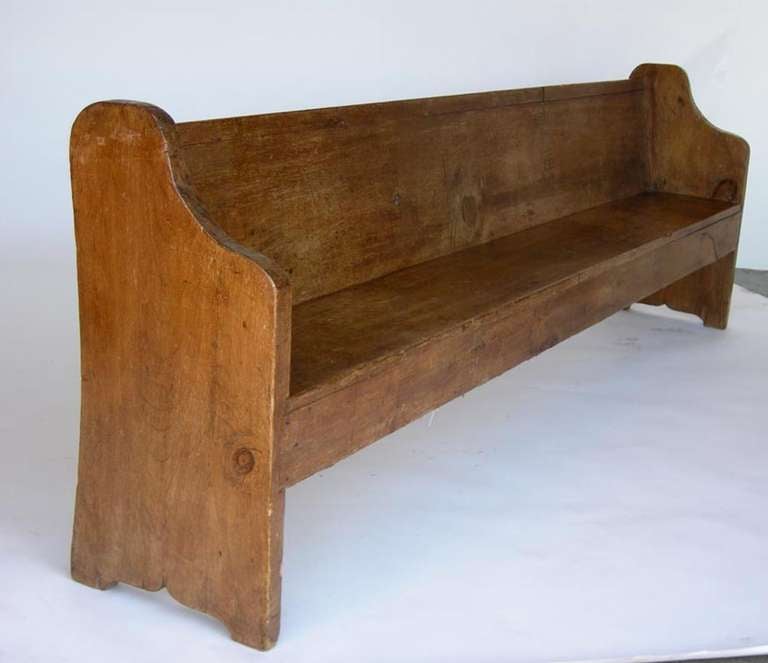
I am working on using the church pew seat to make a bench for our dining room and I have added ends under the seat. The back of the seat is slightly off square and so I needed to hold the work piece firmly while I trimmed 5 degrees off the ends. I decided to add the ends to give me something more to attach the legs to when I finish the bench.  Traditionally the pew would have had an end on it that was both leg and sides.


 My bench is going to have open ends and lighter style legs. Hence the adjustments that need to be made as the work goes along.


one end is in the vise,
this end is clamped using a bit of inspiration,
and improvisation.


    I am using Miller Dowels for some of the assembly on the bench.  My Miller drill bits are in case that I made as a prototype a while ago.  You can see that two of the bits are rattling around in the case naked. I decided to do something about the nakedness this time. I have a foot or two of plastic plumbing tubing which makes perfect easy cases for the drill bits.   

 By protecting the bits they will stay sharper longer.  I want them to last until I run out of dowels.  I bought a shoe box full of mixed dowels on a "clear out" a few years ago and find them useful for certain types of assembly.