Wednesday, November 29, 2017

What's Happening in the Shop

  We have had a couple of unusually mild days so there has been some work in the yard but Monday was a long....day in my wood shop.
  I didn't make anything, but I cleaned and vacuumed and crawled around on the floor and took machines apart and vacuumed out the insides and collected and cut up a bunch of bits and pieces for fire wood.


  This is a rare sight. My small bench cleaned up completely.  You can see the KREG clamp plates on the front of the bench and in the back ground you can see a KREG clamping plate that you use with a KKS 1140 Bench clamp. I used the bench clamp with plate much more before I got a clamping table .

  At this moment, laying on the floor and my work table are the pieces for a bunk bed that I am making before Christmas holiday.


  This will be turned into a bunk bed custom made to fit into our guest bedroom for our Swedish family at Christmas time. I never slept in a bunk bed in my life but...the grand kids love it.

  The one thing I did do that wasn't shop cleaning was re-paint Captain.  Kieran out grew all his Thomas Tank Engine toys but Captain has stayed around floating in our pond.  I have nostalgia for Captain, K and I made him in the shop.


  I'll put Captain back in the pond next spring and the frogs can sit on his deck in the sun all over again. 

   Occasionally battle must be waged and cleaning must be done.  As my wife said, all time in the shop is good time, so even cleaning is okay. 


Friday, November 24, 2017

Sanding, Sanding, Sanding......and a Distraction

  The wooden chest is hauled from the garage to the basement and set up on my low saw benches for the next stage. That of sanding, sanding,sanding.  The paint was mostly burned off with the torch.  


  The orbital sander took care of much of the remaining paint and scorch marks.


  I decided to keep the molding intact, that means hand sanding  the trim as well as all the edges,   60 Grit paper cuts through the paint fairly easily.  After all the paint is sanded away I will have to re-sand the box with 120 and 180 grit before using shellac to seal the wood.

  Since there remains a couple of hours of hand sanding and finishing ahead of me. While I am working I like to listen to music and the tablet provides me with tunes.  I decided my tablet needed a stand to keep it handy. 


  I saw the idea on Pinterest and chose to use a piece of leather for the hinge.  The whole project took only a few minutes. I used contact cement to attach the leather to the wooden forms.  

  It was a quick little project that was a nice distraction from sanding.  I have spent enough time hand sanding that my fingers are weary.  I will paint the stand later.

cheers, ianw


Sunday, November 19, 2017

Roadside Rescue

Last week Eva and I picked up two items being cleared from a local house.  We have a glider rocker in excellent shape that needs the upholstery cleaned or replaced.  The other item  is a home made solid wood front hall storage bench.  Very similar to the one in the following photograph:

 Image result for storage bench

   The item we picked up is in really good shape...except is was painted a glossy brown and clearly had been left in the basement ignored for a long time.

  I wiped away the years of dust and decided to strip off the paint.


  Heat stripping paint is definitely a job to be done in the fresh air and not the basement workshop.  I began the process with my electric heat gun and found it a slow process.  It has been cold here lately and the ambient temperature in the garage meant that the little gun couldn't warm the paint enough. 


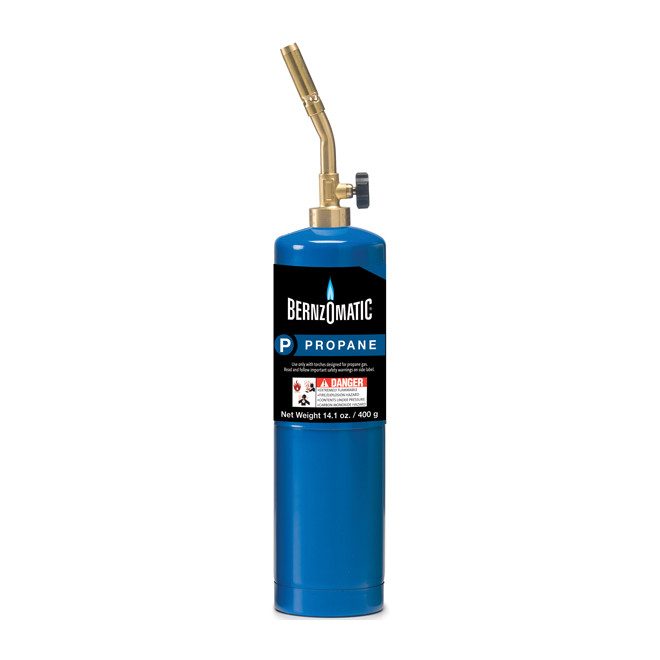
  My solution was to switch to burning the paint off with my BernzOmatic propane torch. It was quick, but a bit stinky.


Image result for bernzomatic
  I worked away in the garage for about an hour and scrapped off this much paint. (about a litre or U.S. quart)


  Just to see what results await me, I sanded one corner of the chest where the paint had been burned off.


  It will take some fussy sanding to get the inner corners looking good but I will give the box a coat of stain and a couple of coats of shellac, then try to find it a good home.  

 cheers, ianw


Friday, November 17, 2017

If you got them, Use them-tools that is....

  Two weeks ago my wife slipped on a rock, fell and broke her right wrist. NOT a good day.  After all the fussing was over she has a cast on her arm that limits the use of her right hand. Can you tie a show lace one handed? Can you tie a shoe lace one handed with you non-dominate hand? Nay, me neither.  


   There is one of two sets of lace toggles that I made for Eva today. All she has to do is slide the laces tight and push the toggle down. No fancy finger work needed.  Toggle making can be high art, think Netsuke from Japan, mine aren't. But it might be fun to carve a version of Netsuke.

  Anyway I nipped down to my work shop to make toggles for Eva, I had done this before. When I have available tools, I avail myself of them.....all.
 To make four little wooden toggles I first found a bit of dowel in a box where I keep these little bits of wood.  Then I drilled the holes on my massive drill press. Holding the dowel in a drill press vise.( a worthwhile investment)  After the holes were drilled I used my cordless drill and a counter sink  bit to clean up the hole and make feeding the shoe lace easier.  Lastly I sanded the toggles after cutting them loose with a Japanese style handsaw.  Had I had a hand drill and a pocket knife I could have made the toggles just as effectively, but not as quickly. I do love having a work shop with all the tools. 

  Another drill press job was finishing the Quarto men. 


  Two sets, travel size.

  The day wasn't a work shop day really, it was a clean up the garage and put the motorcycle to sleep for the winter day. With all the bicycles hanging from the ceiling, and the motorcycle stowed into the corner there is room for my wife's car to get in out the the snow and ice. (maybe there won't be any snow and ice this year.)

  Here is a link to my Pinterest page showing a whole bunch of stuff to make for kids. 
                                        Kid's Stuff    
 Maybe there is an idea you can use.

 cheers, ianw

P.S. "The Hare with the Amber Eyes" by Edmund De Waal, is a book of history connected with a collection of Netsuke.  I really enjoyed reading it. 


Wednesday, November 15, 2017

Production, worth while but not exciting


  A while ago I made a project inspired by Wood Working for Mere Mortals, a quarto game.  Recently I  was asked to make two more of the travel sized games.  So that is what I am doing currently. Cutting up little pieces of one inch wood and dowel.  That is not really something to inspire a legion of followers so I found a video to share with you folks.


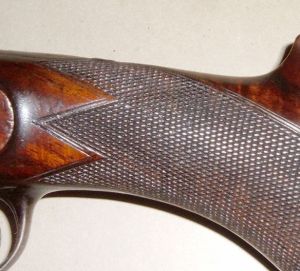
    I have always admired the carved gun stocks.  I suspected it required a special set of tools, which I discovered were not blindingly expensive.  What is needed is a personal disposition focused on careful and detailed work. (that can't be bought at any price.) I don't think I have the focus or attention to do checkering well, but I would love to try.  

  I am working toward Christmas gifts, mostly I am in the planning stages.  It is hard to think of Christmas looking out the window at cold, raining, dark and bleak. Anyhow, one must carry on.

Check out the video, even if you don't like guns you can admire the wood working skills.

Image result for checkered gun stock

cheers, ianw


Sunday, November 12, 2017

Home Again, Home Again

  We have been away for a couple of weeks enjoying a few days in Horsham England on our way to Lanzarote Spain. 

  We got back  four days ago and given jet lag and all the other things that await you ( a fall cold too) on your return I didn't get back into the shop until yesterday. I decided on a quick little project that recycled a piece of  wood from a dresser that I picked up off the street a while ago.  The inspiration was two more pieced of furniture we picked up on Saturday morning. 


  I took a chest of drawers apart and this is the last drawer front left. Obviously it has been  ignored and was laying in a corner until this project came along.
  

  You can see the trim that was nailed onto the front. This piece is solid hard wood, though not one piece. I worked around the nail homes to make my project. 

all the pieces 
  This is a project that is quick and easy if you do things in the correct order. 
First I ripped the board to width and then used my router table and round over bit to shape the smallest piece, before cutting it off the board. I then rounded over the end and cut the middle sized piece, last I rounded over both ends of the longest piece.


  The little foot goes at one end.  In this case I glued it into place.


  The three pieces go together to make a nice little portable bookend. Actually it doesn't need to be glued together at all, but I didn't want the little foot to get lost.

   To make this a more personal item I did some wood burning. After I burned the initials, I stained them  with transparent water colour paint. It just just a hit of colour to the burned portion.


  This is a quick project that can be personalized or customized in tonnes of ways.

cheers, ianw

p.s. it is nice to travel, but it is nice to get back home too.


Horsham, UK. high street. 

a beach on Lanzarote