Showing posts with label clamping. Show all posts

Sunday, August 14, 2016

Garden Structure

  I  recently picked up a station wagon's worth of 2 x 4's that had been used for temporary fencing.  The wood had been outside for a year (temporary?) but is still useful for rough projects.

  Today's rough project is a quick but sturdy trellis for our back garden.

Coreopsis
  Against our back fence grows a clump of coreopsis about three feet wide and one foot deep. The clump grows bigger every year.  By now the plants have grown six or seven
feet tall and one good storm with rain and heavy wind blows the stalks into a twisted mess. This happens every year, this year the clump of flowers is big enough and I have the right materials at hand so I did something about it.

trellis, 5 ft. by 3 ft.
  I started out with weather 2 x 4's which I ripped into approximately 1.5 by 1.5 inch boards. Before I let the wood near my table saw I brushed in heavily with a wire brush and double checked the wood for nails and screws.  When I picked up the boards I took time to remove all the nails and screws that I could see, but checked again to be certain.  I like re-using materials, I hate to see wood wasted.


  I used 3/4 inch dowelling as tenons. The up rights were drilled on my drill press and the ends of the cross pieces drilled free hand.  I opted for tenons and all wood construction so there would be no rusting screw or nail heads next season.

  There are many ways to cut dowelling and a variety of jigs that can be built but I have found that a mitre box and hand saw do the job as well as any method.

Stanley Clamping Mitre Box w/Saw 20-600
Stanley mitre box

  Nearly always I am cutting a piece of dowel less than 2 inches long so the 10 inch sliding mitre saw is too aggressive. = (scary).  Dowels can also be easily cut with a band saw, probably my second choice. 

  When I came time to glue the trellis together I only had two pipe clamps that were long enough so I improvised for the third.

c- clamps attached to the rails, Bessey clamp
pulling the c-clamps together.
 A quick and adequate extension.
  When this year's flowers die down I will move the trellis closer to the fence so that next year the wooden trellis will be somewhat hidden by the growing flower stocks.  The flowers between the trellis and the fence can be ignored and the flowers outside the trellis I will tie up.  

  We have a couple of other spots in garden that need extra support and so I will probably make a couple more versions of this trellis over the next while.

  cheers, ianw


Thursday, January 21, 2016

What did you do in the shop today? Nothing, really....

  This blog is for all you average folks with a basement workshop that think that they've done nothing in their shop since they went on a flower box making binge last summer. 

 My work shop time is often filled with little things, especially since my back acted up last September. At the end of a day I regularly reflect that I've not done anything with my day at all. SO as my back really started to hurt this afternoon I thought about my shop time today. 

  First thing that I did was process a rough poplar 2 x 12 plank into finished boards to make a two doors for a friend's stereo cabinet, the cabinet that I made for them last winter.(Feb 5, 2015) It is high time I got the doors done. I really didn't do anything, I just cut the board to length on my mitre saw, then jointed and planed the board square and ripped off the four pieces I need for the raised panel doors. What the heck, nothing at all really, expect that I used my table saw, mitre saw, jointer and planer and various measuring tools and a square.  It could have been done with hand tools, but not by me.


board ready for use. 
   After we dressed the lumber David decided that he would double check the measurements on the cabinet before we proceeded any further. Oh, yes, I also made four little 3 by 1 1/2 by 1 1/2 feet with rounded ends to be added to the cabinet. Not a big job but one that needed wood and a couple of tools.


  What else did I do on the day that I did nothing?

you can never use too many clamps

door skin can be easily cut with
 a good utility knife.
 I cut out one side of the travel box I'm making for my Quarto game. It will be a carrying box and game board. ( Aug 27, 2014) I've done this before but smaller.  It was nothing at all, but it was shop time. I can't find the small set currently.


 This is how I squared the frame while the glue was drying. I pushed the one side against the dogs, squared the sides and then clamped the sides into place leaving it over night. A Kreg Klamp Table is the idea tool for this type of thing.  My table was tied up with other things so for one small job I copied the idea. For the doors on David's stereo cabinet I will use the Klamp table.


 I sanded and shellacked an off cut that reminds me of a cartoon owl. I don't know what I am going to do with it but...it looked to good to throw away.

  And I took time to seriously wash out a few paint brushes. If you have access to an art supply store or shop on line get some brush cleaner.

soap.jpeg


 I honestly believe that using this product doubles the life of my brushes. 

  So I didn't really do anything in my shop today, how was your day?


Wednesday, February 18, 2015

Wood Shop Ideas

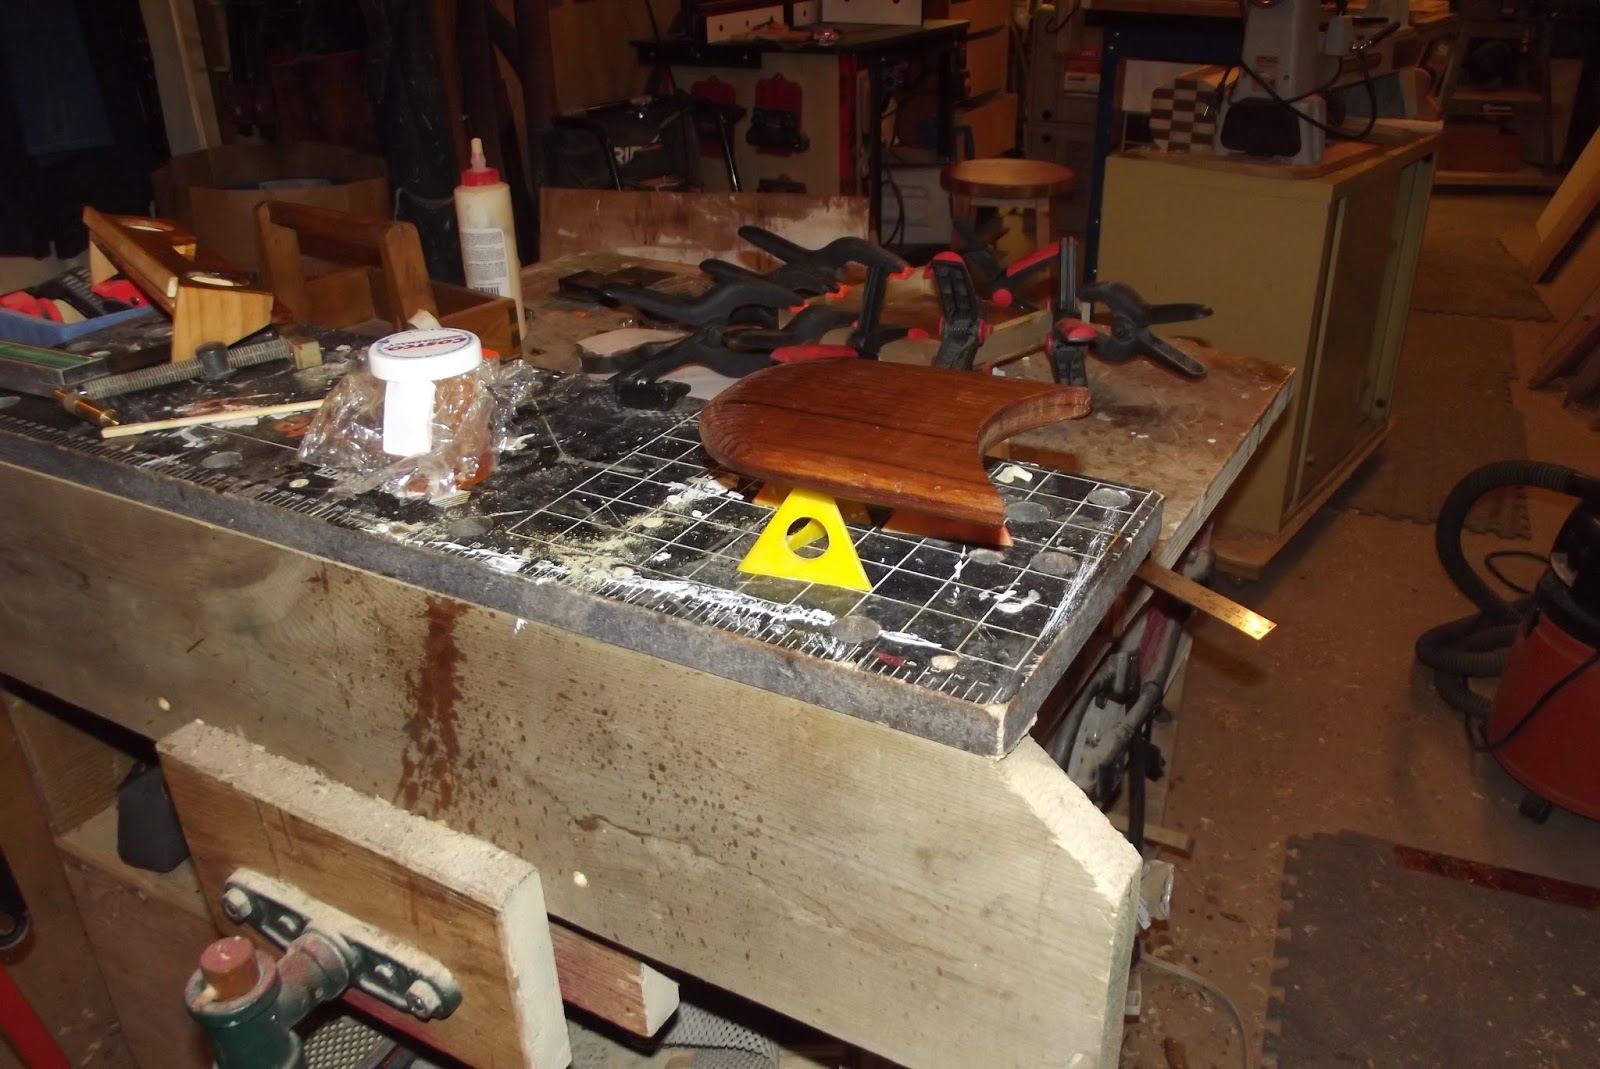
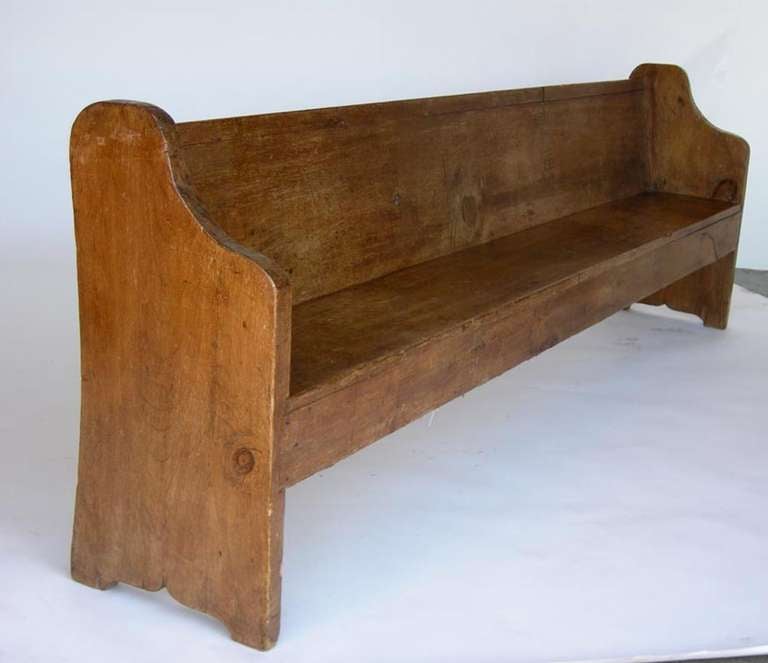
I am working on using the church pew seat to make a bench for our dining room and I have added ends under the seat. The back of the seat is slightly off square and so I needed to hold the work piece firmly while I trimmed 5 degrees off the ends. I decided to add the ends to give me something more to attach the legs to when I finish the bench.  Traditionally the pew would have had an end on it that was both leg and sides.


 My bench is going to have open ends and lighter style legs. Hence the adjustments that need to be made as the work goes along.


one end is in the vise,
this end is clamped using a bit of inspiration,
and improvisation.


    I am using Miller Dowels for some of the assembly on the bench.  My Miller drill bits are in case that I made as a prototype a while ago.  You can see that two of the bits are rattling around in the case naked. I decided to do something about the nakedness this time. I have a foot or two of plastic plumbing tubing which makes perfect easy cases for the drill bits.   

 By protecting the bits they will stay sharper longer.  I want them to last until I run out of dowels.  I bought a shoe box full of mixed dowels on a "clear out" a few years ago and find them useful for certain types of assembly.


Wednesday, December 7, 2011

Nightmare resolved

  
   When it is all said and done, the result is cool.  The effort was significant but worth it.  If I do this again it will be easier, the prototype is always the toughest.


   I remember from watching ,   "the New Yankee Workshop" Norm often made a practice piece from lower grade lumber before he made the final version out of cheery or oak or what ever.


  There are lots of things I remember from Norm, sadly, or foolishly I don't always do them.

Monday, December 5, 2011

NIghtmare on Clamp St.

  Sometimes I start down a road without a clear plan as to where I am going.  This is one of those cases.  I got a brain wave, or brain f**t that made me want to do something different with a cutting board.  I took a board and cut it apart on an angle, then flipped two of the pieces and thought I would glue it together to make a neat shape.
  I hadn't really planned it through so....as you can see clamping was a nightmare.  If I were to do this again I would create angled jigs so the clamps would have square surfaces to contact and....I would use dowels to keep the pieces from slipping out of alignment when the clamps are tightened.  Live and learn.
  You can see the result of the effort on Wednesday.