Showing posts with label clamping jig. Show all posts

Thursday, January 21, 2016

What did you do in the shop today? Nothing, really....

  This blog is for all you average folks with a basement workshop that think that they've done nothing in their shop since they went on a flower box making binge last summer. 

 My work shop time is often filled with little things, especially since my back acted up last September. At the end of a day I regularly reflect that I've not done anything with my day at all. SO as my back really started to hurt this afternoon I thought about my shop time today. 

  First thing that I did was process a rough poplar 2 x 12 plank into finished boards to make a two doors for a friend's stereo cabinet, the cabinet that I made for them last winter.(Feb 5, 2015) It is high time I got the doors done. I really didn't do anything, I just cut the board to length on my mitre saw, then jointed and planed the board square and ripped off the four pieces I need for the raised panel doors. What the heck, nothing at all really, expect that I used my table saw, mitre saw, jointer and planer and various measuring tools and a square.  It could have been done with hand tools, but not by me.


board ready for use. 
   After we dressed the lumber David decided that he would double check the measurements on the cabinet before we proceeded any further. Oh, yes, I also made four little 3 by 1 1/2 by 1 1/2 feet with rounded ends to be added to the cabinet. Not a big job but one that needed wood and a couple of tools.


  What else did I do on the day that I did nothing?

you can never use too many clamps

door skin can be easily cut with
 a good utility knife.
 I cut out one side of the travel box I'm making for my Quarto game. It will be a carrying box and game board. ( Aug 27, 2014) I've done this before but smaller.  It was nothing at all, but it was shop time. I can't find the small set currently.


 This is how I squared the frame while the glue was drying. I pushed the one side against the dogs, squared the sides and then clamped the sides into place leaving it over night. A Kreg Klamp Table is the idea tool for this type of thing.  My table was tied up with other things so for one small job I copied the idea. For the doors on David's stereo cabinet I will use the Klamp table.


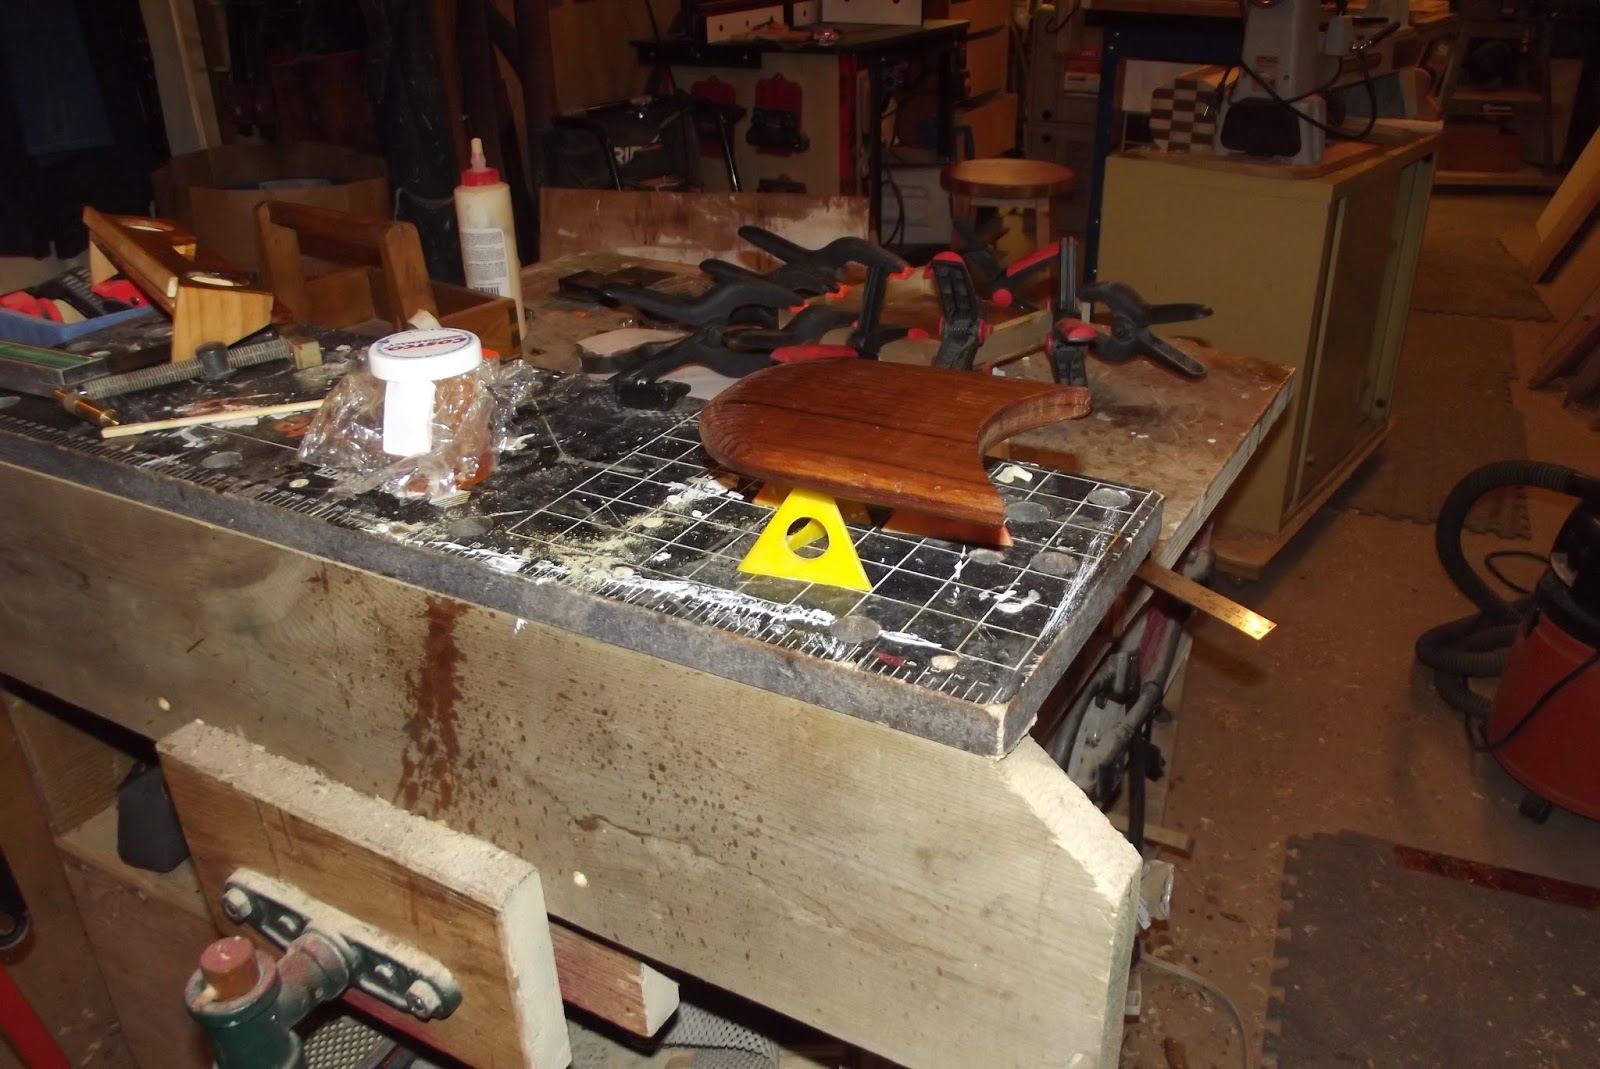
 I sanded and shellacked an off cut that reminds me of a cartoon owl. I don't know what I am going to do with it but...it looked to good to throw away.

  And I took time to seriously wash out a few paint brushes. If you have access to an art supply store or shop on line get some brush cleaner.

soap.jpeg


 I honestly believe that using this product doubles the life of my brushes. 

  So I didn't really do anything in my shop today, how was your day?


Wednesday, February 18, 2015

Wood Shop Ideas

I am working on using the church pew seat to make a bench for our dining room and I have added ends under the seat. The back of the seat is slightly off square and so I needed to hold the work piece firmly while I trimmed 5 degrees off the ends. I decided to add the ends to give me something more to attach the legs to when I finish the bench.  Traditionally the pew would have had an end on it that was both leg and sides.


 My bench is going to have open ends and lighter style legs. Hence the adjustments that need to be made as the work goes along.


one end is in the vise,
this end is clamped using a bit of inspiration,
and improvisation.


    I am using Miller Dowels for some of the assembly on the bench.  My Miller drill bits are in case that I made as a prototype a while ago.  You can see that two of the bits are rattling around in the case naked. I decided to do something about the nakedness this time. I have a foot or two of plastic plumbing tubing which makes perfect easy cases for the drill bits.   

 By protecting the bits they will stay sharper longer.  I want them to last until I run out of dowels.  I bought a shoe box full of mixed dowels on a "clear out" a few years ago and find them useful for certain types of assembly.


Wednesday, September 10, 2014

Pocket Hole Clamping Jig


  I have been making some more bike carrier boxes in my shop the last couple of days. To hold the ends to the bottom I use pocket hole screws and waterproof glue.  Since the bottom is 14 by 7 1/2 by 1/2 inch  and I am using the KREG Micro Pocket Drill Guide the KREG RAC clamp will not fit the smaller holes I needed to make a jig to hold the pieces together while I drove in the screws.

underside of the Bike Carrier Box

  I made the jig some time ago and have used it on a previous batch of these boxes and other projects.

 I used to work for Kreg Company and so have driven thousands of pocket screws and have found that proper set up and correct clamping makes everything faster and the results better.


  There is no question that KREG has developed some clever clamps to work with their pocket hole system but a set up like this can be made with shop scraps and a bit of time and tailored to fit a particular need. e.g. the micro jig.

 By clamping the Jig down and then clamping the wood to it I am able to hold the pieces of wood together to form a butt joint, I have also used this jig when assembling butt joints that were not pocket holes. 


right angle clamp frame
clamp frame holding two pieces of wood,
before clamping.

  With the correct tools all jobs are easier.

cheers, Ian W