Thursday, June 27, 2019

Project wrap ups

  My six year old grand daughter and her four year old sister are visiting for a few days and this morning it was work shop time.  The six year old is mostly a painter and idea machine. She painted two fish and inspired a treasure box.


  The treasure box is clamped and drying while the kids are off for the day.

  I began a knife project some time ago but have moved closer to completion this morning.


  The blade is wrapped in tape to protect my clumsy fingers while I work.  The antler, finger guard and blade are glued together and will be ready for final polish and buffing tomorrow.


  I burned a flower pattern into each side of my previous box and painted the pattern.  Each side is similar but intentionally individual.  Once the sides are done I will attach the bottom and top.
  The rose trellis is done and set up too.
   It is time for a bit of a holiday to enjoy this warm weather that we've been waiting for for so long.

 cheers Ian W


Friday, June 21, 2019

Trellis for a Rose


  Wood and glue, two part epoxy glues to everything.  The plastic handle broke, after ten years which is okay and now its fixed.


  I actually set out today to build a heavy duty trellis for the rose bush seem below.   Last year I made a trellis/frame to try and control this rose bush, my effort failed.   This old 'wild' rose was then cut down to six inches from the ground as we try again to bring it under control. 
it is vigorous and colourful so we want to keep it,
just not have it take over the whole garden.

  My plan is to build a square frame to enclose the bulk of the bush.  Since it is going to be in the weather I assembled the frame with pocket holes and then filled the holes with plugs so the screws will take longer to rust .

KREG -1.25 inch screws and paint grade plugs 
  Assembling a frame like this is done most easily with KREG right angle clamps.

frame completed and stained green


   I have a few pieces of rough framing timber that I am using to make legs and the bulk of the trellis frame.


 The frame is 1 1/2 wood square lumber and
 the rope threaded though is hemp.

  The trellis is held together mostly with Miller Dowels. I like using these dowels anywhere that steel fasteners would rust and I've used them assembling my work surfaces to protect saw and plane blades from mishap.

  In the process I chose to remove and replace the blades in my table saw and sliding mitre saw.  As a rule I have both blades sharpen every year or so depending on how heavily I have worked them.  Quality blades pay for themselves because they can be sharpened 4, 5 or 6 times and perform well before needing replacement.

  Once the stain is dry I can put the whole thing together in the garden and see if it controls the rose this season.

cheers, ianw


Thursday, June 13, 2019

A barrel making video and a Hand Plan Project


   As I was relaxing last evening this video came up in mail box.  I think barrels are one of the most beautiful and useful wooden vessels.  I've seen them being made by hand in Colonial Williamsburg and seen various demonstrations at wineries and distilleries. There are many videos showing the special skills, tools and machines that make oak barrels and 'We Know Barrels' is long enough for one relaxed coffee.

  The part of the blog relating to my actual wood working is all about hand planing.  A while ago I made a bench top work table  (June 2016)  actually.  I used the portable top for rough work, carving and some clamping tasks.  It was only good for rough clamping as it was left rough and not very flat, until now.

 I decided I wanted this portable clamping top for more small assembly work and so I needed to get serious and flatten its surface.

work top with winding stick 
The final result is smooth with the  T-track mounted flush on two sides. With six 3/4 inch dog holes I'm able to cover all the angles when clamping on it or clamping it to my large work top.

  Initially the top of these boards was so rough I thought about using my belt sander but didn't want to deal with the noise or the dust so I opted to use my Veritas Scrub plane to knock down the really high spots. This panel is made from 2 x 4 soft wood and the scrub plane drove through it without any problems, it even flattens knots. I flatten both sides, but didn't bother smoothing the underside, flat was enough.

  Next  plane I used to flatten the top was my Anant Jack Plane.  I was for a time the Canadian Importer of Anant planes.  I found their planes to be good value and adequate for most carpenter's needs.  For my purpose the plane worked fine.  The blade is okay but would have to be upgraded if I used this plane by the hour.


  Both the scrub and jack planes are narrow.  The scrub plane is a modern design and the jack plane is a copy of an old Stanley model 5 but with a narrower blade.  


   Beside the Jack plane is my favourite plane, my low angle smoother. My Mom gave it to me for Christmas a few years ago and it is my 'go to' plane for anything requiring fine finish work. 

  The rabbets had been cut first on the table saw but now needed to be levelled and smoothed out.  For that I used my 1/2 inch  Varitas shoulder plane and my old flea market Stanley 192.


  The 1/2 inch shoulder plane is a must for a small shop. It is quicker and easier than setting up a router table for one of a kind operations or cleaning up a channel or shoulder.    The Stanley cost $10.00 at a flea market in Mennonite country, it had been broken and welded back together.  I checked it out carefully and measured to see that it was repaired square and decided to risk ten bucks.  It was money well spent.  Using those two planes I grooved and smoothed the shoulders for the T-track.

  End end result is awaiting a coat of wood sealer and I will be using it shortly. I have a couple of small boxes to make and the portable work top will give me a good surface to work on and let me move the whole project out of the way if I want to do something else.

Three very useful planes for a shop.

  The Stanley 192


and its little friend 

the 1/2 inch should plane.


cheers, ianw


Thursday, June 6, 2019

Latest News and Small Project

   Last Thursday I resolved to clear  my 'to do'list.  My list had many little tasks that I had been put off or ignored for a long time.  As I was crossing off these listed items many others things rose up.  After the 'to do' was complete I then spent two more days on shop related tasks arising from 'to do'.

   What were the tasks?  A couple of hours were spent sorting through my wood rack and collected off cuts.  Over time lumber had been stacked, piled and thrown into the back corner of my shop creating chaos.  A bonus for getting organised in the back corner was the rediscovery of floor space.


  While clearing and re-stacking  I also  vacuumed the entire shop.  Of course serious vacuuming meant that all the dust collectors had to be emptied and all the filters cleaned part way through the process.  When all was said and done there was nearly a bushel of stray saw dust collected in my vacuum cleaners.

  For a break while cleaning and sorting I gave Captain  his spring re-fit.  Captain will float in our water feature and provide sunning space for frogs again this season.  Kieran and I made Captain during K's Thomas Tank Engine fan boy days. 


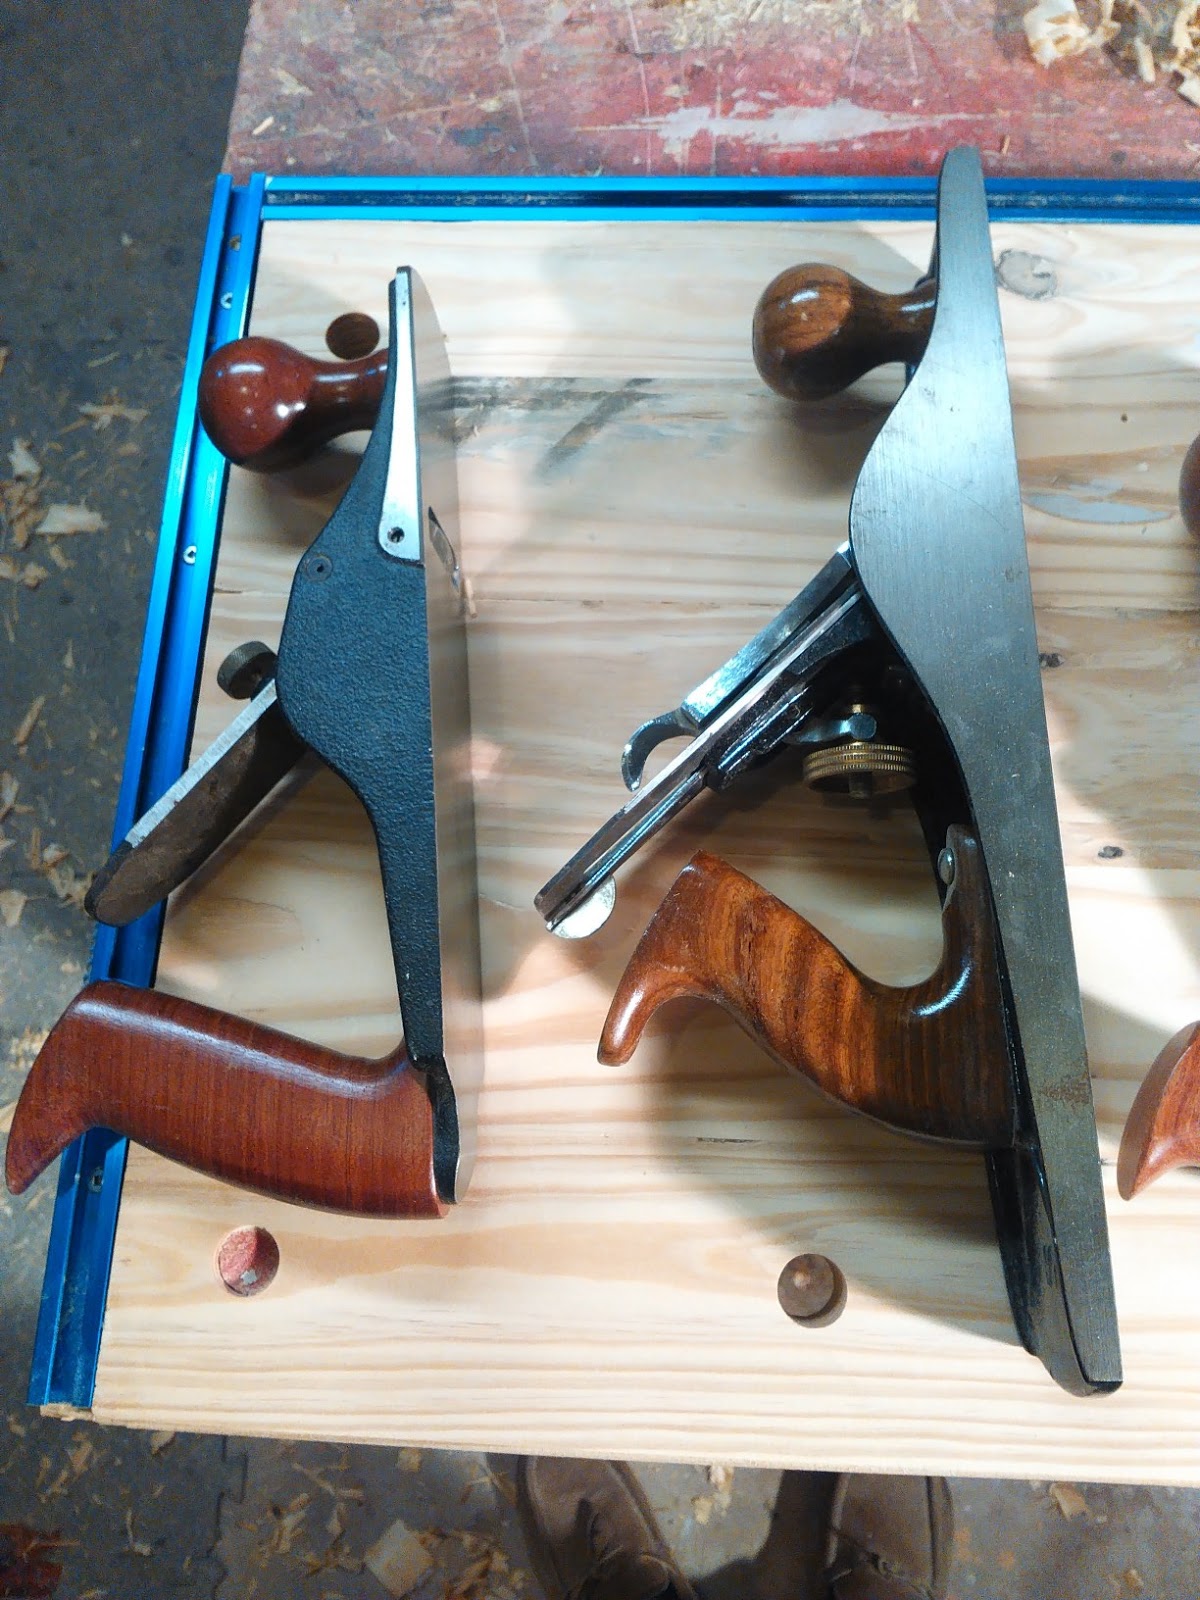
    Another undertaking over the two days was sharpening.  I touched up shop knives, chisels and block planes, now all of those tools are ready for action again.  I used a combination of my " Work Sharp", ceramic stones and  the "Scary Sharp" system.

   The biggest job was sorting my collection of loose screws, bolts and other bits and pieces.  Many shops have one or several large jars with mixed screws etc. in them.   I do not...I used to have such jars, but now I collect the bits and pieces for a few months and then sort them back into their appropriate place.  To do that job I pour all the weird  and lonely fasteners onto my work table, this time it filled the entire table top. First I gather all similar screws together, before returning them to their respective boxes and tins.  This way I save dozens of screws for future projects.  Next bolts with nuts, nuts alone, then plugs, marrettes and things related to electricity etc. Lastly all the weird craft items, wheels, bells, bits of wire and general miscellanies are sorted, sifted and put into jars, boxes and drawers for future use.  Since I began doing this when I moved into this new shop (new house) ten years ago I have been amazed at how many things have been saved for further use and how much money has been saved.

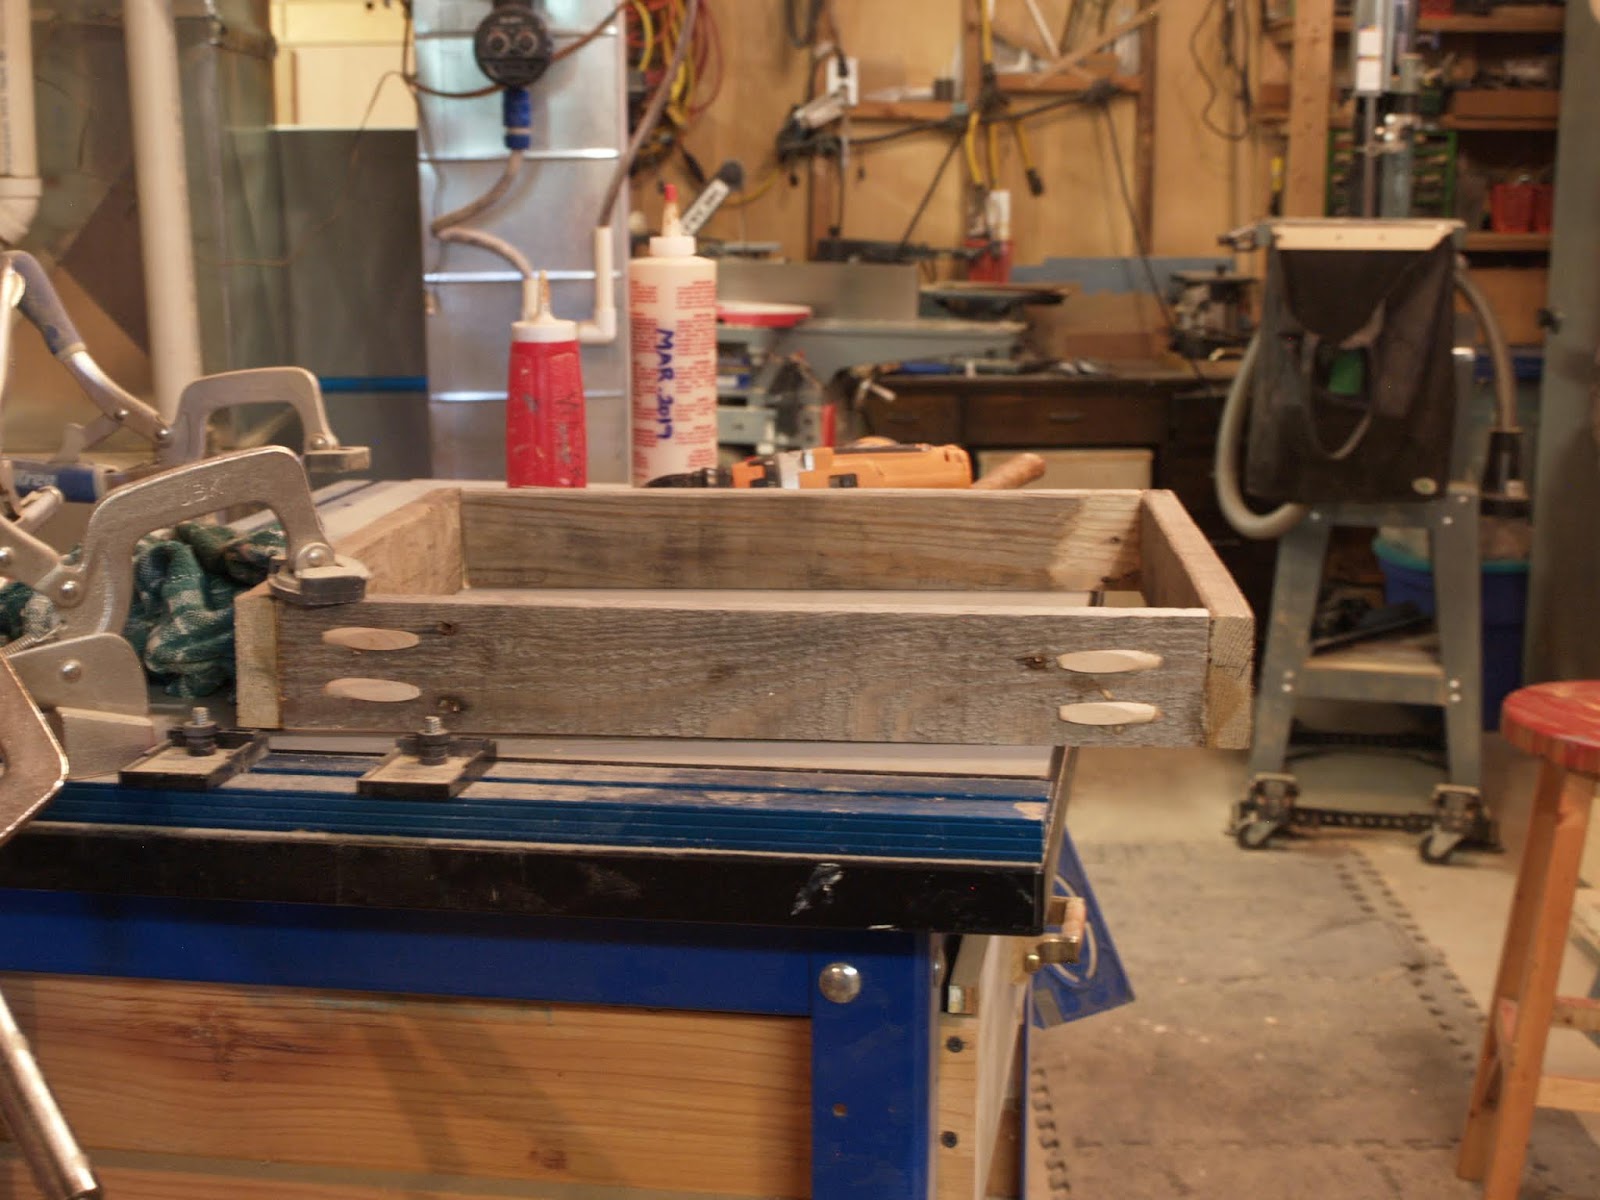
   Another project that I did to take a break from the domestic chores of spring cleaning my shop, properly was an eight sided box to be a plant pot.


   This rough looking piece is a 'proof of concept'.  Four of the section have 90 % edges and four have 45% edges.  The 45% pieces fit proud and are then sanded flush.  If the material is thicker and the project large enough the pieces can be connected using pocket hole screws. There is a special jig you make to aid in clamping your work.

  This piece is only 3/8 inch thick, so too thin for pocket holes. Also the material is too thin to cut the 45% edges with my mitre saw, I discovered. Since I had to cut across the grain I wasn't able to plane the angle on a shooting board either.  For my next attempt I have a table saw fixture in mind that will make accurate and controlled cross grain cutting possible.  Once this project is fully sanded and finished I think the grain will make it acceptable as a flower pot.

  Pots like this as well as small boxes are going to use up various bits of lumber that I discovered while sorting the lumber rack.  I have a number of nice but orphaned pieces of lumber that will make a  small project.  

  Anyway, now my shop is much a nicer and easier place to work.

cheers ianw