Showing posts with label shoulder plane. Show all posts

Wednesday, May 5, 2021

Two More Planes Done

A while ago I wrote a blog about my various wooden planes and the plans I had for them.  I repaired and cleaned up a couple already and recently took on two more.

  The one plane was a small smoothing plane for which I did not have a blade.  After much consideration I choose to abandon plans for saving the plane.  It was not worth buying a new blade for the plane given that I have several good metal body planes that size as well as the other wooden body plane I recently cleaned up. This plane was not worth the trouble at this time.  No fear, it didn't get thrown away!!

I am using the plane body as a large sized sanding block. It has three flat sides which will give plenty of use before the 120 grit sand paper will have to be replaced.  I could one day fit a blade and wedge if I wanted. Since there is no blade or wedge I suspect I paid little or nothing for the plane body.

  The shoulder plane I choose to revive.  It lacked a blade and a wedge but the base was still very flat and the sides were true.  Where and when I acquired the plane body, I do not remember. Not wanting to spend money to buy a blade I decided to reshape  a 3/4 inch chisel.  I cut the handle off with my 4 1/2 inch grinder and proceeded to grind the chisel blade to shape.  The tang of the chisel was round with a small shoulder where it fit into the handle.  The only thing to remember while grinding is to keep it from getting too hot and burning the steel. The effort would be wasted if the steel lost its temper. Once the shape was roughed out I switched to files for the final shaping.  Quality medal files are easy to use can remove plenty of material.  You are also not likely to over heat the blade as you hand file. When hand filing metal I have found that you really need a metal working good vise, hand clamps and wood working vises just don't work .


 The wooden body had been well used as it was dirty, greasy and a bit pitted.  I sanded it down, and gave the body a quick coat of spray varnish. The wedge is waxed elm.


  When  the blade was shaped to fit the plane body I found that it was slightly too wide.  I guess the plane was a metric width.  I filed the chisel blade down a few millimetres for it to fit the plane body. 


  I don't make videos so you will have to take my word that the plane ploughs a serviceable 3/4 shoulder.  I now have a 1/2 and an almost 3/4 shoulder plane in my shop. 

   I have four or five more chisels of this vintage in a drawer in my shop.  I have test sharpened them all and they are adequate to need. I kept them for just this sort of thing. In a wood working shop you never know when you my need to customise  a cutting edge.  It is easy to find chisels, files and rasps for cheap at flea markets for your shop.

It only remains for me to decide on the fate of the last two wooden planes sitting on my bench taunting me.

cheers  ianw


spring is sprung.
hooray 

Thursday, June 13, 2019

A barrel making video and a Hand Plan Project


   As I was relaxing last evening this video came up in mail box.  I think barrels are one of the most beautiful and useful wooden vessels.  I've seen them being made by hand in Colonial Williamsburg and seen various demonstrations at wineries and distilleries. There are many videos showing the special skills, tools and machines that make oak barrels and 'We Know Barrels' is long enough for one relaxed coffee.

  The part of the blog relating to my actual wood working is all about hand planing.  A while ago I made a bench top work table  (June 2016)  actually.  I used the portable top for rough work, carving and some clamping tasks.  It was only good for rough clamping as it was left rough and not very flat, until now.

 I decided I wanted this portable clamping top for more small assembly work and so I needed to get serious and flatten its surface.

work top with winding stick 
The final result is smooth with the  T-track mounted flush on two sides. With six 3/4 inch dog holes I'm able to cover all the angles when clamping on it or clamping it to my large work top.

  Initially the top of these boards was so rough I thought about using my belt sander but didn't want to deal with the noise or the dust so I opted to use my Veritas Scrub plane to knock down the really high spots. This panel is made from 2 x 4 soft wood and the scrub plane drove through it without any problems, it even flattens knots. I flatten both sides, but didn't bother smoothing the underside, flat was enough.

  Next  plane I used to flatten the top was my Anant Jack Plane.  I was for a time the Canadian Importer of Anant planes.  I found their planes to be good value and adequate for most carpenter's needs.  For my purpose the plane worked fine.  The blade is okay but would have to be upgraded if I used this plane by the hour.


  Both the scrub and jack planes are narrow.  The scrub plane is a modern design and the jack plane is a copy of an old Stanley model 5 but with a narrower blade.  


   Beside the Jack plane is my favourite plane, my low angle smoother. My Mom gave it to me for Christmas a few years ago and it is my 'go to' plane for anything requiring fine finish work. 

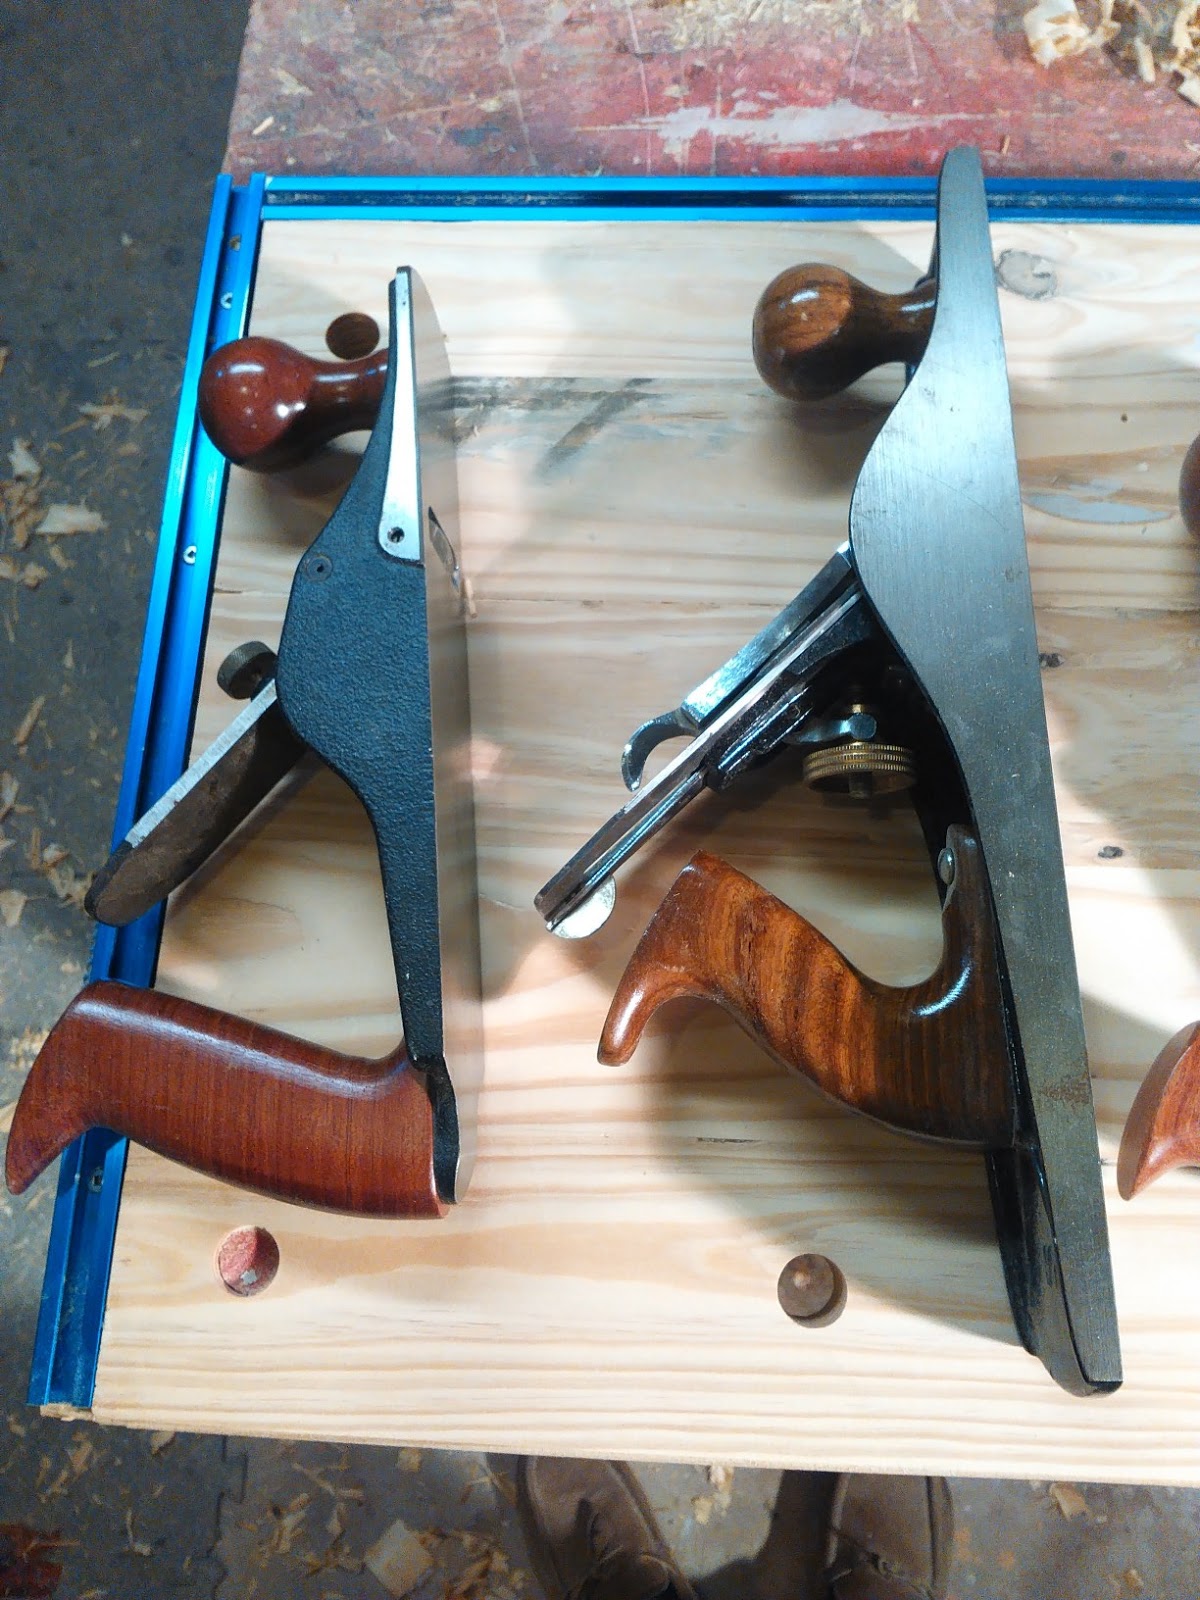
  The rabbets had been cut first on the table saw but now needed to be levelled and smoothed out.  For that I used my 1/2 inch  Varitas shoulder plane and my old flea market Stanley 192.


  The 1/2 inch shoulder plane is a must for a small shop. It is quicker and easier than setting up a router table for one of a kind operations or cleaning up a channel or shoulder.    The Stanley cost $10.00 at a flea market in Mennonite country, it had been broken and welded back together.  I checked it out carefully and measured to see that it was repaired square and decided to risk ten bucks.  It was money well spent.  Using those two planes I grooved and smoothed the shoulders for the T-track.

  End end result is awaiting a coat of wood sealer and I will be using it shortly. I have a couple of small boxes to make and the portable work top will give me a good surface to work on and let me move the whole project out of the way if I want to do something else.

Three very useful planes for a shop.

  The Stanley 192


and its little friend 

the 1/2 inch should plane.


cheers, ianw


Thursday, March 12, 2015

Thursday' Project - continuing the Spring Cleaning Theme.


    On the wall above my sliding mitre saw is a shelf unit that I built four or five years ago.  The unit began life as a prototype for my Grandson's room.  Lucky it was a prototype made from mixed materials because once done it turned out to be the wrong size and shape after all.  Being ever thrifty I brought it home and nailed it to wall in my shop after adding a couple more shelves. The whole thing is a saw dust covered mess most of the time, and not very well organized at the best of time.


  This afternoon I went down to my shop and invested a couple of hours making and organizing.


  After I cleaned off the shelve unit and made a plan I built a small set of shelves using 1/2 inch and 1/8 Baltic birch plywood. The plywood is off cuts from the Great Cajon kit build, I never throw away a piece of wood that maybe useful one day. (that is part of the reason my shop is a bit untidy).

 I cut the dados with my 10 inch Bosch sliding mitre saw. The saw blade was not 1/8 thick so I had to cut tiny rabbets on the edge of each shelf board.

   
  To cut the rabbets I used my 1/2 shoulder plane.  I held a piece of 1/2 plywood slightly back from the edge of the 1/8 plywood as a fence when planning the thinner wood. It only took a couple of passes of the plane to thin the board to make it fit.

  The final result after glueing and nailing was a purpose built self.

 Once I sorted, consolidated and tossed some stuff from the big shelf unit I put the new small shelves in place.  The drills stand up, the bit and pieces have proper homes and it will be easier to vacuum in the future.


  I have a couple of other sets of shelves that could use this attention too.

 cheers, Ianw