Showing posts with label turtle. Show all posts

Saturday, August 21, 2021

Updates from the Shop

   First, the effort to repair the plastic chairs was not successful.  I tried the glues I know and...wood reinforcement too with no luck. The glues will not stick to the plastic and screwing the plastic to the wood means there are screw/bolt heads that can't be inset enough to keep them out of the way.  

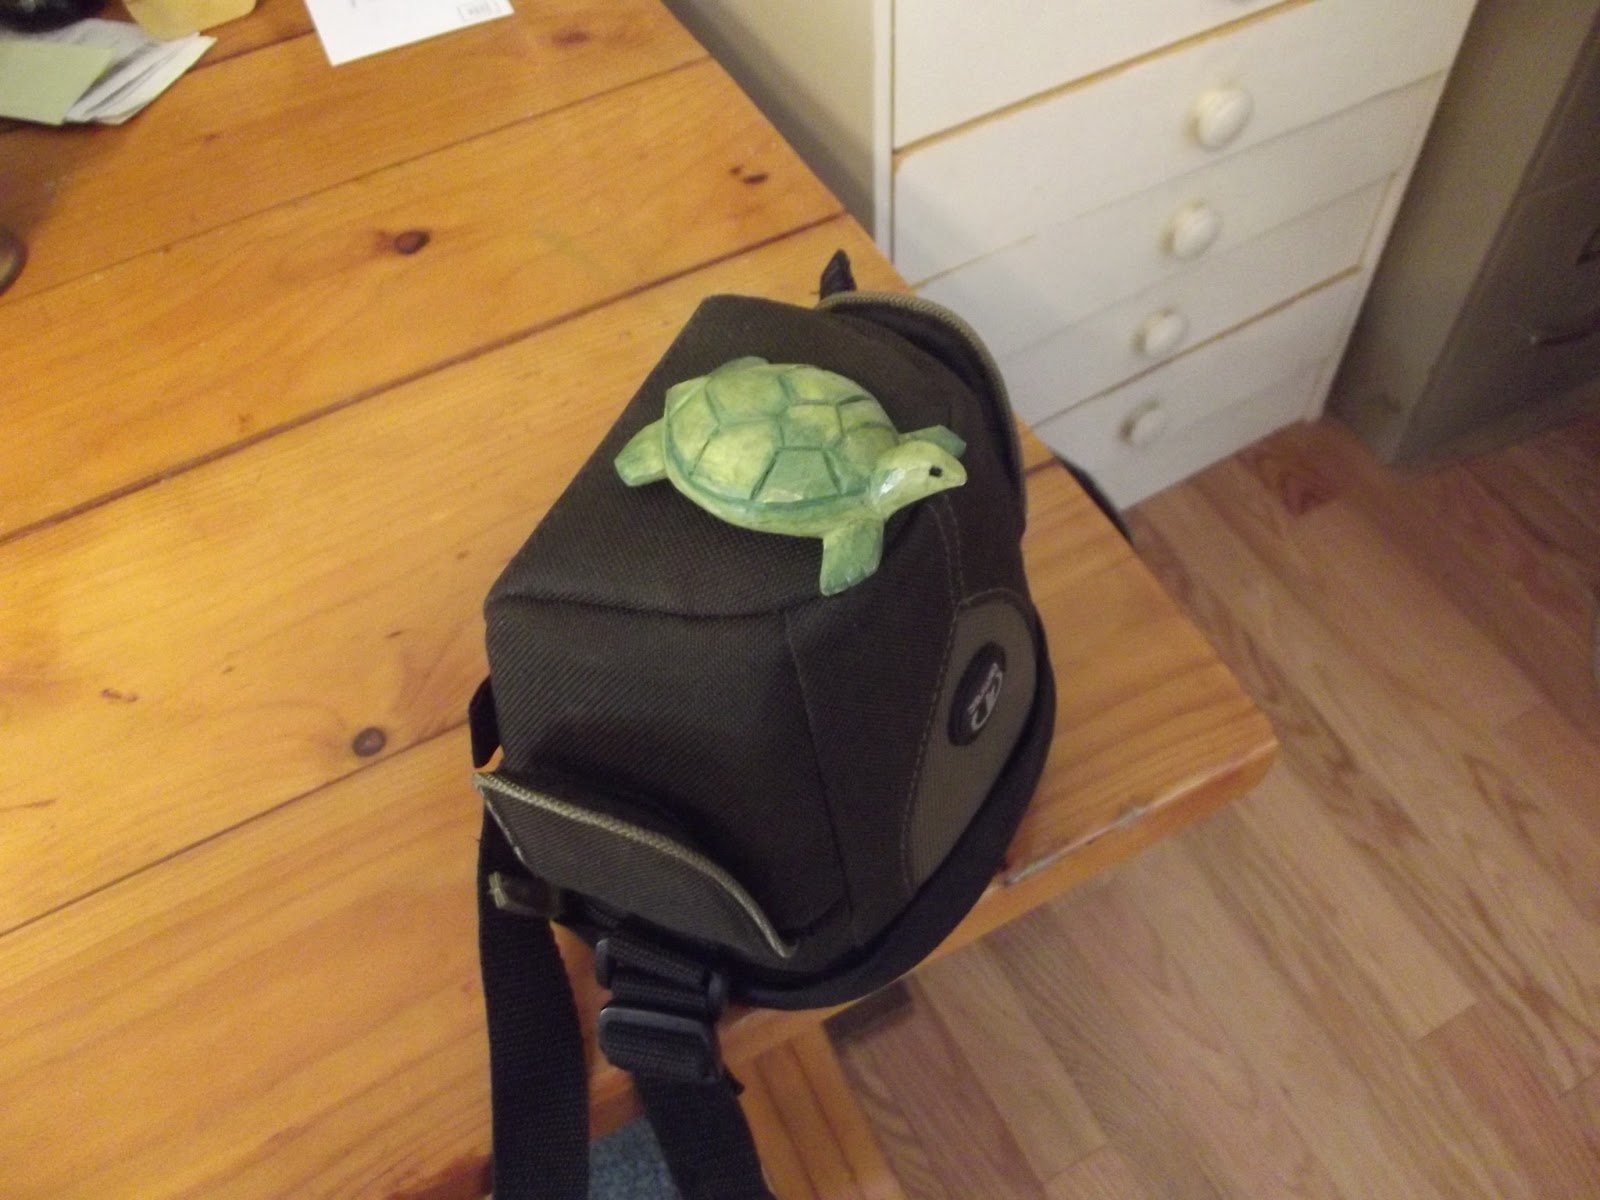
  Second, the turtle is actually done.


  Once the outside plants come in for the winter something will find a home on the back of a turtle.

  A tip for dealing with round projects like this turtle.


  I screwed a small piece of 2x4 to the bottom as a cleat that was held by my bench vise. I was able to power plane, sand, and paint the top while it was held firmly, with the clamping out of the way.


  I asked to borrowed a punch from a friends shop recently. The next time I saw him he presented me with my own set of 12 punches, 1/4 to 1 inch.  It is great to have generous friends.  I threw away the plastic packaging and made this stand for my new punches.  I finished it with my Home Blend Finish, 1 part varnish, 1 part linseed oil, 1 part turpentine. The finish is slow to dry in this high heat and humidity but is good.

  We are in another heat wave, and so things are slow in the shop, but nice for motorcycling.

cheers ianw


my bike.


Thursday, July 29, 2021

Three Small Projects - hook, box and turtle

 First project is a rustic hat hook.  


  There remain a few pieces of scrap wind fall wood in the back of the shop. The other day while I was kicking some pieces out my way I small light bulb went off.  I'd seem things like this in lodges and fancy decor places before and thought, I can do that.  Often rustic decor is little more than having materials at hand. I cut the branch off, sanded it clean and smooth and put two coat of shellac on it.  I don't have a spot in mind for this but you can always use a place to hang stuff.

  I have made a variety of boxes over time. Boxes are something I make with off cuts and where I practice hand tool techniques. Since I had my hot glue gun and glue sticks laying around in my storage cupboard loose, I decided to organize a bit.


 I had an existing box, with no lid.  The box  actually has finger joint corners so is fairly well made. What it lacked was a top. And topless it had sat on a shelf for ???, months, years???
Time to actually use it.


  The top also was a practice project.  I began with a board from a pallet. The board is spruce I think, and had a few nails to be removed, hence the many holes.  I used hand planes to square and straighten the edges and then glued three pieces together to get the top. (approx. 8 x 10). Once glued together I planed the top.  To wood burn successfully the smoother the wood, the better the result. For 'grins' I drew the glue gun on and then wood burned it and used water colour paint to paint it in.  After the paint dried I sprayed it with vanish to protect the paint job.

  Hinges were the next order of the day.  Next blog I will show you how I made the strap hinges.

  The third project is another finishing off something that has been around for a couple of years.  


 My Grand daughter and I made four legs, a head and tail to turn this ash round in a 'turtle' upon which a large house plant sits.  Since she was about six at the time she didn't fuss too much about detail, and so the round was still rough sawn,  chain saw smooth, which was OK.  It did look to my eye as though it was a good idea but not complete. I brought it down to my shop and began to smooth it.  Cutting across the grain on hardwood like this is tough.  I've done it several times for several project and have found that an electric planer does the rough work the best.  I have watched wooden boat builder videos and they seem to use a power planer frequently.  I am just beginning to appreciate mine.

  While planing I did knock some small pieces of bark off.


  The edge clamps are the perfect tool for repairing this problem. I bought these clamps 30 years ago when I was putting trim on a table top.  Edge clamps are one of those speciality tools that are not strictly necessary for every shop but.....it sure is nice to have them at hand for their once a year use.

  I has some finish sanding to do and I think I will paint on a few shapes and high lights before finishing and put the turtle back in the living room. It will look good instead of OK.

cheers, ianw


Monday, June 26, 2017

A Sow's Ear?

  The expression making a silk purse from a sow's ear has a hint of irony to it that makes me think it is impossible, not just difficult.  For a family wedding happening at the end of the week I have a silk/sow sort of assignment.
  I am turning, up scaling some pallet boards into a wedding guess signature board. A board where guest will write messages for the bride and groom rather than a guest book. It seems like a good idea, it may get put on a wall some place and be seen, unlike a guest book that is buried in the bottom drawer in the back room and never seen again.

It is going to look something like this.
  Image result for wedding guest board ideas

  Never discount just how much work goes into making tired old wood look nice. 


  I used my King KC-150C jointer to get straight edges for gluing. Then I added faux breadboard ends just to give the planks a little bit of style.  I used my KREG pocket hole jig to attach the edges.  You can see the edges held in place but the KREG Right Angle Clamp.  I did not use a face frame clamp because these pieces are wood aren't the same thickness, the face frame clamp would not have held things in place as well. 


  All that remains is a whole bunch of sanding.  

  On a lighter note. On the weekend I worked to my grand daughters design and made her a turtle.


  She drew the design and I cut out the legs,head and tail on the band saw.  Currently the turtle is downstairs guarding her bed.  I think I will give it a bit more attention before she comes back to paint it, every turtle needs a bit of sanding I believe.


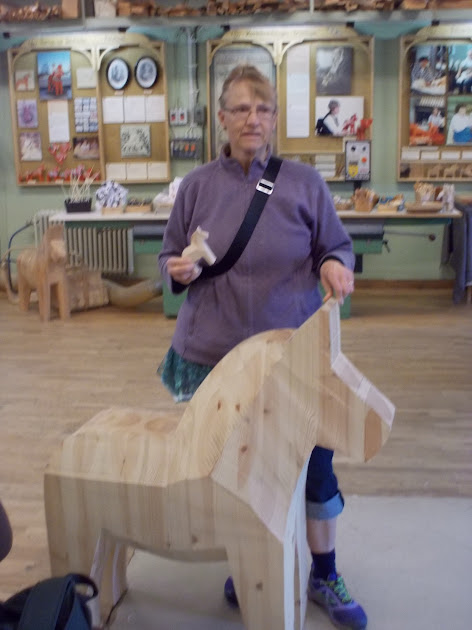
  Just a horse foot note.  We brought home the small horse, but the big on was way cool too. I suppose the large horse is for sale but I didn't ask.

  Lots of sanding to do tomorrow.

cheers, ianw

Image result for dala pig

In case you thought the Swede's are one trick ponies. 
They do pigs too. This pig is about five feet tall. 


Thursday, March 14, 2013

My Turtle


  Last February I posted a photo of a prize winning turtle from the Hamilton Wood Show.  A little over a month later this is a posting of my latest turtle.  This turtle is just a generic turtle carved from basswood and painted with craft paint from the Dollar Store.  If you have a hankering to try your hand at carving a turtle, check out turtle carving photos.  You will be surprised how much you can do with a hunk of basswood, or clear pine and a utility knife.  Carving does not have to cost a fortune, break the bank or threaten the marriage.  

  I have played away with carving (whittling) for a few months now and really am enjoying it.  I find that the quiet of the work is relaxing as well as developing new techniques to be satisfying. 

   When it comes to building things in my shop there is a strong undercurrent of "what is this useful for?" and "who wants this or where am I going to put it?".  Carving little things like boats and turtles keeps my hands active while providing  lots of quiet pleasure.  I guess it is somewhat like making jigsaw puzzles, a pleasant pastime for some, a useless waste of time for others.  

   If you are going to take up carving I suggest that you get a small tarp or drop cloth to put down where you work.  It just makes clean up easier.