Showing posts with label dremel. Show all posts

Sunday, February 5, 2023

Long Spoon

   The most recent thing out of the shop is another long  spoon.  I have made a couple of these long handled spoons in the past.  The spoon is 18 inches long and perfect for mixing large pots of chilli, stock or stewed fruit.

 In some ways these spoons are a speciality item for the kitchen.  After all it is not often we make four gallons of chilli.


First I laid it out, and cut the rough shape with a band saw.  (a jig saw would have done the job too,

    This spoon started out as a piece of oak trim from a local farm house.  A few years ago I was contacted by a friend who had a friend that was over hauling a big ol' farm house.  I was able to go and get a station wagon full of mixed oak trim.  Some of the trim had been painted, some was splintery and good for fire wood and some was really nice.  The stain and/varnish sanded off easily and so the wood has been used for lots of things in many places.
 
  This long spoon is a lovely piece of that white oak  trim. Since the wood was a milled board this spoon is a machine made effort.  As a milled board  there is no advantage to working the wood with hand tools, there isn't much chance to work with the grain. 


    The wood showed a really nice grain and was as hard as stone to shape.  I used a belt sander and a Dremel tool with various bits to do much of the work.  Ultimately the final sanding was done by hand, 80,120,180 grit sandpaper and card scrappers providing  the final result. 

  I gave the spoon a quick coat of Hemp Oil and it is ready for the soup.


  I paid attention this time, it took about 2 hours of hands on time to complete this spoon.  If I were making several at once I am sure that I could cut the time, perhaps in half, I don't know.  If you go to a craft fair and someone is selling a nice spoon, made from nice wood it should easily cost $25.00 or more, I would expect that much for this spoon and I got the wood for free.  

  I was easy to make this spoon.  All it took was tools, time and experience.  Please buy wisely and support your   local  crafts people.


cheers ianw


ps. check out at years worth of spoons  

https://www.dailyscandinavian.com/365-daily-norwegian-wooden-spoons/


Tuesday, November 30, 2021

Long Spoon, and Another Cedar Project

 You don't know you need a long spoon until you get one and then wonder how you lived without it. Big pots of chilli, stew and simmering fruit all need a long spoon to reach deep into the pot's corners while keeping your hands happy and safe. 

  This one is walnut, finished with Hemp Oil. I shaped the spoon mostly with knives after roughing it out on the band saw.  Hollowing out the bowl of the spoon is a job for my Dremel Tool. I like using walnut for spoons because it is fairly hard and yet it is easy to get a glass smooth finish.


  We have several hand made spoons in the kitchen drawers now and it is surprising how often it is better to have a slightly longer, or stouter spoon at hand.

**********************************

  I have been working away with my found cedar. Yesterday another project emerged that suits found cedar.  This time I cut the strips on the table saw, I am leaning toward hand tools, but haven't fallen in totally. 

BOOT CLIPS revisited. 2014 March first visit.


  Winter has arrived and so it is tall boot season. 


  The boot clip is like a extra large clothes peg.  It keeps soft boots from flopping over, taking too much space by the door or in the closet.

   The design is two long pieces with a spacer in between. Once I got the boards cut into strips I used my hand planes to clean up and smooth the wood and a shop knife and files to round various edges. 
jack and smoothing plane.


  I think cedar is the perfect wood for these holders and it planes nicely. I'm making 6,  almost no noise and lovely shavings.  I have a Anant Jack plane with an up graded blade and a Veritas low angle smoother. (thanks Santa)  For a couple of years I was the Canadian Importer of Anant planes.  I always frond them to be good general carpentry tools.

  Time to think about some more quick Christmas gifts from the shop.

cheers ianw


Thursday, November 11, 2021

Spreaders, Spatulas and Spoons, Oh My.


Those of us playing in our workshops must remember and respect.

 November happily has had unusual weather. This day last year I needed my snow blower, this week I've been out riding my motorcycle.  We know for sure that there will be weather, we just don't know what kind. 

  In the shop lately  I have been making spoons and spreaders for church sales.


  These wooden tools have been made from milled lumber that was collecting in a box by the bench.  I like to make longer spreaders to reach to the bottom of the peanut butter jar.

  There were a whole spectrum of tools used to make these pieces, power does make it happen faster.


Bench and Sanding Station


  First I cut the basic shape with the band saw then various sanders and my Dremel Rotary Tool makes short work of these pieces. Generally I used planes, saws and sanders on milled lumber as I find it more difficult to shape with knives and chisels.  If I begin with a piece of wood that is split out it seems that the grains works with me rather than against me and so I use knives much more in the shaping process.

  Years ago I recovered an A.V. cart from a school dumpster. It had lost a wheel. It wasn't that difficult to replace a missing caster and I've used it as a sanding station since. When I am in production like this I roll the sanding station into place, clamp the Dremel to the bench and layout all the tools I could want to use. 

  The final stage for the spoons is hand sanding with 400 grit and a hemp oil finish.

  The other thing I did one evening was:


  When I  made my antler handled tankard I had two small bits of horn left.  I love the feel of horn. I got an inspiration to use the small bits of antler.  These are two horn handled scrapers/awls . The blade is 1 inch finishing nail, one pointed and the other hammered into a thin wedge shape. I frequently use a nail or knife to scrap crud out the teeth on a file or rasp or dislodge dried lumps from sanding belts.  I now have a couple of proper tools for those scraping jobs and won't need to risk my knife's edge.  There are other ongoing uses for a fine tipped awls and these fill that need.

  Remember, Christmas is just around the corner, get making your gift. 

cheers ianw


Poem by Lauren Binyon
Music by my friend David S. Fawcett, 


Wednesday, September 30, 2020

Street Find and Big Spoon


 People throw away the darnedest things.  As I was riding my bike around the neighbourhood on Sunday this garden tool box lay with the trash at the end of a driveway.  Now, admittedly is was not really much to have pride in as it lay.   I don't really know how a person could nail five pre-cut board together and get none of the edges lined up, but, so much the better for me.  I sprung the unglued pieces apart, glued them, lined them up and clamped the whole thing together.  I plan to sand it smooth; at least 400 grit: wood burn and paint garden type designs on the box.  
 

  The coloured leaf design works well as a pattern on light wood.

  The other project from yesterday was to fulfill as request. 


A 45 cm. spoon for stirring large pots filled with cooking fruit.  It has been a great year for pears and so we have pear sauce, jam and juice. Eva wanted a stout spoon so she could mix and coax a pot full of hot fruit while being far enough removed that she wouldn't also get cooked.

  I cut the spoon shape from a piece of 3/4 white oak on the band saw. I used a block plane 


and a palm plane 
very similar to this one to shape the handle.

Once the handle was shaped I used my Dremel tool with flex shaft to shape the bowel of the spoon. I have bits and burrs that I have gathered up and inherited to use with the Dremel, I wouldn't know what bits to recommend, but I do recommend having a Dremel or similar tool in every work shop. Often they can be bought with an assortment of bits included with the tool.  After all the shaping was done I used scrapers and sand paper up too 500 grit to smooth the spoon for final use.  Since the spoon will be soaked and boiled I left it unfinished.  White oak may take on some colour from the food but seems to stand up well in the long term.

  I picked white oak because it is less effected by water than many other woods. While digging the big spoon from the drawer I found it had many friends.


  That is just the spoon, spatula and spreaders that are used in our kitchen.  At least that many have been spread about various other kitchens around Canada, Sweden and Great Britain too. I like it when my work gets used.


Friday, August 17, 2018

An Atypical Week.

  This week there were family things to cause stress and upset schedules but they have been resolved and life returns to what passes for normal.

  I found an interesting You Tube video to share:


   The project is interesting and the quality of the video production is quite high.  I could see trying a project where there was a concrete element to it. I think a patio table might be a natural for a combined effort.

  My  bench is filled with glued up 3/4 oak.  Many of the pieces that I cut out for the kneeling chair are to be 1 1/4 inch thick so we had to rough up, then glue pieces together to get that thickness.  Once the glue is set David and I will square up the boards and plane them to the require thickness. 


  We used nearly every strong clamp in my shop.


  I'm also working away on my pickle tray thing. I have discovered several thing about this project.  I am able to clear wood with a carving gouge quite easily in the dry, dry oak by going cross grain. 

 I have gouges in three sizes and so begin with the smallest chisel which leaves obvious marks but is easiest to use without a mallet. The middle size chisel lets me flatten thing somewhat and the widest chisels can make things pretty smooth as you can see in the photo.  With sharp chisels of the correct size much of this carving task can be done without a mallet.


  The other thing that I've learned from this project is that this is  learner piece.  In the past I've used band saws and grinders and Dremels etc to make thse olive trays. The commitment to  learning hand tools is newly developing thing .  

  Clearly carving this project is slower than using power tools and at least in this case the end product won't be as good as my previous trays.  However this is a sustainable working method.  One can't assume that one will always have a large well equipped power tool shop at hand.


    cheers, ianw
from Eva's Garden


Wednesday, May 9, 2018

It's been a while

  It has been a while since I blogged last, that doesn't mean I've not been busy. I am one coat of varnish away from having the table finished. My plan is to have it up stairs and out of my way tomorrow.

  On the weekend my Grandson and I found a video on You tube and made a wooden whistle. Now that we have a method, next time,  production: we'll make whistles for all his friends. His school teacher will love us.

  Having the table is the way has limited my ambitions so what have I done.  I sanded to 600 grit and then carved a trivet.

   It is a small space, no noise basic tool thing to do while hanging out in the workshop.  Everyone needs trivets and hot pads. This trivet is exactly the right size for a French Press coffee pot. 
Image result for french press

Or a really big coffee mug.

  Another thing I did while sitting around one evening is finish sanding and shaping an olive/pickle tray from oak.  I laid this out years ago while I was developing my skills with my Dremel tool. While I was sitting around waiting for the varnish to dry i decided to finish shaping and sanding.

  I cut the basic shape on the band saw and then gouged out the inside with the Dremel.  One evening last week I sat quietly listening to music and hand sanded the tray smooth.  Since the tray is curved I split a cork in half and glued it on for feet. The tray has a nice shape and is stable in use.

  For portions of the last two days I have been working on two low skill, high back stress projects,  wood chips. And the sump pump water evacuation system has taken the other portion of my digging energy. (it should be finished tomorrow). Chips, not finished tomorrow.


  This is the remaining half of yesterday's dump of wood chips. Dump because the chips arrived a dump truck full. Eva and I moved some yesterday and I moved some more today.  I have learned my limit when doing this sort of task, but it still kicks the you-know-what out of my back.

  Tool for the job:


  Last time we did this I went and bought the specialized tool for the job.  That manure fork is the perfect tool for loading and moving wood chips around.  It is another of those specialty tools that get used seldom, but....make life way easier.  We tried moving wood chips with snow shovels before, Okay, but the fork is better.

  Today's quick project is a glue up.


  Sherlock Holmes couldn't guess what this is. By the way, the pipe clamps have been in my tool kit for thirty years.  I love good basic tools that last.


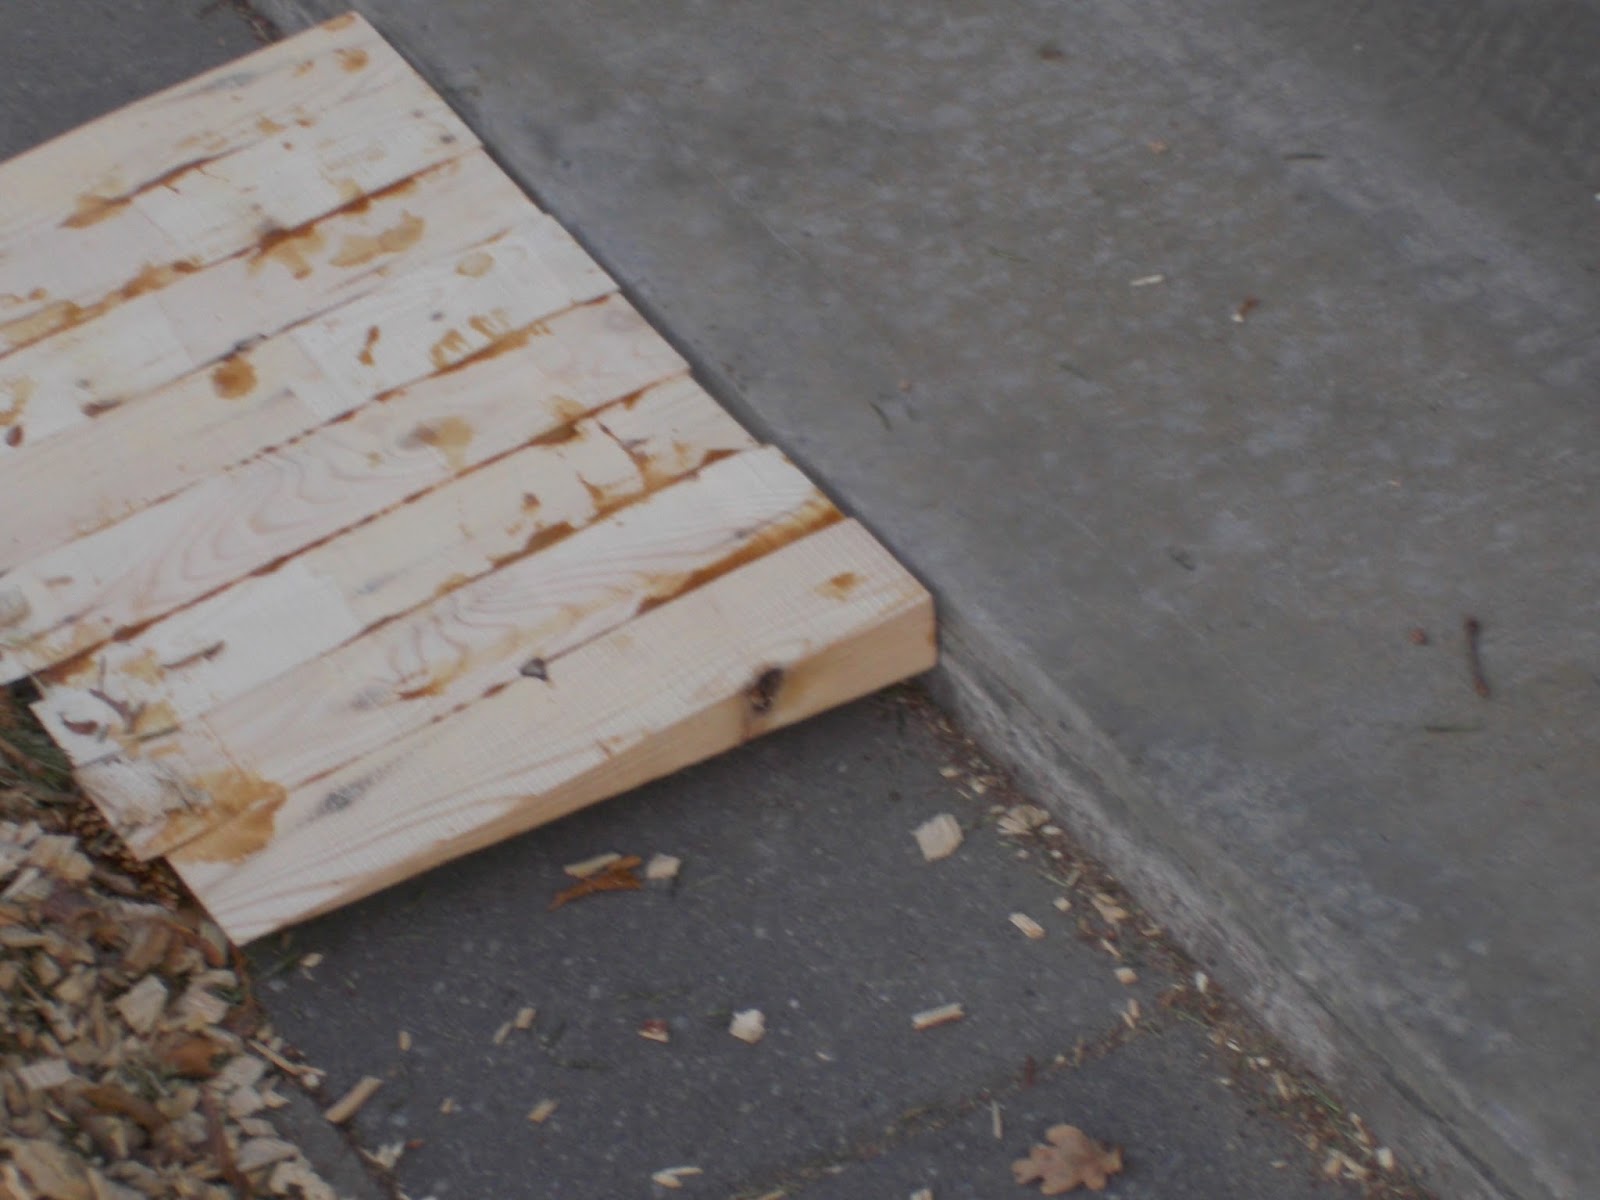
  Our drive way is interlocking stones, and the folks that did the work did a good job and the drive way still looks good.  However it has sunk a bit along the front of the garage. If you look in the 'chip' picture you can see a maxi-scooter. I've put the ramp in place to make it easier for me to push the scooter backwards into the garage. Just a little thing, but little things can make a big difference. 


. 

Tuesday, January 16, 2018

Maple Knife Handle, by hand, mostly.


the yellow handles knives were destined for Iceland
fishermen but the deal fell through. I got the knives for 30 SEK ($4.55 Cdn)
each. The blades are stout and very sharp, the handles will be replaced.  

  I brought those knives home from Sweden last spring and have finally got around to making  a replacement handle.


  Don't get me wrong, the yellow plastic handle is excellent and probably easier to hold on to when wet than my maple handle. After all Frost/Mora are world class knife makers.  But, the handle is yellow plastic, its just not pleasing to my eye.

  The first stage of the process was to grind the plastic handle off.  I used my angle grinder and a course abrasive disk, easy and quick.  Every shop needs a 4 1/2 inch angle grinder. 

  Once I cleared the plastic away I drew a design for the handle, by tracing the blade and drawing around it.


  I picked maple for this handle. I picked a board twice as long as I needed. First I ripped the board in half, the length of the handle. Then I cut the rough shape of the handle on the band saw.  This let me cut both halves of the handle as though I had stacked them for cutting, with the uncut end providing plenty of support.


   Once I got the rough shape cut I used my dremel tool  to hollow out half the thickness of the blade on each side of the handle.  When the blade fit tightly into the hollows I glued the blade in and the sides on with contact cement.  I know there are plenty of new high tech epoxy style glues out there but....contact cement has never let me down.  You just have to give it the time it needs to set.  As the blade is inset into the handle I am not concerned that it will wiggle.

  After I finished with the Dremel  I settled in to watch a Youtube series on Queen Jane of England. ( reign 10 July 1553 - 19 July 1553).  I know that I spent a little over three hours shaping the handle with rasps, files and sand paper.  Three episodes plus coffee drinking time. I sanded the handle to 600 grit.  It was so smooth it felt soft.  


   That is the chaos of my work space as I shaped and sanded, if you look closely you can see the knife in the middle of the photo with green tape on the blade.  I think that a belt sander could have done the job 3 or 4 times quicker, but I didn't feel like the noise or aggression that comes from power tools this time.
  
   I finished the handle with two coats of orange shellac.  Maple is so close grained and so hard that I didn't even try to stain it, the stain just sits on top.  Old style maple furniture if usually finished with tinted varnish.   I picked orange shellac because it has a old style traditional colour and feel to it.

  The handle is a bit rustic and probably too small for most tastes but I quite like how it fits my hand.


  I have few more of these blades. My plan is for the next knife handle  be made from walnut or some other dark wood.  The handle will be a bit longer and more round with a hole in it for a leather thong too.   I am also thinking of drilling the blade to put in a couple of brass rivets, more the the look of things than any other reason. 

   I should gather together the knives that I have put handles onto.  I think I am getting better. Maybe in a coming post. 

cheers, ianw


Thursday, August 3, 2017

Dremel/Carving Project - Maui's Hook


  I have a grand daughter that has nearly memorised Moana and so I thought I would make her her own magic hook.  I started with a piece of maple and cut the basic shape on the band saw. Once the basic shape was established it became a carving/shaping project.  This type of project is always a challenge to clamp, this is where my foot powered vice earns its keep. I made the foot vice/hold down several years ago .


  The wooded frame clamps to the work table, in this case my KREG Klamp table. I hold the rope down with my foot and that provides enough clamping pressure to enable me to use my Dremel tools to shape the project. 


  If you look closely you can see a work station that features all the tools that you need for shaping a magic fish hook.  I have two Dremel tools, needle files, sanding blocks and card scrapers all of which I can roll into the best light in the shop. If I am working on two projects at once I can roll this entire work station out of the way and carry on with out having to put all of these tools away.

  I have to do some wood burning on the hook and lay on couple of coats of vanish and then we wait to see what sort of magic is in the hook.

cheers,ianw


Thursday, December 8, 2016

Wooden Spoons and Spatulas

 My wife is a very talented cook and baker and it seems she has  passed her passion  onto our Grand daughter Clara.  Clara's brother Kieran likes to make stuff in the shop and last year he and I made a tool box together.  Over the last few years he has been getting tools for his tools box.

  This year it is Clara's turn to began acquiring tools for her work in the kitchen. 

   The last couple of evenings have been spent making smaller sized kitchen tools for Clara for Christmas.


  These are some of the tools I've made in my shop recently.  The spatula in the middle is full sized, the other ones are about half as long, but 2/3 as large.  The shorter handles will help small hands keep things under control more easily.

  There are many, many videos on You tube showing ways to make wooden spoons.  I looked at a bunch of them for method and inspiration.  

  First I traced the shapes on a clear grained piece of Poplar and cut it out on the band saw. 
For the spatulas the band saw was the last power tool I used.  A jig saw, a scroll saw or a coping saw could also do the job, and not much more slowly. So don't abandon making these things just because you don't have a band saw. 

  Once the pieces were cut out I shaped them with knives, small planes and mostly with sand paper.  You could equally use a spoke shave, I didn't because I have not become skilled with one or a draw knife. The draw knives I inherited are to large to use comfortably on small projects like this.

   The spoon, I shaped with somewhat greater modern savagery.  I wanted a rounded handle for the spoon and needed to shape the bowl and so roughed it into shape on my 36 inch belt sander.  A smaller power sander would also work or you could use my favourite rough carving tool, the Nicholson 4 in 1 rasp.  I bought my 4 in 1 rasp early, early on when I began gathering tools and have used it as much and more than many other tools. 

  Projects like these are labours of love and so I listen to music and work at a fairly causal pace while completing them.  As you can see from the bench I used lots of tools and didn't worry about efficiency.


  There is everything from knives and rasps to shreds of sand paper and coffee cups on that bench.  I used the tooth brush to clear fine wood dust out of 320- 500 grit sand paper. Since I did some serious whittling at the roughing stage I wore my carving gloves with their added leather finger tips.  You can also see two large needle files on the work surface as well as 60 grit, 120 grit, 220 grit, 320 grit and 500 grit sand paper.  Were I making these tools for money I doubt  I would sand much past 220 grit, but for family 500 grit seemed appropriate. And incidentally this piece of poplar sanded as smooth as glass.

  As an unromantic foot note  I used my Dremel tool and a ball shaped bit to rough out the inside of the spoon.  Yes, I have gouges and a hook knife, (somewhere) but my dewy eyed hand tool romanticism does have limits. I do like my variable speed Dremel tool with its flexible tool shaft. 

  This is another personal project that can be made with limited tools and at limited cost.  Every  time that spoon or spatula is used the maker will be remembered. Don't we all want to be remember?

cheers, ianw


Sunday, November 27, 2016

A hippo's nose job !, I love wood working

  It has been an interesting wood working day.  I visited a potential client that needs repairs and refinishing done to their live edge table.  A deer crashed through their front window and smashed the furniture on the ground floor of their home.  Regular repair guys are fixing flooring and book cases but the table needs an irregular guy like me.

  What else did I do with my day?  I repaired yet another box for 10,000 Villages like this one:

  Untitled

  The boxes come from India and often the lids warp with the temperature and humidity changes.  The hinges are maddeningly attached with nails so all the work on the boxes has to be done fully assembled. I have developed a whole bag of tricks for clamping, planing, sanding and re-staining these boxes. 

  Today was  another first for me.  I was so carried away with this project I didn't take a before picture, only after pictures.


  The hippo began with a symmetric face but somewhere in his travels from Kenya to Canada his right nostril got broken completely off.

caution: hippo at work.
I have no idea what sort of wood this is. It didn't help that I was working on the end grain but  I learned from trial and error  that it was better to use files and rasps than to try and carve it with blades.

  With some patience and a bag load of tools I reshaped  the face then sanded and polished my work.  I know that it has been repaired but....it just looks hand carved and individual to the uninformed eye.

  Do you remember the scene in Toy Story 2 where the guy  repaints and restores Woody.  He has a super tool box with all the specialized tools he needs. 

carving tools on left
Dremel tool box on right
small box of needle files, sanding jigs
 and other tools spread all about. 
  When I do those small repairs I use every tools I can lay my hands on.  There is always filing, scraping, shaving and trimming in those jobs for 10,000 Villages.  I have carving knives, about a dozen, a whole bunch of needle files and rifflers as well as various bits for my Dremel tool. 


   As a by the way this tool box was made by my father as a shop project when he was in high school, a long time ago.  It would be great if one day it was a tool box for one of my Grand children. 

 cheers, ianw